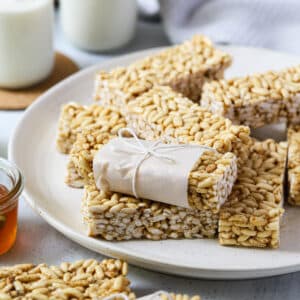
You will love this healthier version of store-bought LCM bars! Made with only 6 ingredients, including puffed brown rice, tahini and coconut oil, they are naturally sweetened with honey and contain no extra sugars. They are also nut-free, gluten-free and dairy-free, making them a perfect lunchbox snack that your kids will love.
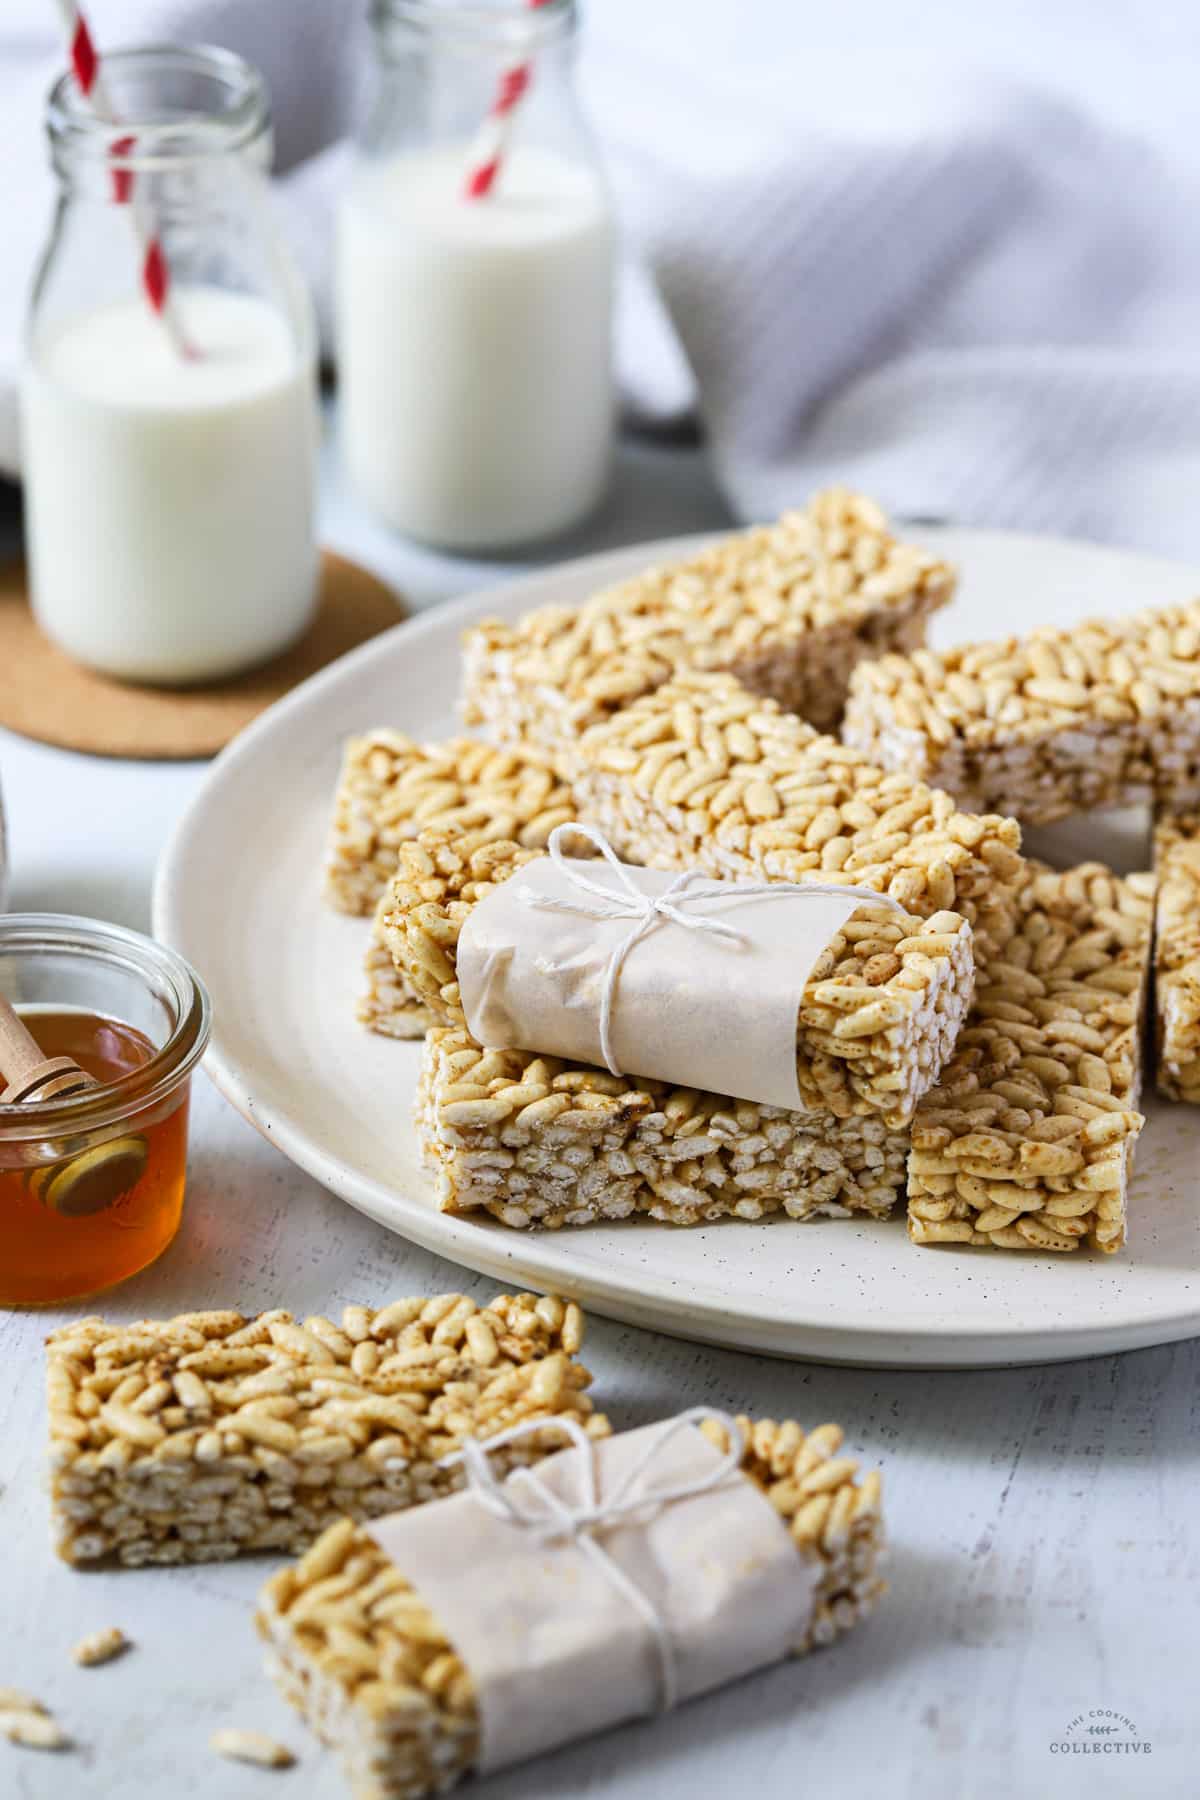
Keeping a stash of healthy lunchbox recipes can be a lifesaver on busy mornings. And these healthy LCM bars are a perfect addition to your lunchbox rotation. They taste like a healthy Rice Bubble slice and make a delicious, healthy snack for the whole family!
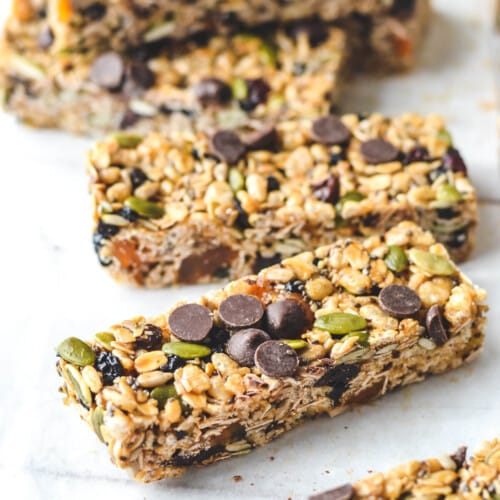
Like these no-bake muesli bars, healthy cherry ripe slice and chocolate zucchini muffins, these bars can be stored in the freezer, ready to be added to lunchboxes (or grabbed for a quick afternoon pick-me-up) in no time at all.
There’s no baking required, they are quick and easy to prepare and are a guaranteed lunchbox favourite!
Why you’ll love this recipe
- Quick and easy – 10 minutes and 6 easy-to-find pantry ingredients are all you need.
- Freezer-friendly. Make a double or triple batch and keep them in the fridge or freezer so you’ll always have some ready to go.
- Dietary restriction friendly – these bars are gluten-free, nut-free, dairy-free and can be made vegan, if required.
- Affordable – making your own bars at home will give you more bars for less money!
Ingredients you will need
** This post contains tips and instructions to achieve the best possible results. The photo above is a great guide for when you are in the supermarket, but for full ingredient quantities and methods, please scroll down to the detailed recipe card below!
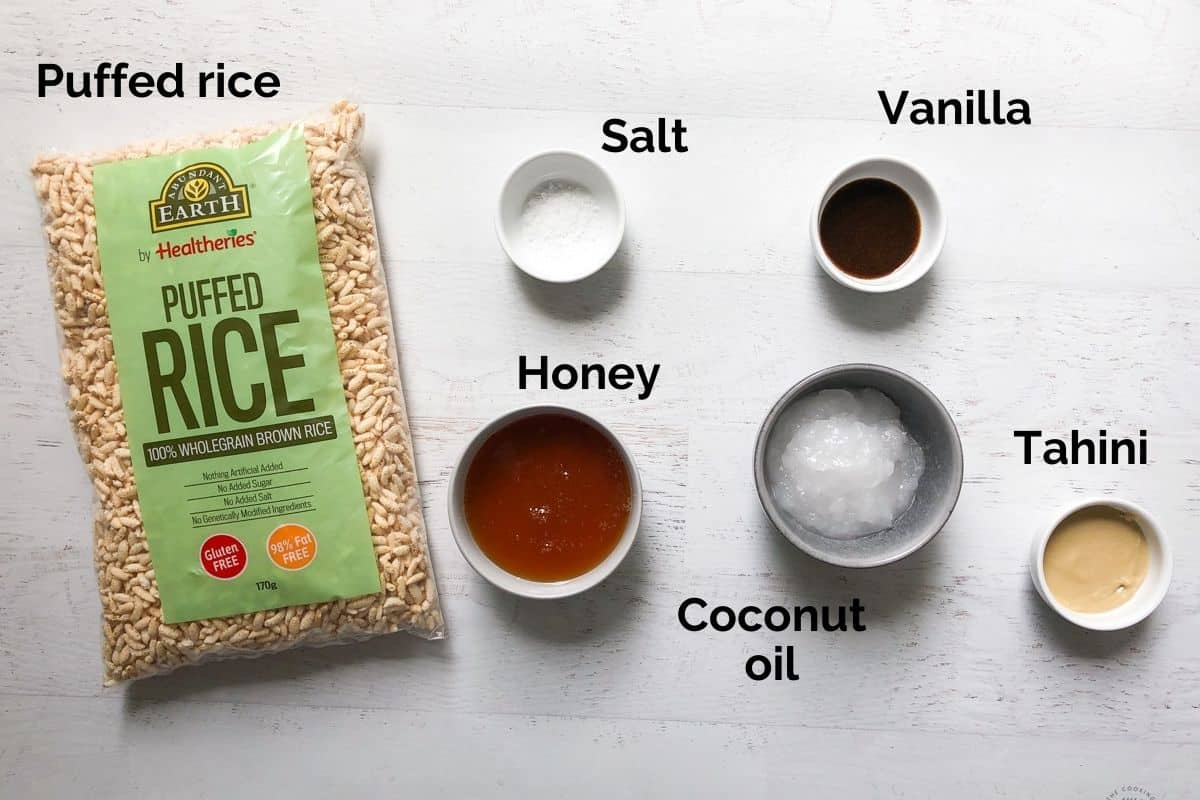
- Puffed Rice – are grains of rice that are soaked and then puffed by steam when cooking. They are gluten free and have no artificial additives or sweeteners. They can be found in most supermarkets and health food stores and in this recipe, they can be swapped for Rice Bubbles, Rice Krispies or their equivalent, if preferred. Just be sure to check that your swap is still gluten free, if required.
- Honey – is used for sweetness and to bind the rice puffs. If vegan bars are required, swap for rice malt syrup.
- Refined coconut oil – is used to hold the bars together. It works best when refrigerated and kept at cold temperatures. If you want a firmer, more solid bar or don’t like the taste of coconut, swap coconut oil for the same quantity of unsalted butter instead.
- Tahini – is a smooth paste made from sesame seeds. It adds a roundness to the bars and balances the sweetness of the honey, as well as adding extra nutrients. I recommend using hulled tahini, as it is milder in flavour than un-hulled. The tahini can be left out or swapped for sunflower seed butter if you need to avoid sesame products due to allergies.
- Vanilla – adds depth and enhances all of the other flavours in the bars.
Step by step guide
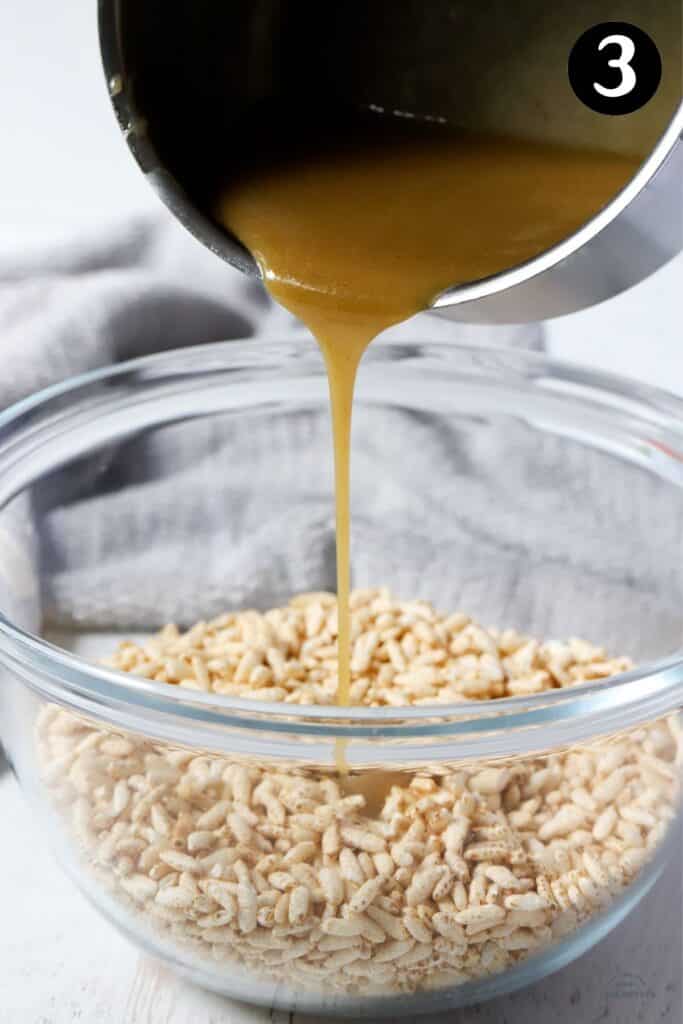
Step 1. Place the puffed rice into a bowl and set aside.
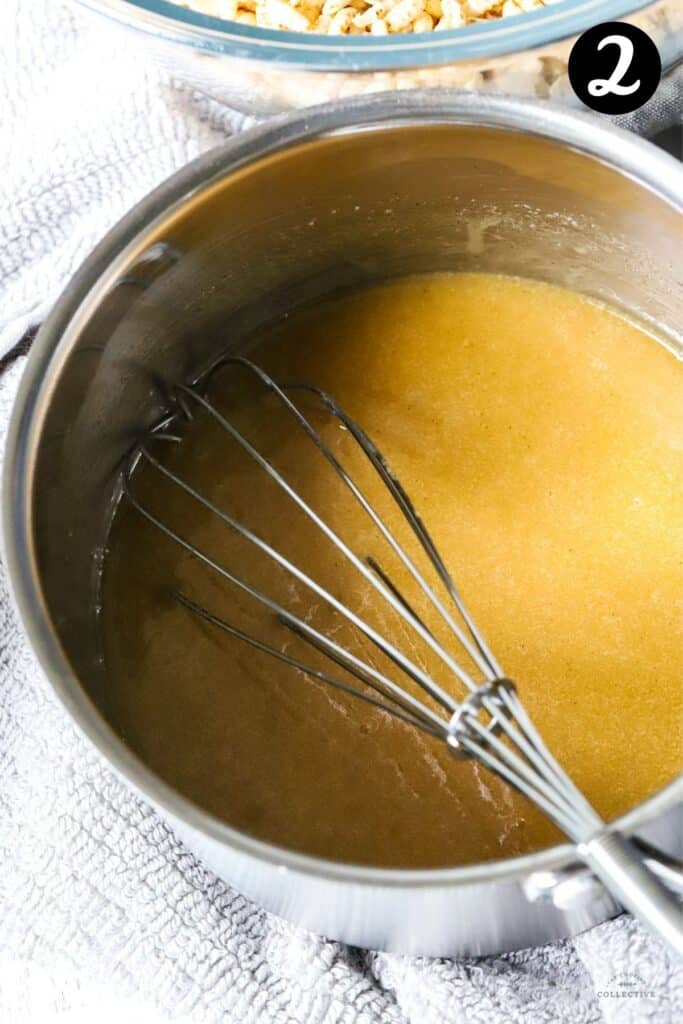
Step 2. Stir the coconut oil, honey, tahini and vanilla together in a saucepan over very low heat until combined and bubbling.

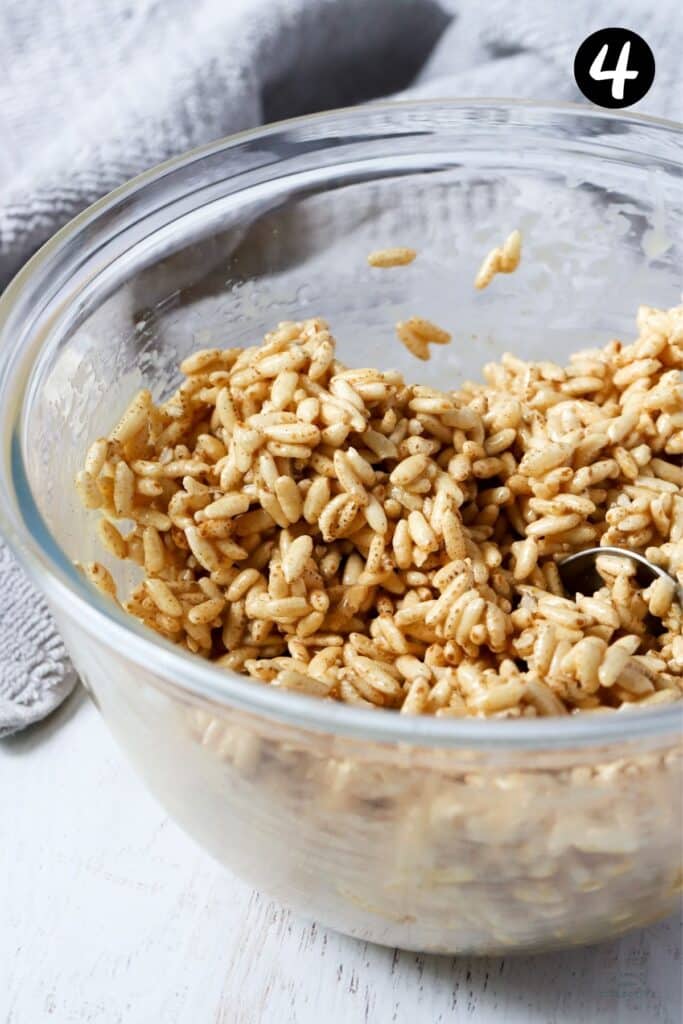
Step 3. Pour the melted honey mixture over the puffed rice and stir to combine.
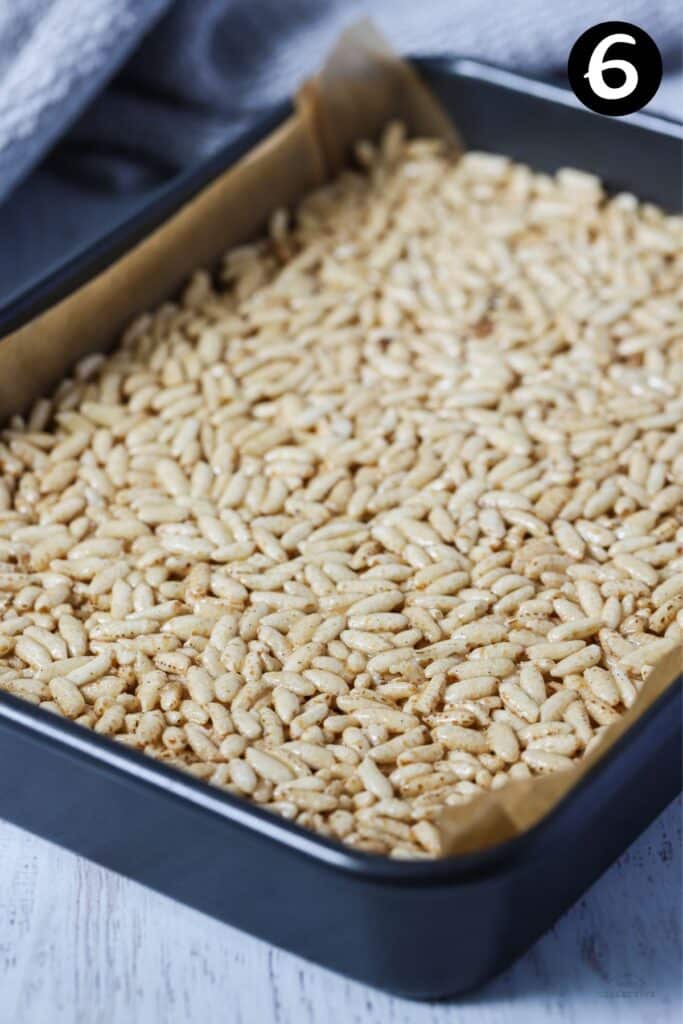
Step 4. Press the mixture into a lined 25cm x 18cm (10 x 7 inch) slice tin and place in the fridge or freezer for at least one hour to set.
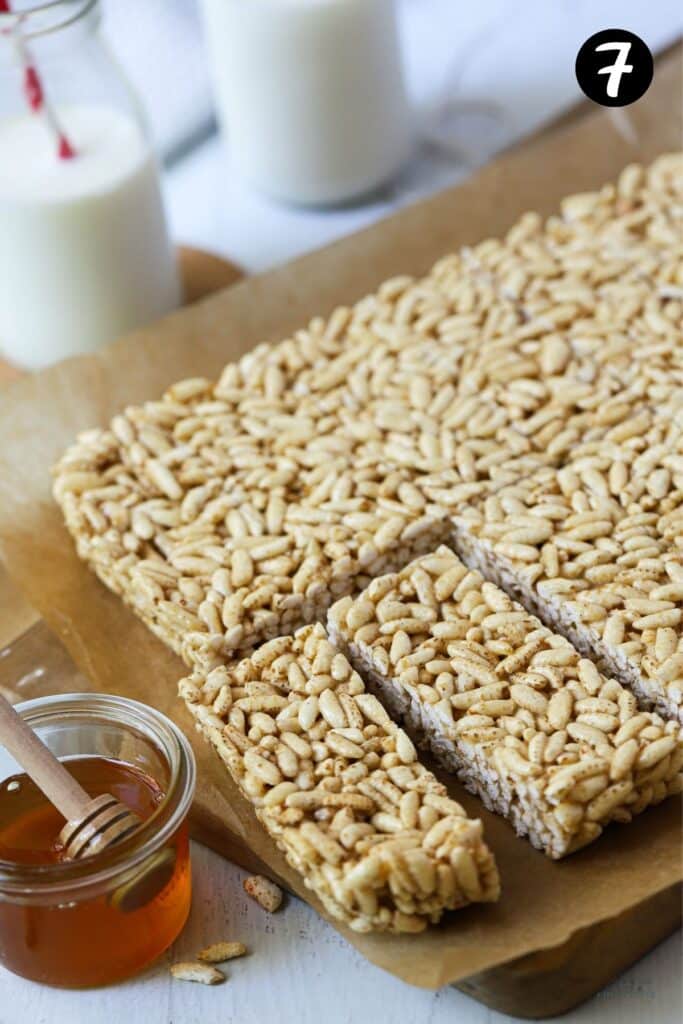
Step 5. Cut the slice into bars of your desired size and keep them in the fridge, ready to eat.
Full ingredient quantities and steps can be found in the recipe card below.
Expert tips
- Rice Bubbles or Rice Krispies can be used in place of puffed rice, but if you need gluten-free bars, be sure to check the packaging and use a suitable alternative.
- These bars use coconut oil to make them dairy free. You can also use regular, unsalted butter if you don’t require dairy-free bars, or vegan butter instead.
- Add ¼ cup chia seeds for extra texture and nutrients.
- Double the mixture and keep a batch or two in the freezer for easy snacking.
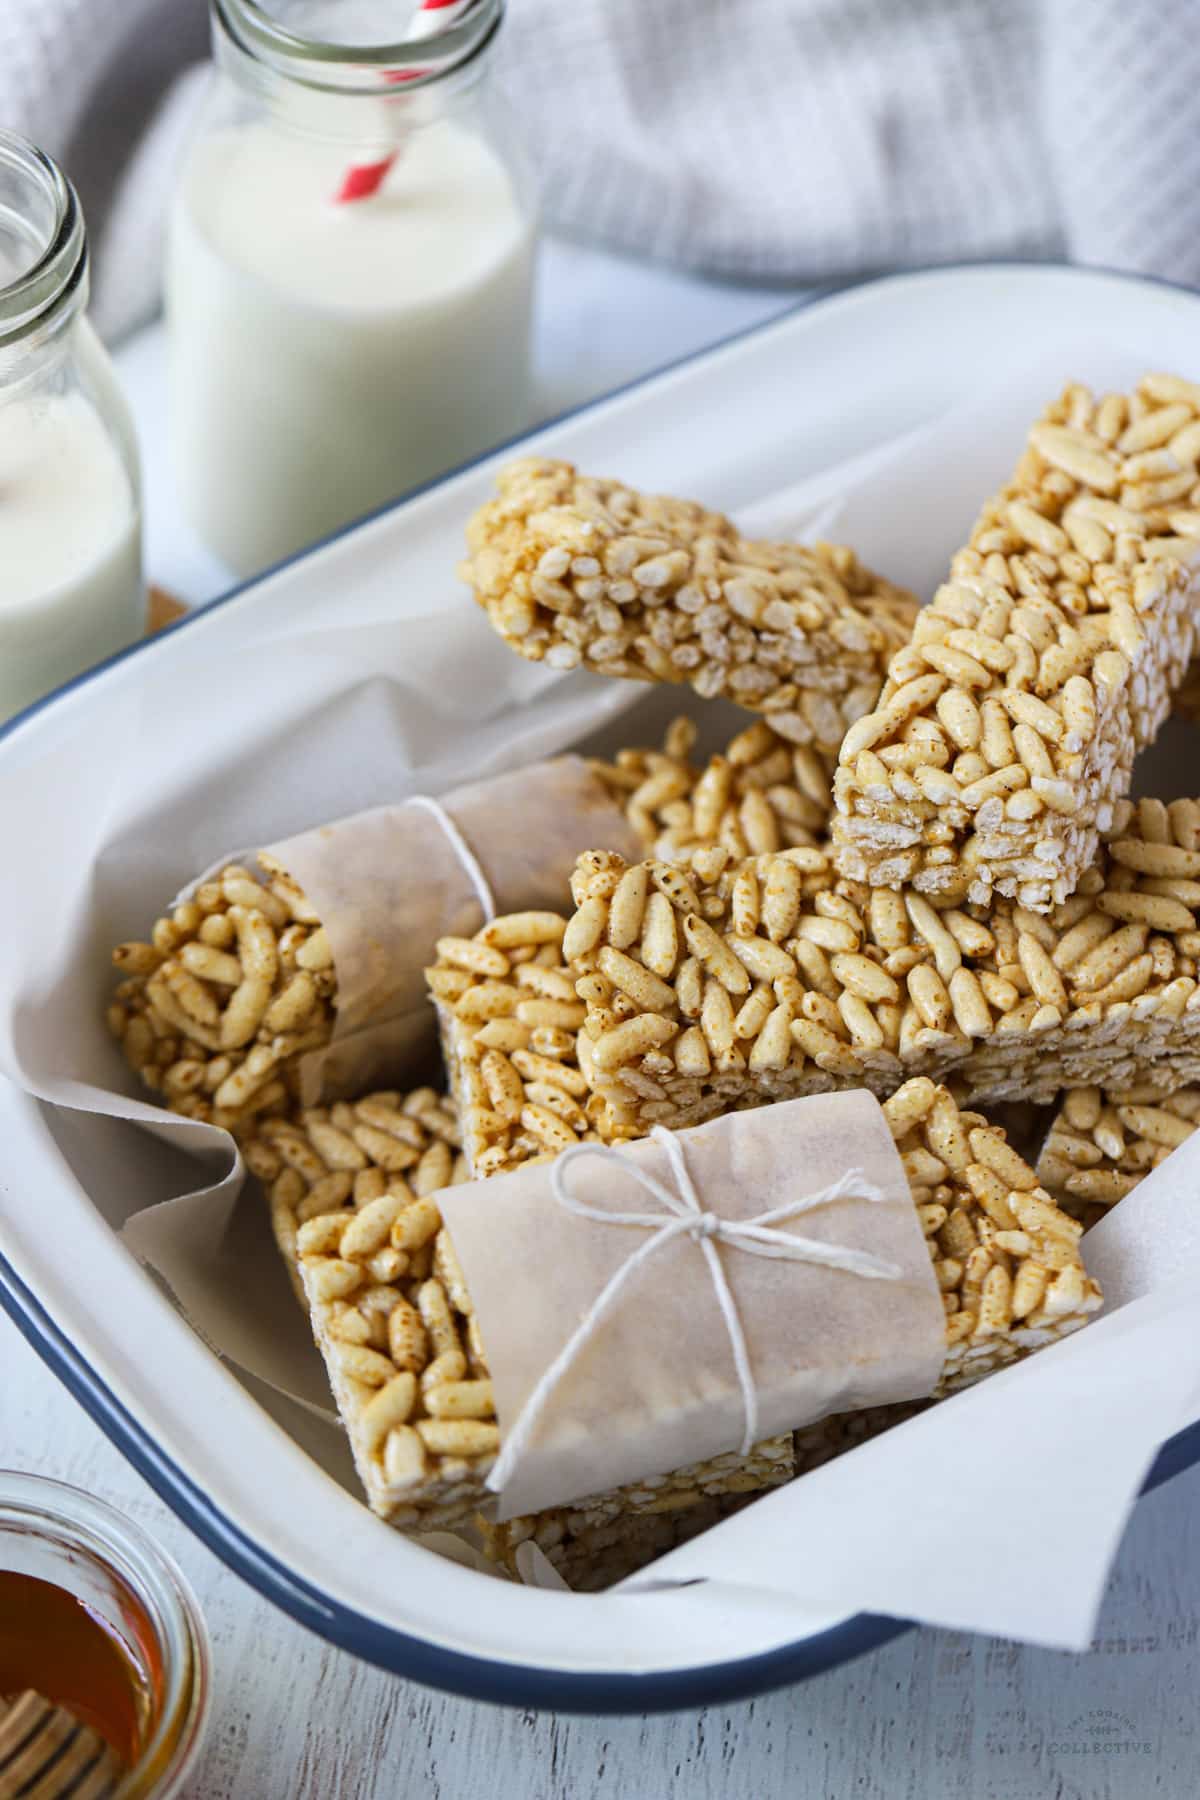
- Keep them cold. These bars need to be stored in the fridge to stay firm. Coconut oil will soften at room temperature and while the bars will still hold their shape, they will become a little more loose. If you want to use them in lunchboxes, I recommend wrapping them in paper and using an ice-pack to keep them cool.
- Don’t skip the chilling time in the fridge, the mixture needs to set before slicing.
- Make sure the slice is very firmly pressed into the tin so that everything holds together when set.
- You can make these into individual cup serves, instead of bars. Just spoon the mixture into paper cases in a cupcake tray and set in the fridge.
FAQs
These bars can be frozen in an airtight container for up to 3 months. To thaw, remove them from the freezer and sit at room temp for 30 minutes. They can also be added to lunchboxes straight from the freezer.
Keep them in the fridge in an airtight container for up to a week, or store them in the freezer for up to 3 months.
Related recipes
Need some more healthy lunchbox recipes? Keep them in your freezer for grab-and-go snacks, any time!
Tried this recipe? Please leave a star ⭐⭐⭐⭐⭐ rating or leave a review below and let you know how you went!
Hungry for more? Subscribe to my newsletter and follow along on Facebook, Instagram and Pinterest for the latest recipes and news.
Healthy LCM bars
Ingredients
- 4 cups puffed rice
- 2 tablespoons hulled tahini
- ½ cup honey
- ½ cup coconut oil or unsalted butter
- 2 teaspoons vanilla bean paste or vanilla essence
- pinch salt flakes
Instructions
- Line a 25cm x 18cm (10 x 7 inch) slice tin with baking paper and set aside.
- Place the puffed rice into a large mixing bowl and set aside.
- In a small saucepan on low heat, stir together the tahini, honey, coconut oil, vanilla and a pinch of salt together until melted and combined. Remove from the heat.
- Pour the melted coconut oil mixture over the puffed rice, stirring with a spoon until combined.
- Firmly press the mixture into a lined slice tin and place into the fridge or freezer to set before slicing into individual bars.
Notes
- Rice Bubbles or Rice Krispies can be used in place of puffed rice, but if you need gluten-free bars, be sure to check the packaging and use a suitable alternative.
- Refined coconut oil – is used to hold the bars together. It works best when refrigerated and kept at cold temperatures. If you want a firmer, more solid bar or don’t like the taste of coconut, swap coconut oil for the same quantity of butter instead.
- Tahini – is a smooth paste made from sesame seeds. It adds a roundness to the bars and balances the sweetness of the honey, as well as adding extra nutrients. I recommend using hulled tahini, as it is milder in flavour than un-hulled. The tahini can be left out or swapped for sunflower seed butter if you need to avoid sesame products due to allergies.
- These bars use coconut oil to make them dairy free. You can also use regular, unsalted butter if you don’t require dairy-free bars, or vegan butter instead.
- Keep them cold. These bars need to be stored in the fridge to stay firm. Coconut oil will soften at room temperature and while the bars will hold together, they will become loose. If you want to use them in lunchboxes, I recommend wrapping them in paper and using an ice-pack to keep them cool.
- Don’t skip the chilling time in the fridge, the mixture needs to set before slicing.
- Make sure the slice is very firmly pressed into the tin so that everything holds together when set.
- You can make these into individual cups instead of bars. Just spoon the mixture into paper cases in a cupcake tray and set in the fridge.
- These bars can be frozen in an airtight container for up to 3 months. To thaw, remove them from the freezer and sit at room temp for 30 minutes. They can also be added to lunchboxes straight from the freezer.
- Storage; Keep them in the fridge in an airtight container for up to a week, or store them in the freezer for up to 3 months.
- Please note that the nutrition information is based on the slice being cut into 12 bars, with one slice being one bar. The nutritional information is an estimate only and does not take into account any additional toppings served with the pie.
- This recipe is made using Australian cups and spoon measurements. Due to cup sizes varying from country to country, I advise adjusting if necessary.
Nutrition
Update Notes: This recipe was originally published in July 2019, but was re-published with new information, helpful tips and photos in January 2022.
For more lunchbox inspiration, check out these recipes. For tips on time saving and bulk baking school lunches, see this post here.
Karen S says
Made today Excellent result and yummy
Andrea Geddes says
Hi Karen! I’m so happy to hear that you enjoyed these bars. Thanks for letting me know! Andrea 🙂
Raquel Henson says
Hi really want to make these, can you suggest an alternative to coconut oil
Andrea Geddes says
Hi Raquel! You could give them a try with butter instead. They’d hold together even better! I hope that helps! Andrea.