This is the best buttermilk fried chicken recipe you’ll try! Marinated in tangy buttermilk and dredged in a flour mixture seasoned with the perfect blend of herbs and spices, it’s juicy and succulent on the inside, with the most flavourful crunchy coating.
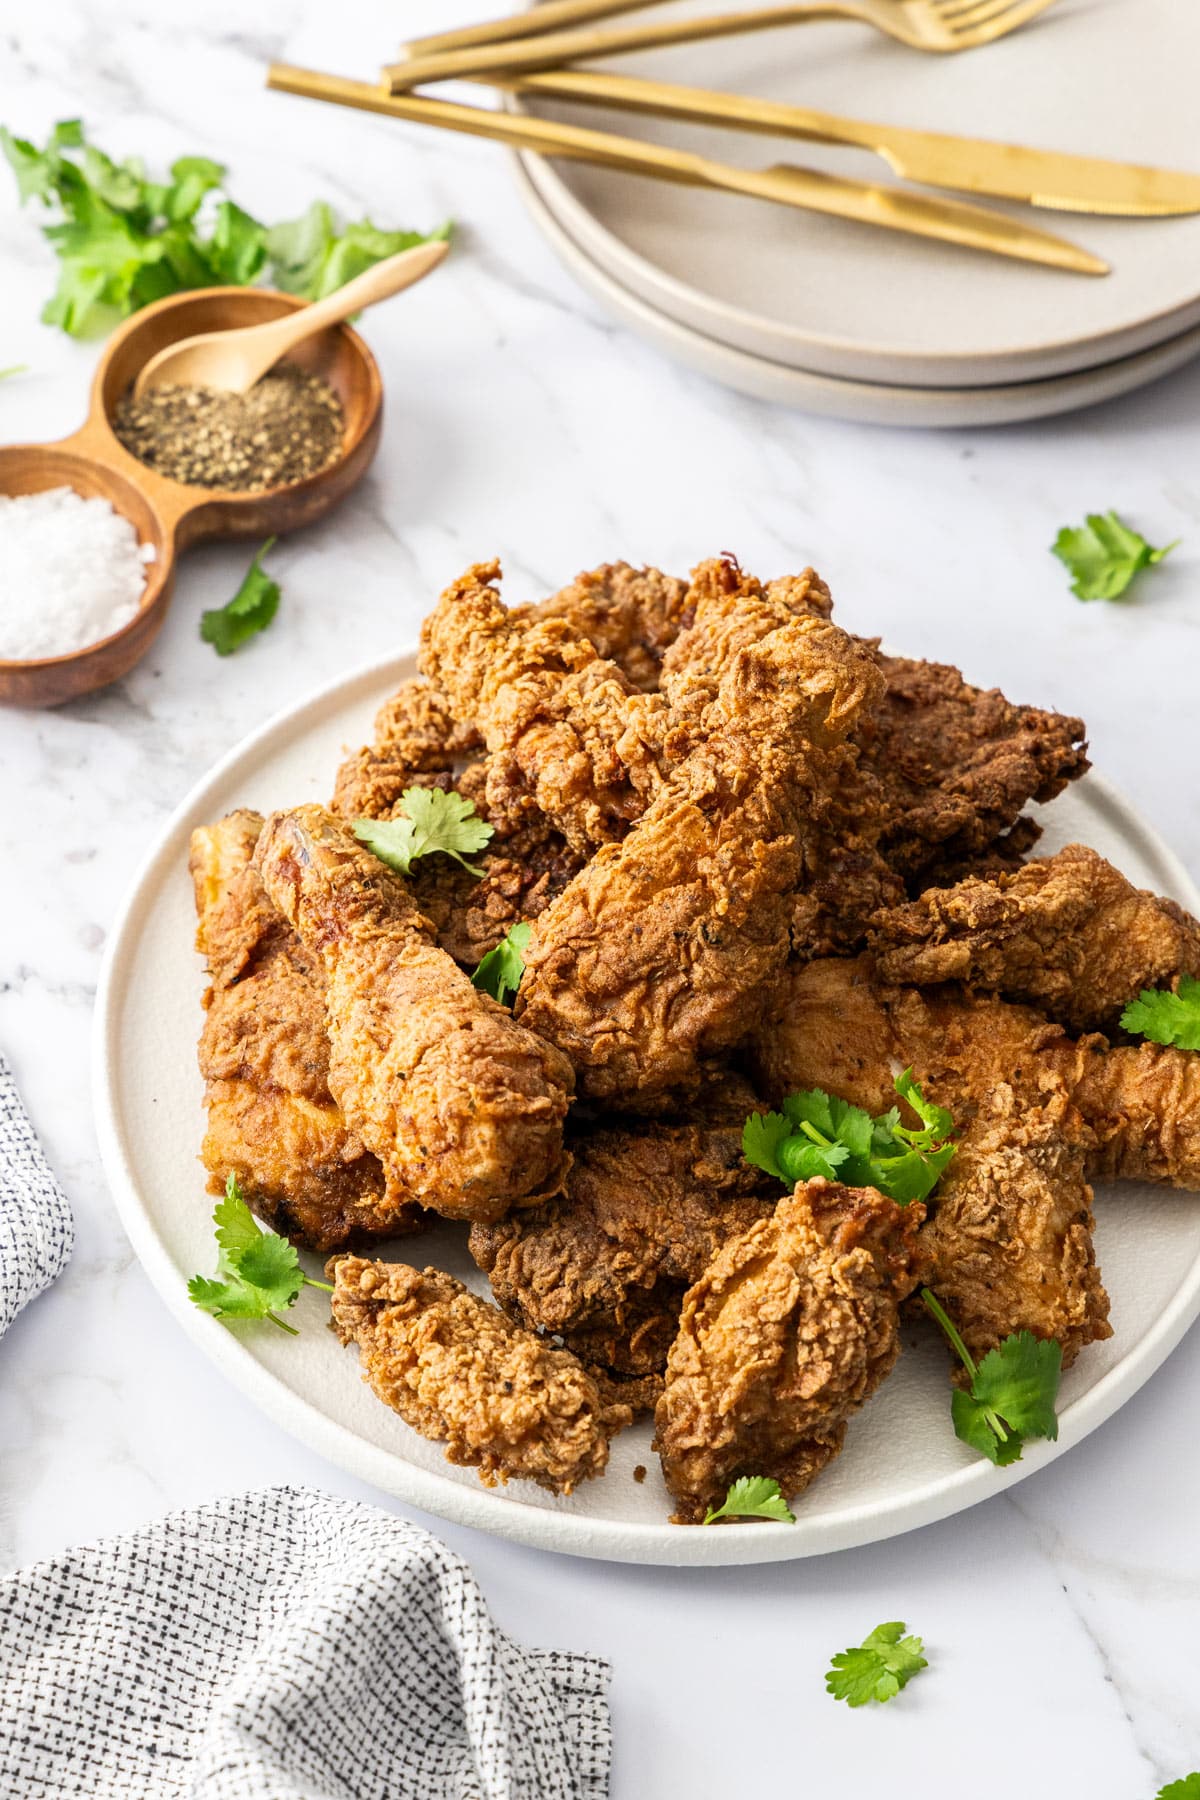
This is a long post, full of helpful tips and step-by-step photos to achieve perfect fried chicken, every time. It also contains tips for troubleshooting some common issues. If you are confident in making fried chicken or want to skip these tips and head straight to the recipe, hit the ‘jump to recipe’ button at the top of the post.
Why you’ll love this recipe
- Easy to make – with an easy, step-by-step guide and all the tips you need to make tender, juicy and ultra-crispy pieces of chicken, every time!
- Simple buttermilk marinade – the absolute key for the most tender, crispy fried chicken is to use a buttermilk marinade. It tenderises the chicken and injects a huge amount of flavour.
- Packed with flavour – the crunchy batter is loaded with a not-so-secret blend of herbs and spices and every piece is pan-fried to crispy, golden perfection.
- Better than takeaway – making your own copycat version of KFC is cheaper, less greasy and you know exactly what goes into it. Not to mention, it’s way more delicious!
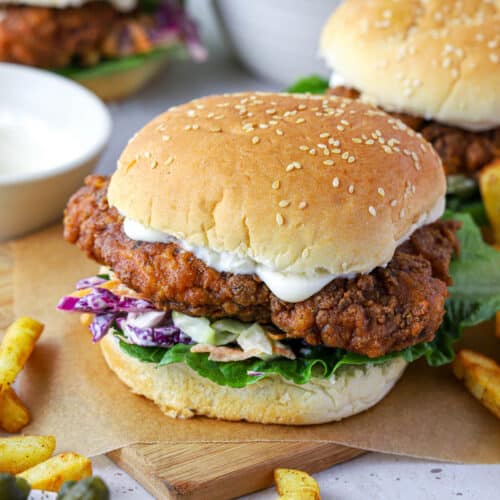
We serve this chicken with air fryer chips, pumpkin salad, potato salad or vegetables on the side. But it’s also delicious in a burger or tacos!
Ingredients you will need
** This post contains tips and instructions to achieve the best possible results. This photo is a great guide for when you are in the supermarket, but for full ingredient quantities and methods, please scroll down to the detailed recipe card below!
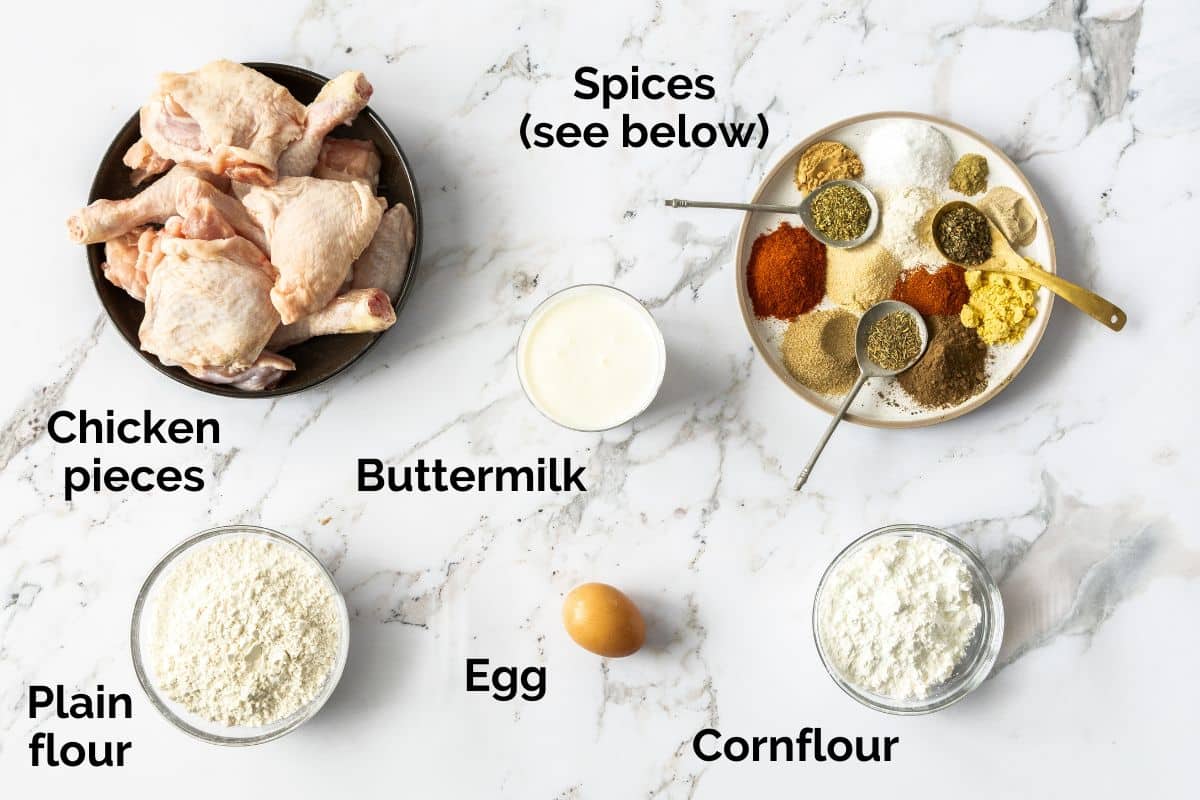
- Chicken – you can cut a whole chicken into parts for frying, or if you prefer dark or white pieces, you can buy the parts you love. Bone-in and skin-on pieces are recommended for best flavour and extra tender chicken, but boneless breast or thighs can also be used. I use a mixture of drumsticks and bone-in thighs. If you choose drumsticks or other bone-in pieces, keep them on the smaller side, to ensure they cook through in the middle without overcooking on the outside.
- Buttermilk – buttermilk is a key ingredient when making KFC-style fried chicken at home. Buttermilk is slightly acidic, which helps to tenderise the chicken by breaking down some of the proteins in the meat. It also sticks to the chicken, making a nice thick coating when you dredge it through the dry flour mixture. If you don’t have buttermilk, you can make your own by mixing 2 tablespoons of lemon juice or white vinegar to every one cup of regular, full-fat milk. Stir and leave to curdle for 10 minutes before using as normal.
- Egg – one large egg helps the coating to stick to the chicken.
- Plain flour – for the chicken breading mixture, plain (all-purpose) flour is seasoned with a blend of herbs and spices.
- Cornflour – cornflour (corn starch) is recommended for the crispiest fried chicken. A mixture of cornflour and plain flour yields the crispiest results.
- Oil – use an oil with a high smoke point, which means it can heat to high temperatures without starting to smoke. You also need a neutral-tasting oil, so the flavour of the chicken is not altered. I recommend canola, vegetable or sunflower oil.
Herbs and spices;
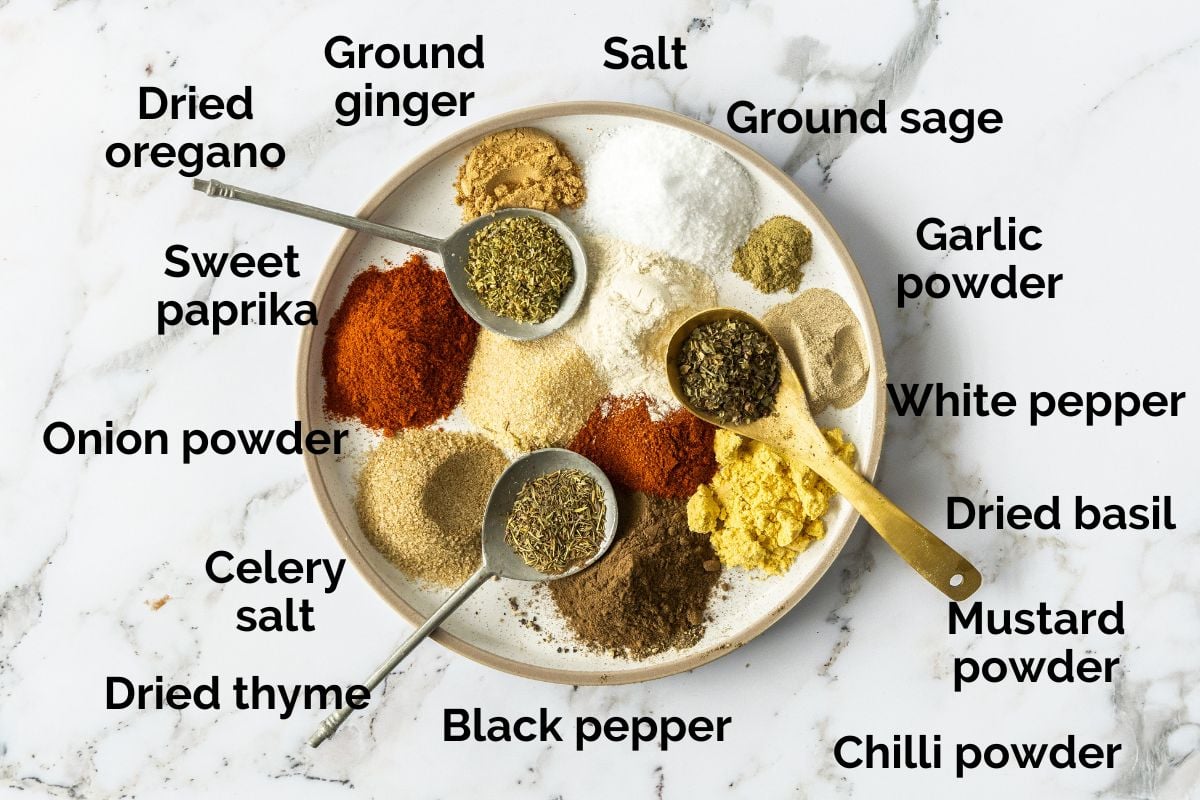
The full list of herbs and spices can be found in the recipe card below.
The list of spices is long, but each one plays an important role in balancing the flavours of the chicken coating. All are easy to find and can be stored in the pantry for later use.
- Paprika – use sweet Hungarian paprika, not hot or smoked paprika.
- Mustard powder – yellow mustard powder, found in the spice section in most supermarkets.
- Chilli powder – this ingredient is optional. A small amount of chilli powder adds flavour without overpowering the other spices. Adjust the quantities if your chilli powder is extra hot, or omit it entirely if preferred.
- Pepper – ground black and white pepper is used to season the flour mixture. The quantities seem like a lot, but are important for the flavour and won’t make the chicken spicy or too peppery.
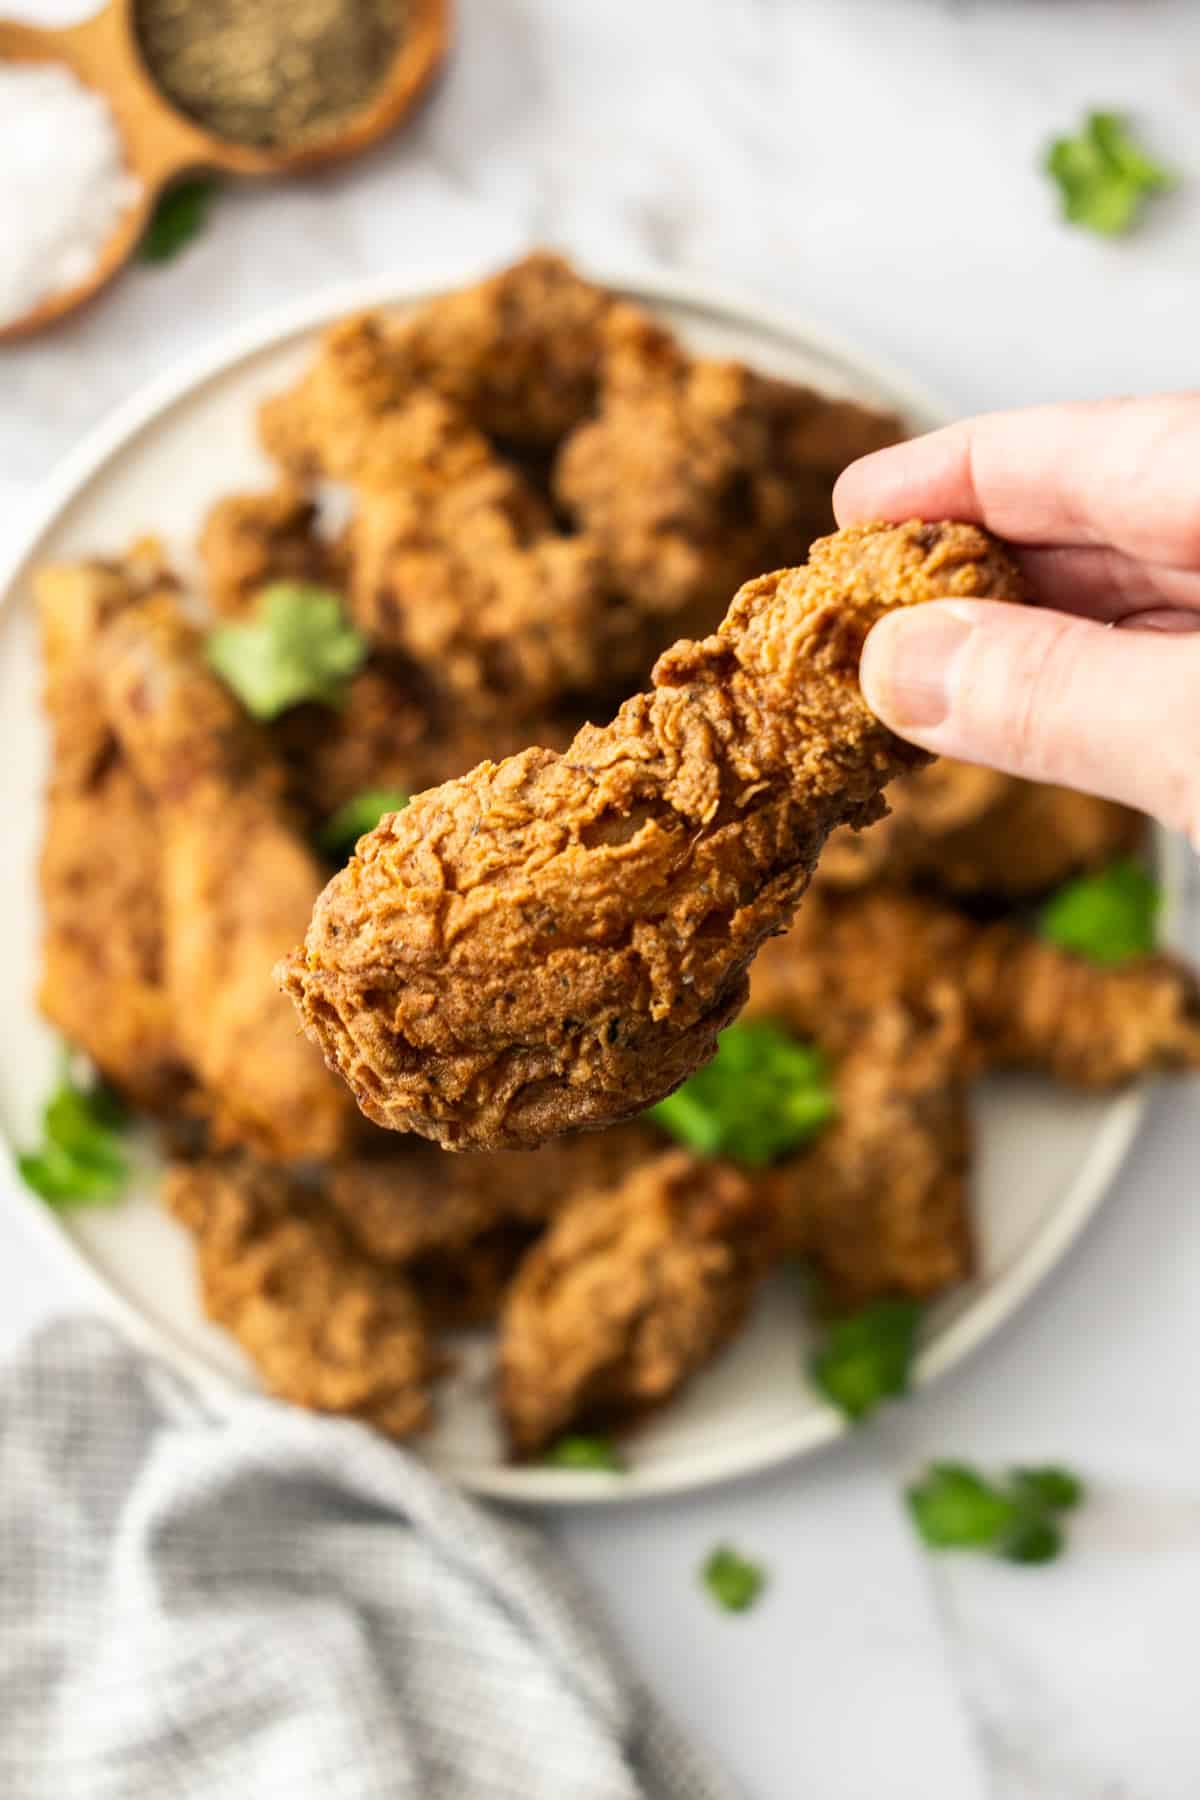
Step by step instructions
Full ingredient notes and quantities can be found in the detailed recipe card below. But here is a brief overview of what you can expect;
Equipment needed;
A wok, deep skillet or Dutch oven is recommended for frying. The higher the sides of the pan, the easier it is to retain the temperature of the oil and prevent hot oil from spattering.
A baking tray and wire rack are useful for draining the finished chicken and keeping it warm in the oven. Paper towels or baking paper can cause the chicken to steam and become soggy.
A cooking thermometer is useful to test the temperature of the oil in the pan. It needs to be heated to 180°C to start, and maintained between 150-160°C while the chicken is frying. If you don’t have a candy/cooking thermometer, you can place a wooden spoon into the hot oil. If bubbles form around the handle and start to float up, the oil is ready.
Step 1 – Buttermilk brine;
The buttermilk marinade is easy to make and ensures that the chicken is juicy and flavourful from inside out.
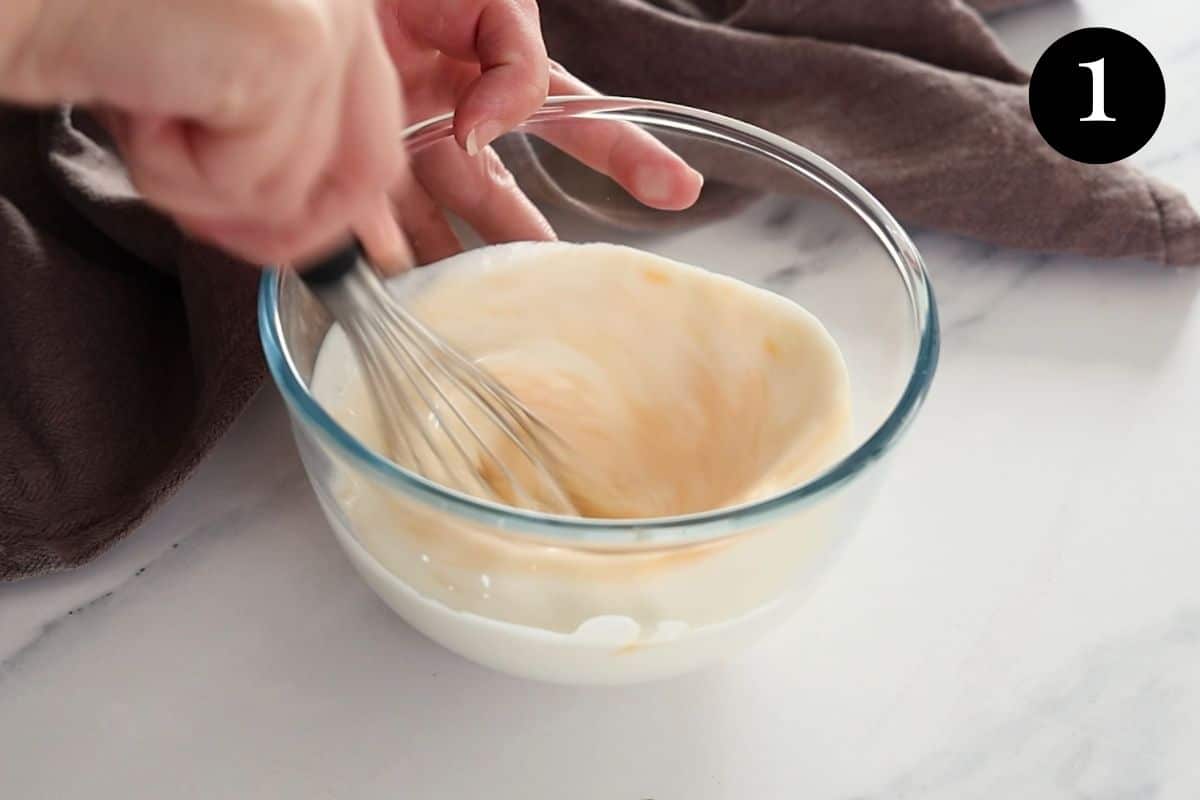
1. Mix the buttermilk and beaten egg together.
2. Combine the chicken pieces in a large bowl with the paprika, salt and pepper.
3. Pour the buttermilk and egg mixture over the top and stir until the chicken is well coated.
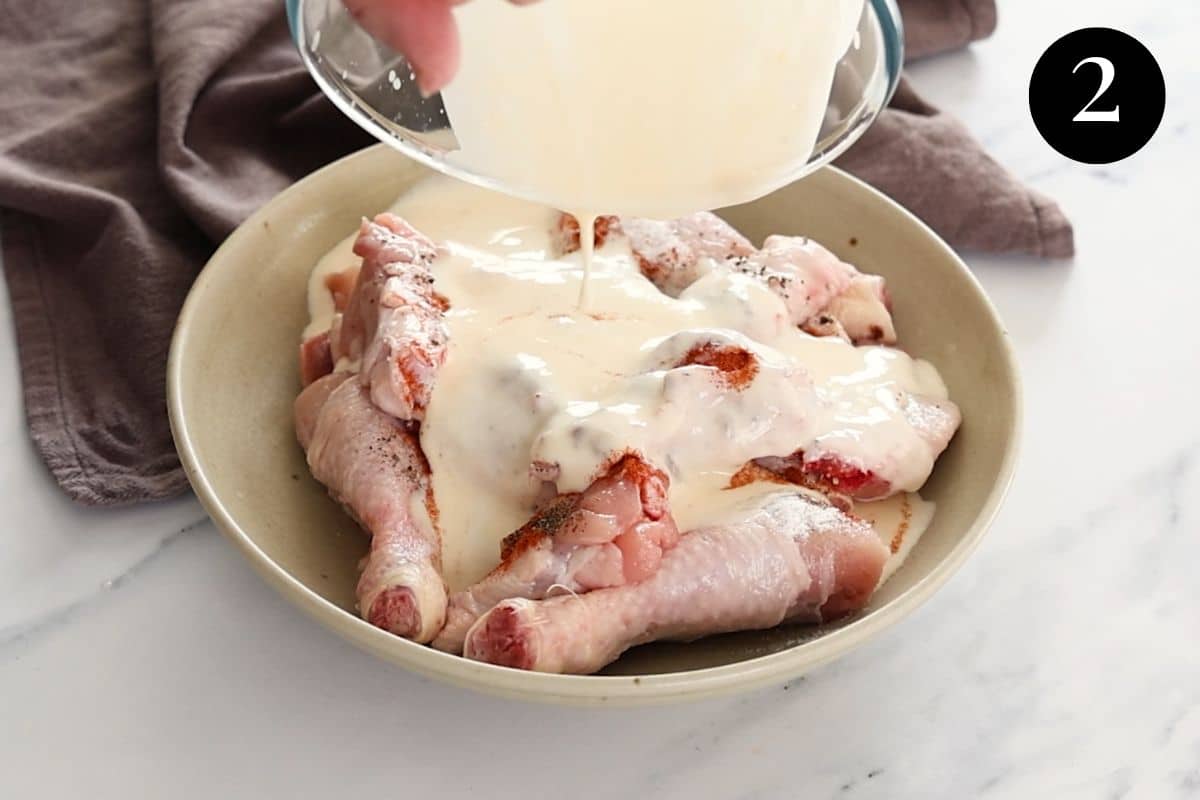
4. Refrigerate – cover and allow the chicken to soak in the buttermilk brine in the refrigerator overnight.
The chicken needs to be soaked for a minimum of 4 hours, up to 24 hours (overnight is best). Soaking it for less than 4 hours just won’t give you the same results.
Step 2 – Coat the chicken;
When you are ready to cook, remove the marinated chicken from the fridge and set aside at room temperature for 15-30 minutes while you prepare the coating and frying stations. Resting the chicken at room temperature will help to lower the temperature of the meat, helping it to cook more evenly.
1. Whisk the flour, cornflour, herbs and spices together in a bowl.
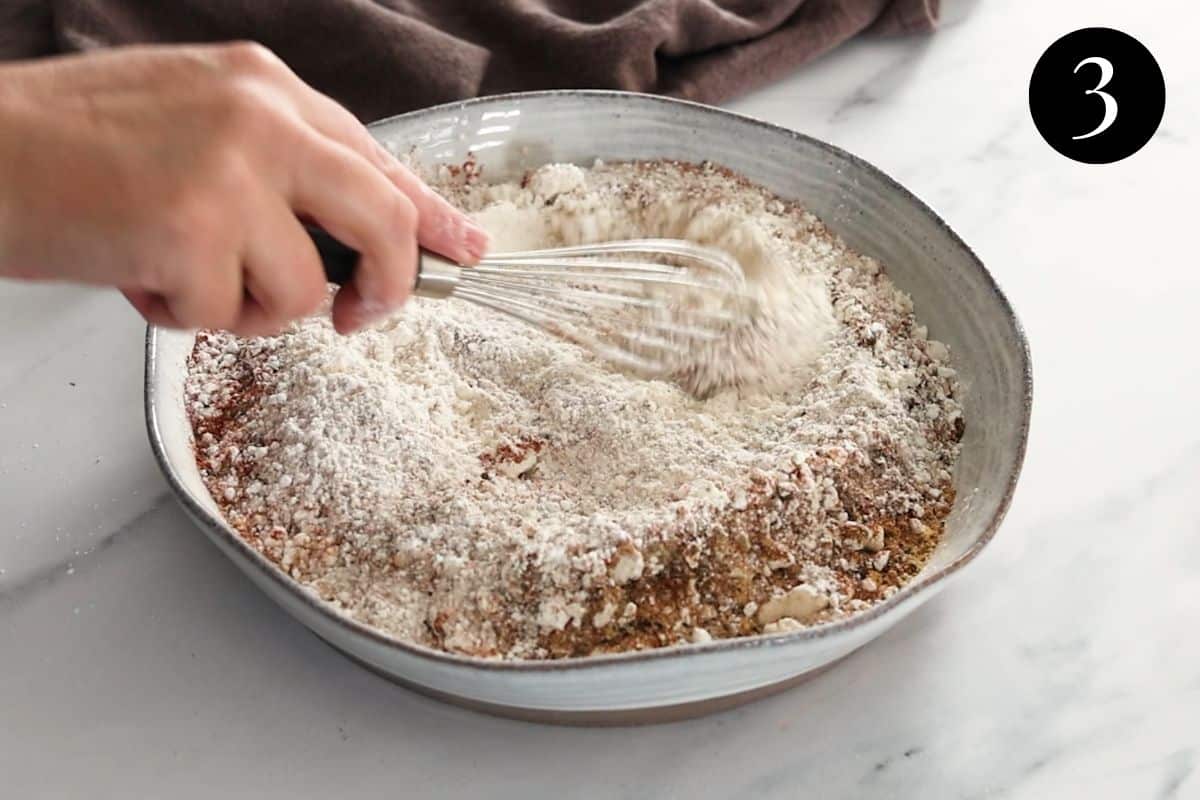
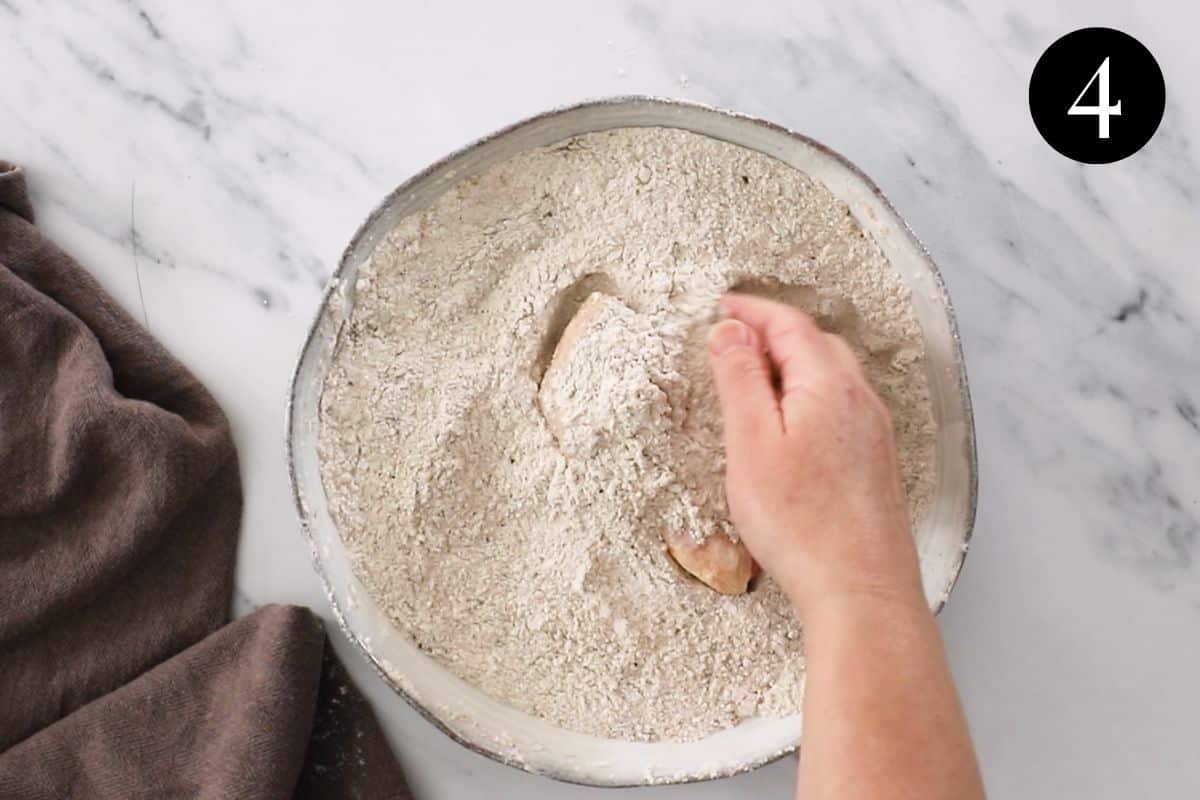
2. Coat the chicken pieces, one at a time, in the dry flour mixture. Gently shake off any excess buttermilk from the chicken before coating.
Step 3 – Fry the chicken;
1. Fry the chicken pieces in the hot oil, 3-4 pieces at a time so as not to overcrowd the pan. Cook the chicken until it is golden brown on all sides and cooked through in the middle.
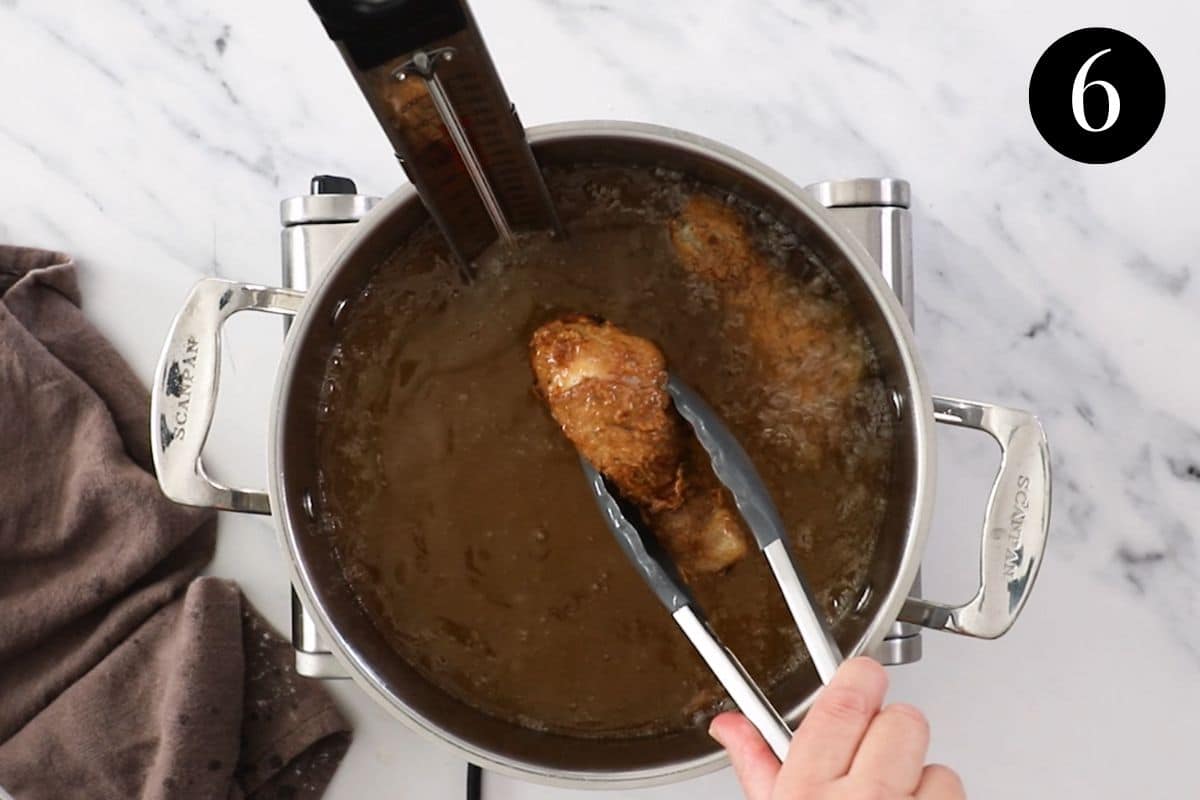
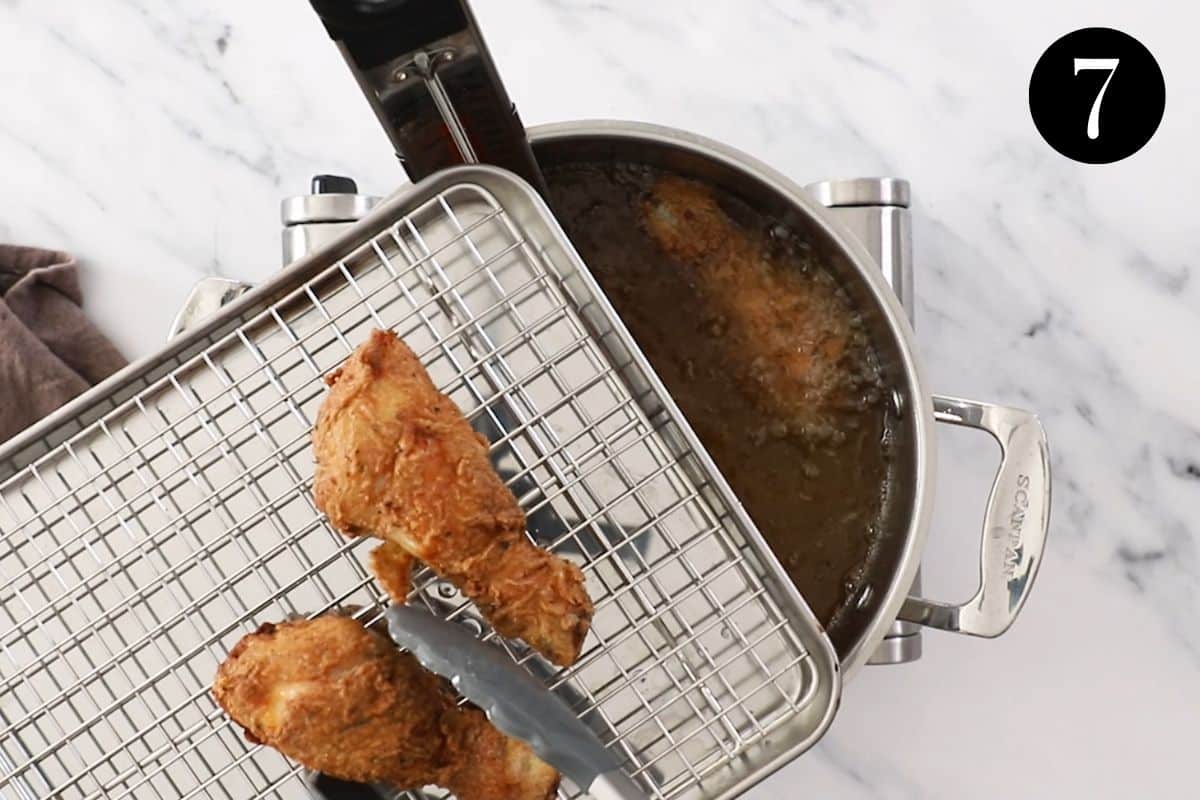
2. Place the finished chicken pieces on a wire rack, resting over an oven tray and keep in a warm oven while you continue to cook the other batches.
How long to cook fried chicken
Cooking times will vary, depending on the size of the chicken pieces used and the temperature of the oil.
Below is a rough guide for various cuts of chicken. The cooking times specified are based on the temperature of the oil being 180°C (356 F) when the chicken pieces are added. When the chicken pieces enter the oil, the temperature will drop to 150-160°C. You will need to adjust the heat as needed to maintain a temperature of 150-160°C while the chicken is cooking.
Use these cooking times as a guide only. The chicken should be cooked until the coating is golden brown and the internal temperature is 75°C (167 F) at the thickest part.
Cooking times;
Small/medium drumsticks (80-120 grams) = 8 minutes
Wings and smaller drumettes = 5-6 minutes
Larger drumsticks and thighs (bone-in) = 12-14 minutes
Chicken breast = 6-8 minutes, or until internal temperature reaches 65°C
Thighs (bone out) = 8 minutes
Any larger pieces will need to be finished in the oven or cooked until the coating is dark golden, to ensure they are cooked through in the middle. For a lighter coating, they can be cooked until light-golden and crisp (around 8 minutes, turning halfway), and then finished in the oven on a wire rack over a baking tray at 200°C, until cooked through (around 10 minutes).
For accuracy, the oil should return to 180°C before each new batch of chicken is added and try to maintain a temperature of 150-160°C as it cooks.
Expert tips
- Don’t skip the soaking time! Marinate the chicken in the buttermilk brine overnight, where possible. The longer you leave it, the more tender and flavourful the chicken will be.
- The dry flour mixture can be made ahead and stored in an airtight container in the pantry, to save time. It can also be made in larger quantities.
- Use a wire rack to drain the chicken, rather than paper towel or baking paper. Resting the chicken on paper towel will cause it to steam and become soggy.
- Cook in batches so that the pan is not overcrowded. Overcrowding the pan can cause the coating to fall off the chicken. And the meat may cook unevenly.
- Use small pieces of chicken. Smaller pieces of chicken (small-medium drumsticks, bone-in thighs) are recommended. Large pieces take longer to cook, which means the coating can burn before the chicken has cooked through. If using larger pieces, fry them until golden-brown and then allow them to finish cooking through in the oven.
- For spicy chicken, add some hot sauce or sriracha sauce to the buttermilk marinade and add extra chilli powder to the coating, to taste.
- Use a thermometer for the oil. This will give you a more accurate temperature reading, resulting in perfectly crispy and evenly cooked chicken. If the oil is too hot, the chicken will burn on the outside and will be raw in the middle.
- The safe internal temperature of cooked chicken is 75°C (167 F). The chicken will continue to cook through as it rests, so take this into account. If you don’t have a thermometer, the chicken is cooked through when the batter is golden and the chicken is white with no translucent pink flesh. The juices from the chicken should run clear.
FAQs
One of the challenges when making fried chicken is that the crunchy coating can slide off the chicken before it is ready. You can avoid this by following a few simple steps;
1. Don’t crowd the pan; once the chicken has been coated in the breading mixture, place it into the hot oil with plenty of space between each piece (I recommend cooking in batches of 3-4 pieces at a time). If the pieces are touching and bumping together, the coating is more likely to fall off.
2. Maintain the correct oil temperature; to begin, heat the oil to 180°C. When the cold chicken pieces are added to the hot oil, the temperature of the oil will initially drop. Bring the oil to 150-160°C and maintain this temperature throughout the frying process.
3. Hands off! While frying, avoid handling the chicken pieces too much. The more you move or handle the pieces with tongs, the more likely the coating will fall off. The chicken should be completely covered in the oil while frying and should only need to be flipped once.
Fried chicken is best eaten when it is freshly cooked and the skin is still crispy. However, leftovers will keep in the fridge for 2-3 days and can be eaten cold, or reheated.
When reheating fried chicken, the coating will not be as crispy. For best results, reheat in an oven at 160°C for 10 minutes, or until heated through. Alternatively, heat in an air fryer at 160°C for around 5 minutes.
Carefully place the end of a wooden spoon into the hot oil. If bubbles form around the handle and start to float to the top, the oil is ready. If the oil bubbles too aggressively, it’s too hot. And if only a few bubbles form but don’t fizz, it’s not ready yet.
If this occurs, the oil is too hot. Reduce the heat and try again.
Related recipes
Tried this recipe? Please leave a star ⭐⭐⭐⭐⭐ rating or leave a review below and let you know how you went!
Hungry for more? Subscribe to my newsletter and follow along on Facebook, Instagram and Pinterest for the latest recipes and news.
Buttermilk Fried Chicken
Ingredients
- 1.2 kilograms chicken pieces small drumsticks (80-120 grams), wings, mini drumettes, bone-in thigh or breast fillets or chicken tender strips.
For the buttermilk mixture
- 1 teaspoon salt regular table salt
- ½ teaspoon ground black pepper
- 1 teaspoon sweet paprika sweet Hungarian paprika
- 1 ¼ cup buttermilk
- 1 egg lightly beaten
For the chicken coating
- 1 ½ cups plain flour
- ¾ cup cornflour cornstarch
- 2-3 teaspoons salt or to taste
- 1 teaspoon dried thyme
- 1 teaspoon dried basil leaves
- 1 teaspoon dried oregano
- ¼ teaspoon ground sage
- 2 teaspoons celery salt
- 3 teaspoons ground black pepper
- 1 teaspoon ground white pepper
- 2 teaspoon mustard powder
- 3 teaspoons sweet paprika Hungarian sweet paprika, not hot or smoked paprika
- 3 teaspoons garlic powder
- 1 teaspoon ground ginger
- 1 teaspoon chilli powder or more or less, to taste
- 3 teaspoons onion powder
To cook
- 1.5 – 2 litres canola oil or vegetable oil, for frying
Instructions
Soak the chicken
- In a small bowl, whisk the buttermilk and beaten egg together.
- Place the chicken pieces in a large bowl and add the paprika, salt and pepper. Stir to combine. Cover the chicken pieces with the buttermilk mixture, stir, cover and allow to soak in the refrigerator overnight (12-24 hours is best).
Preparation
- Once the chicken has soaked and you are preparing to cook, remove the chicken from the fridge and set aside at room temperature for at least 15 minutes (up to 30 minutes) while you set up the coating, oil and frying stations. Resting the chicken at room temperature will help to lower the temperature of the cold chicken, helping it to cook through faster.
- Pre-heat oven to 80°C/176 F. This is to keep the cooked chicken warm, as you will need to cook in batches.
- Prepare a large wire rack by placing a baking tray underneath (to drain and rest the cooked chicken). The tray will catch any stray drops of excess oil.
To coat
- Place the flour, cornflour and chicken coating ingredients into a large bowl and whisk to combine.
- Working one at a time, remove the chicken pieces from the buttermilk mixture and tap/shake gently to remove the excess buttermilk.
- Place the chicken pieces (one at a time) into the dry flour mixture and coat thoroughly. Gently tap off the excess flour. *Only coat the pieces that are going into the oil, and continue to coat them as you cook in batches.
To cook
- Place the oil into a large wok, Dutch oven or suitable pan with high sides. The oil should be deep enough to cover the chicken pieces completely. Attach a candy or oil thermometer and heat the oil to 180C/350 F. Adjust the heat as needed to keep a temperature of 180℃.
- Carefully place the coated chicken pieces (3-4 pieces at a time) into the hot oil. When the chicken enters the oil, the temperature will drop to around 150-160°C. Adjust the heat to keep the temperature between 150-160C while the chicken is cooking.
- Fry the chicken, using tongs to turn halfway, until golden brown with an internal temperature of 75°C (167°F) at the thickest part. Cooking times (guide only, make sure the internal temp is 75°C):Small/medium drumsticks (80-120 grams) = 8 minutes Wings and smaller drumettes = 5-6 minutesLarger drumsticks/thighs (bone-in) = 12-14 minutes Breast = 6 – 8 minutes, or until internal temp 65°CThighs (bone out) = 8 minutes** If you are cooking with larger pieces, they will need to be finished in the oven, or cooked until dark golden to ensure they are cooked through in the middle. They can be cooked until light golden and crisp (around 8 minutes, turning halfway), and then finished in the oven on a wire rack over a baking tray at 200°C until cooked through (around 10 minutes).
- Make sure the oil comes back to 180°C before each new batch of chicken is added and try to maintain a temperature of 150-160°C as it cooks.
- Once each batch is cooked, place it on the prepared wire rack sitting over a baking tray and place in the oven at 80°C to keep warm and rest until all batches are cooked.
- Serve hot with your favourite sides.
Video
Notes
- Chicken – you can cut a whole chicken into parts for frying, or if you prefer dark or white pieces, you can buy the parts you love. Bone-in and skin-on pieces are recommended for extra tender chicken, but boneless breast or thighs can also be used. I use a mixture of drumsticks and bone-in thighs. If you choose drumsticks or other bone-in pieces, keep them on the smaller side to ensure they cook through in the middle without burning the coating.
- Buttermilk – buttermilk is a key ingredient when making KFC-style fried chicken. Buttermilk is slightly acidic, which helps to tenderise the chicken by breaking down some of the proteins in the meat. It also sticks to the chicken, making a nice thick coating when you dredge it through the dry flour mixture. It also adds flavour and keeps the chicken tender when you fry it. If you don’t have buttermilk, you can make your own by mixing 2 tablespoons of lemon juice or white vinegar to every one cup of regular, full-fat milk.
- Use sweet Hungarian paprika, not hot or smoked.
- Don’t skip the soaking time! Marinate the chicken in the buttermilk brine overnight, where possible. The longer you leave it, the more tender and flavourful the chicken will be.
- The dry flour mixture can be made ahead and stored in an airtight container in the pantry, to save time.
- Use a wire rack to drain the chicken, rather than paper towel or baking paper. Resting the chicken on paper towel will cause it to sweat and become soggy.
- Cook in batches so that the pan is not overcrowded. Overcrowding the pan can cause the coating to fall from the chicken and the meat to cook unevenly.
- Use small pieces of chicken. Smaller pieces (small-medium drumsticks, bone-in thighs) are recommended. Large pieces take longer to cook, which means the coating can burn before the chicken has cooked through. If using larger pieces, fry them until golden-brown and then allow them to finish cooking in the oven.
- For spicy chicken, add some hot sauce or sriracha sauce to the buttermilk marinade and add extra chilli powder to the coating, to taste.
- Use a thermometer for the oil. This will give you a more accurate temperature reading, resulting in perfectly crispy and evenly cooked chicken. If the oil is too hot, the chicken will burn on the outside and will be raw in the middle.
- The safe internal temperature of cooked chicken is 75C (167F). The chicken will continue to cook through as it rests, so take this into account. If you don’t have a thermometer, the chicken is cooked through when the batter is golden and the chicken is white with no pink flesh and clear juices.
- Fried chicken is best when it is freshly cooked and the skin is still crispy. Leftovers will keep in the fridge for 2-3 days and can be eaten cold, or reheated. When reheated, the skin will not be as crispy. For best results, reheat leftover fried chicken pieces in an oven at 160C for 10 minutes, or until heated through. Alternatively, heat in an air fryer at 160C for around 5 minutes.
- The nutrition information is based on using 12 chicken pieces, with one piece being one serve. The nutritional information is an estimate only and does not take into account any additional toppings or sides served with the chicken.
- This recipe is made using Australian cups and spoon measurements. Due to cup sizes varying from country to country, I advise adjusting if necessary.
Nutrition
Are you following us on Facebook, Instagram and Pinterest?
Update Notes: This recipe was originally published in February 2019, but was re-published with new information and photos in July 2023.


Marie says
Love this recipe! The seasoning is perfect, the chicken is so juicy and the whole family devoured it in record speed!
Andrea Geddes says
Hi Marie! I am SO happy to hear that you and your family enjoyed the chicken. It’s a family favourite of ours too! Thanks so much for leaving a comment to let me know! Andrea 🙂