Store bought lemon butter spread is not even close to being as good as homemade! This additive free, from-scratch lemon spread is incredibly creamy, tart and sweet. And you only need 4 ingredients and about 20 minutes to make it! Lemon butter is perfect for spreading on toast, scones, cakes, pancakes and more. It also makes the perfect gift in pretty jars.
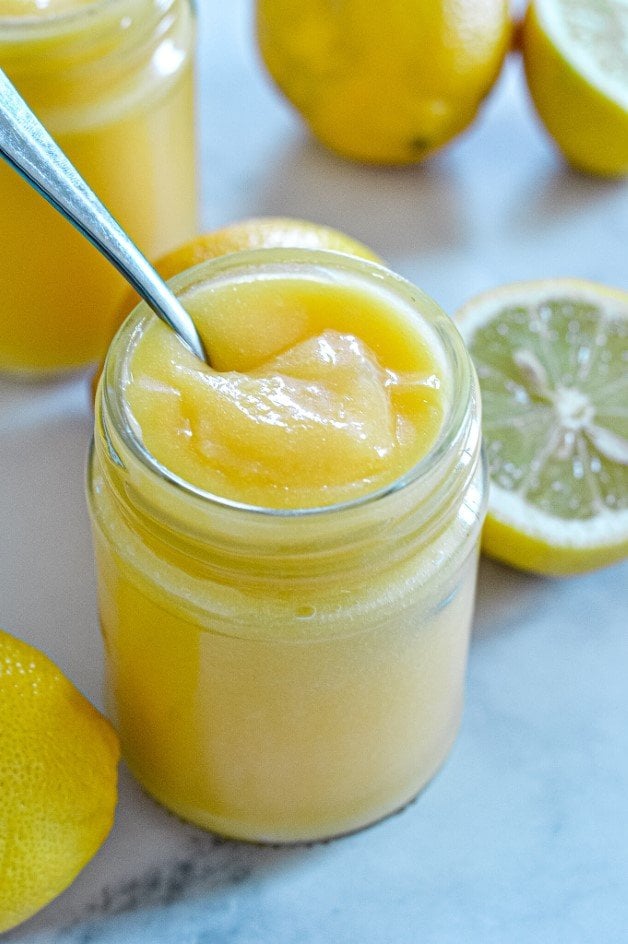
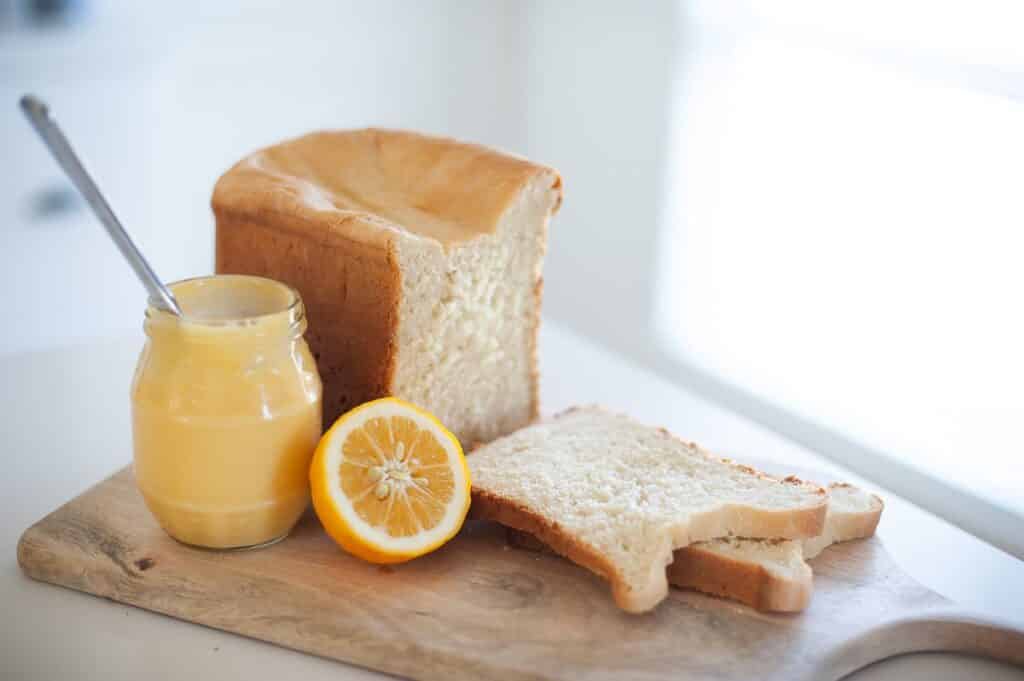
This lemon spread (lemon butter or curd) is like a little jar of sunshine! With a golden yellow colour and sweet/tart tang, this deliciously creamy spread is perfect for desserts and baking. Or, just slathering over a piece of hot toast or freshly made bread!
Recipe features
- Quick and easy – you’ll only need a bowl, a whisk and a pot and a little over 20 minutes.
- Pantry friendly – this recipe contains only four ingredients- all of them pantry and fridge staples!
- No additives – skip the preservatives and additives found in store bought spreads and try this homemade recipe instead.
What you’ll need

- Lemons – use real, fresh lemons. Store bought lemon juice can be used, but the flavour won’t be the same.
- Eggs – the eggs thicken the lemon butter, just like they would thicken a custard.
- Sugar – to balance the tart lemon flavour.
- Butter – use real butter. The butter makes this spread super creamy and also provides structure to the lemon butter, once cooled.
Step by step instructions
Here is how you make homemade lemon spread. The full recipe and instructions can be found below.
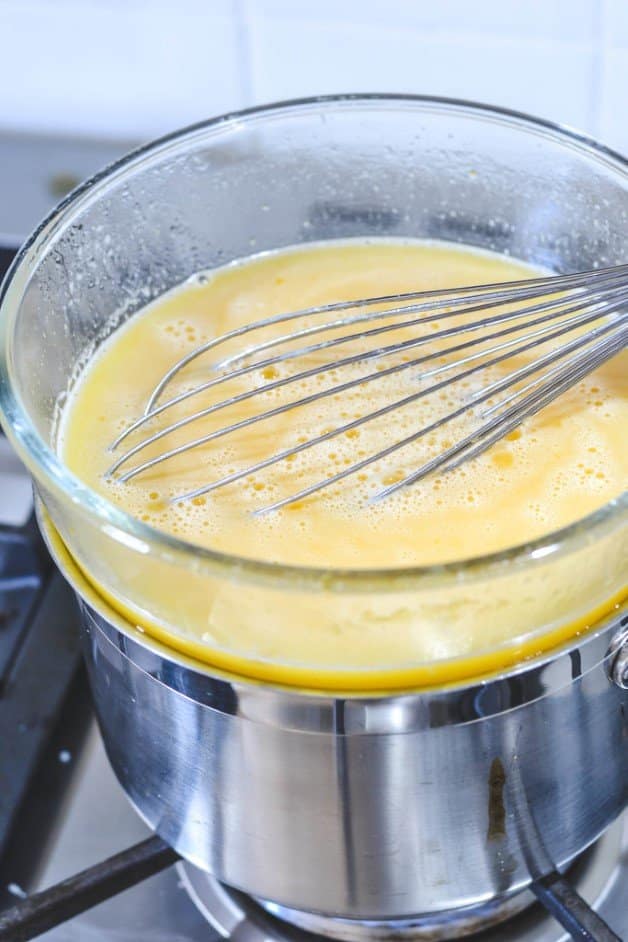
- Place the eggs and sugar together in a glass or other heat-proof bowl and whisk until combined.
- Carefully place the bowl over a pot of gently simmering water. Making sure the bottom of the bowl does not touch the top of the water, whisk in the lemon juice until completely combined.
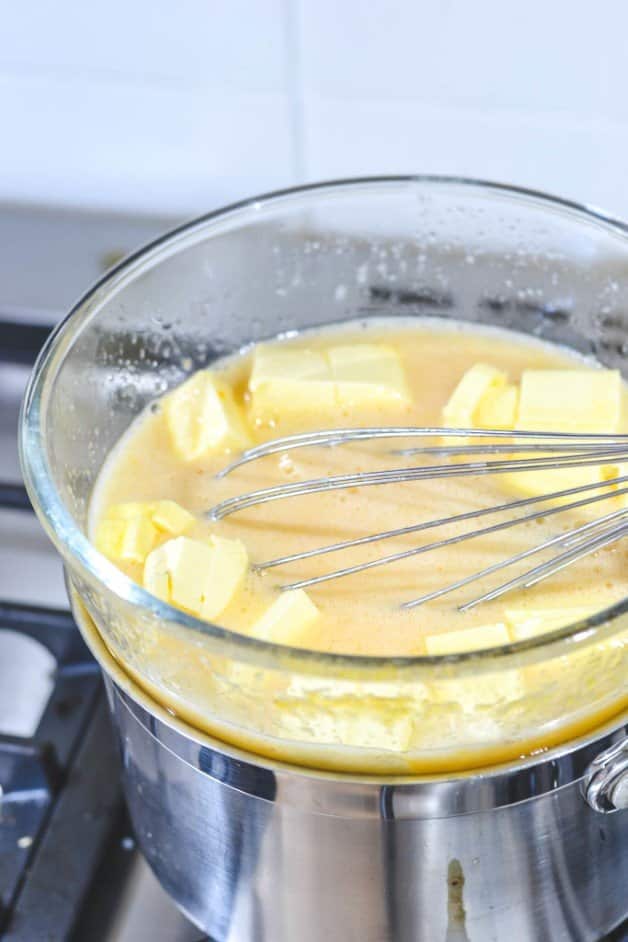
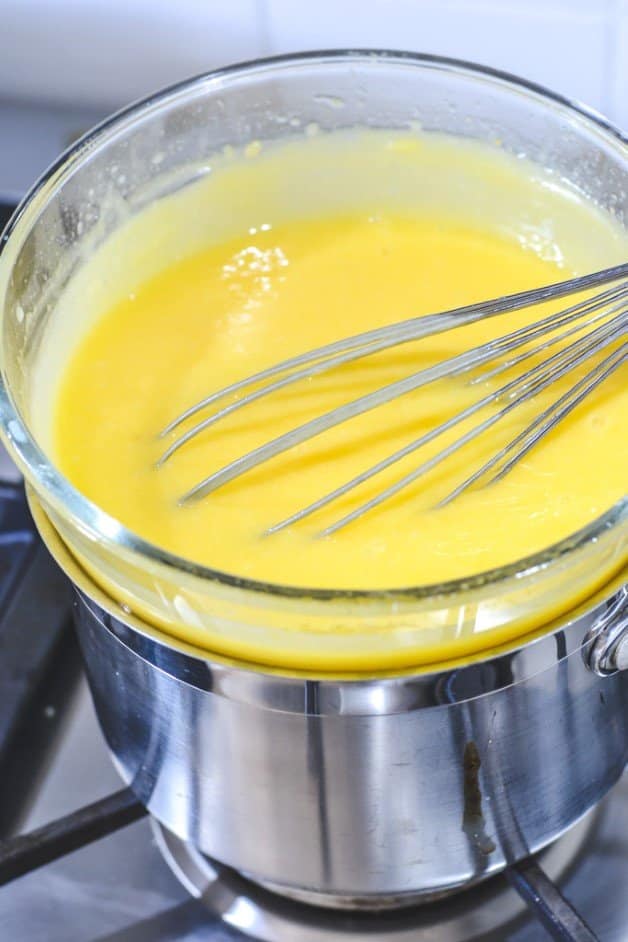
- While continually whisking, add the butter. As the lemon butter cooks, the butter will melt and incorporate into the mixture. Keep whisking over heat for around 10 minutes, or until the lemon butter thickens to a honey-like consistency.
- Remove from the heat and place the hot lemon butter into clean, sterilised jars. This recipe makes around 3 x 260 gram jars and can easily be doubled for gifting.
Note: Lemon spread should not be made over direct heat. I highly recommend using a double-boiler (or a bowl sitting over a saucepan of boiling water) to cook this recipe. Mixing the ingredients in a pan over direct heat can lead to the curd catching in the bottom of the pan and burning. Separating the curd from any contact with a pan allows it to cook slowly and consistently.
FAQs
How long does lemon butter last?
When sealed correctly in a sterilised jar, this lemon spread can keep in the fridge for two months. Once opened, store in the fridge and consume within 1-2 weeks.
How can I use lemon butter?
Lemon butter spread has so many uses! It can be used as a filling for tarts and pies, a replacement for jam on pancakes, toast, bread and scones or a filling in lemon curd cupcakes. It can also be used as a topping for pavlova or cakes or a filling in trifle and more! And if you have no self control like me, it’s pretty amazing eaten with a spoon, straight from the jar.
How to thicken lemon curd?
Lemon curd will start to thicken as it cooks. The eggs act as a thickening agent as it heats (this will take around 15-20 minutes, maybe a little longer) and it will continue to thicken further as it cools, due to the butter content.
Which lemons are best?
I personally prefer Meyer lemons, for their intense, sweet flavour and juice content. But any type of lemon will work!
How to sterilise jars
To keep the lemon spread fresh and hygienic, add the hot mixture to sterilised jars immediately after cooking. To seal the jars, twist the lids in place and turn them upside down until the mixture has cooled. Turning them upside down with hot contents should cause the lids to create a seal.
You can sterilise most jars, as long as the seals in the lid are intact. To sterilise jars, place clean, dry jars in an oven at 120 °C for 20 minutes, or place them in a sterilising solution like Miltons, before allowing to air dry. This process can be used for any other spreads, sauces and chutneys.
Related recipes
If you love all things lemon, you’ll want to try these recipes too!
- Lemon curd slice
- Amazing lemon meringue cupcakes (these lemon curd cupcakes use this recipe for the filling!)
- Homemade lemon meringue pie
- Lemon syrup cake
If you try this homemade lemon spread recipe, I’d love to hear about it! Feel free to leave a comment or review below, or send me a message. For more food inspiration, tips and to share your own recipes and creations, head over to my Facebook Recipe Group.
Homemade Lemon Spread
Ingredients
- 6 large whole eggs lightly beaten
- 1 ½ cups sugar
- 190 grams butter cut into cubes
- ¾ cup lemon juice around 4-5 fresh lemons
Instructions
- Prepare a medium saucepan with shallow water and place over low heat until gently simmering.
- In a large, heat-proof bowl, whisk the eggs and sugar together until combined.
- Carefully place the bowl over the top of the saucepan, so that it sits snugly over the top without allowing steam to escape from underneath the bowl. The bottom of the bowl should not touch the water.
- While over low heat, carefully whisk the lemon juice into the egg mixture and continue to whisk.
- Add the cubes of butter and continue to whisk the mixture until the butter melts and the mixture becomes smooth and thickens to a custard-like consistency. This will take around 15-20 minutes, maybe a little longer depending on your stove and pot/bowl setup.
- Once cooked, remove the lemon curd from the heat and transfer to sterilised glass jars to cool. The lemon curd will continue to thicken as it cools.
Notes
- The lemon butter should not be made directly in a saucepan, or it will catch (and possibly burn) on the bottom as it cooks. It should be made in a double-boiler set up. This will require a medium saucepan and a heat-proof bowl (I use a glass or stainless steel mixing bowl) that will fit snugly over the top of the saucepan (to prevent steam from escaping out from underneath the bowl). Importantly, the bottom of the bowl should not touch the water. Using a double-boiler will allow the lemon butter to cook slowly and consistently.
- For best results, use fresh eggs, fresh lemons (rather than bottled lemon juice) and good quality butter.
- Cook it over low heat to avoid lumps. If there are some lumps or pieces of egg visible at the end, the curd can be strained before adding to jars.
- This recipe requires patience, as it can take up to 15-20 minutes to thicken and it needs to be continually whisked over heat as it cooks.
- Keep whisking! The curd needs to be whisked continually until it thickens, or it may catch at the bottom of the bowl or become lumpy. We want smooth, creamy lemon butter and the key is to keep stirring!
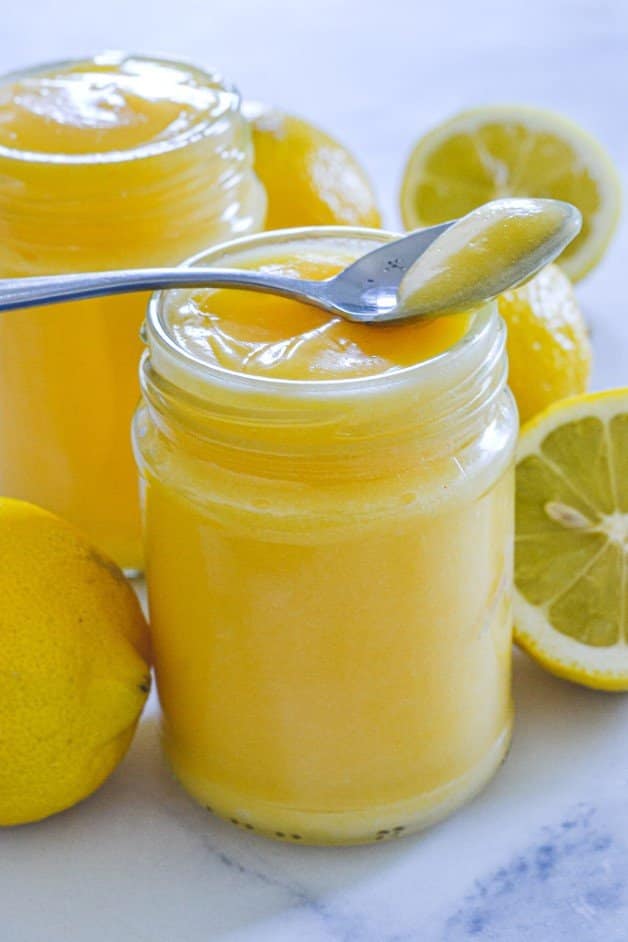
- When is it ready? The lemon butter should have a custard-like consistency before you remove it from the heat. Dip a spoon into the lemon butter and then run your finger along the back of it. If it leaves a clean line in the curd, it is cooked and ready to add to jars. Due to its butter content, it will continue to thicken as it cools.
- Take care while handling the bowl over the heat, as the it will get hot. Use a hand towel or oven-mitt if needed.
- To keep the spread fresh and sterile, it should be added to sterilised jars immediately after cooking. Add the hot spread to ready-prepared jars and twist the lids in place. Turn the jars upside down to seal the jars and leave this way until cooled.
- To sterilise jars; most jars can be sterilised, as long as the seals in the lid are intact. Place clean, dry jars (NOT the lids) in an oven at 120 C for 20 minutes, or use a sterilising solution like Miltons’.
- Storage; when sealed correctly in a sterilised jar, this lemon spread will keep in the fridge for around 2 months. If it is just in an airtight container it will keep for around 4 weeks. Once opened, it should be consumed within 1-2 weeks.
- Freezing; place it into freezer-safe bags or containers and freeze for up to 12 months.
- What if it doesn’t thicken? If your lemon spread hasn’t thickened, it may not have been heated enough. It can take 15-20 minutes (sometimes longer) of constant whisking to cook it, especially if it’s a large batch. Remember that it will thicken further when cooled. If it isn’t thick enough, you can reheat it to thicken. To make a thicker lemon butter, you can also add an extra egg yolk.
- This recipe is made using Australian cups and spoon measurements. Due to cup sizes varying from country to country, I advise adjusting if necessary.





Simone says
A lovely lemony rich flavour. It definitely thickened towards the 20min mark – patience needed when waiting for recipe to thicken.
Andrea Geddes says
Hi Simone! Thank you so much for leaving a comment, I’m happy to hear you enjoyed this yummy spread! It might be time for me to make another batch… 🙂
deanna says
Super easy to make. I used Mayer lemons and the flavour is excellent. I am allergic to lactose so I did use a vegan butter which doesn’t always incorporate the same as dairy butter so I wanted to make a point to say it worked excellent. I used Earth Balance vegan cooking and baking sticks -another point to make as this dairy free butter bakes into recipes better than other vegan butters I have tried.
Thank you for the vibrant lemon joy
Andrea Geddes says
Hi Deanna! I’m so happy that you enjoyed it. Thanks for letting me know! And thanks for adding your helpful tips about the butter alternatives. I’m sure others will find that really useful. Andrea 🙂
Kim Taylor says
Delicious! So easy to make and it came out exactly as the recipe said it would. Everyone here loves it!
Andrea Geddes says
Hi Kim! I’m so thrilled that you enjoyed the recipe, thanks for taking the time to let me know! Enjoy. Andrea 🙂
Jennifer Shepherdson says
delicious
Andrea Geddes says
Thanks Jennifer!
Rosemary says
I just made some lemon butter using rapadura sugar, not same lemon yellow colour of others I have made, more a caramel colour, but tastes just as yummy. Rapadura sugar is the first press of the sugar cane, not as sweet as the bleached white sugar, but more nutritious, and once you adjust to the less sweetness it’s very nice.
Andrea Geddes says
Hi Rosemary! I’m so happy that you enjoyed it and the addition of rapadura sugar sounds lovely. Enjoy! Andrea 🙂