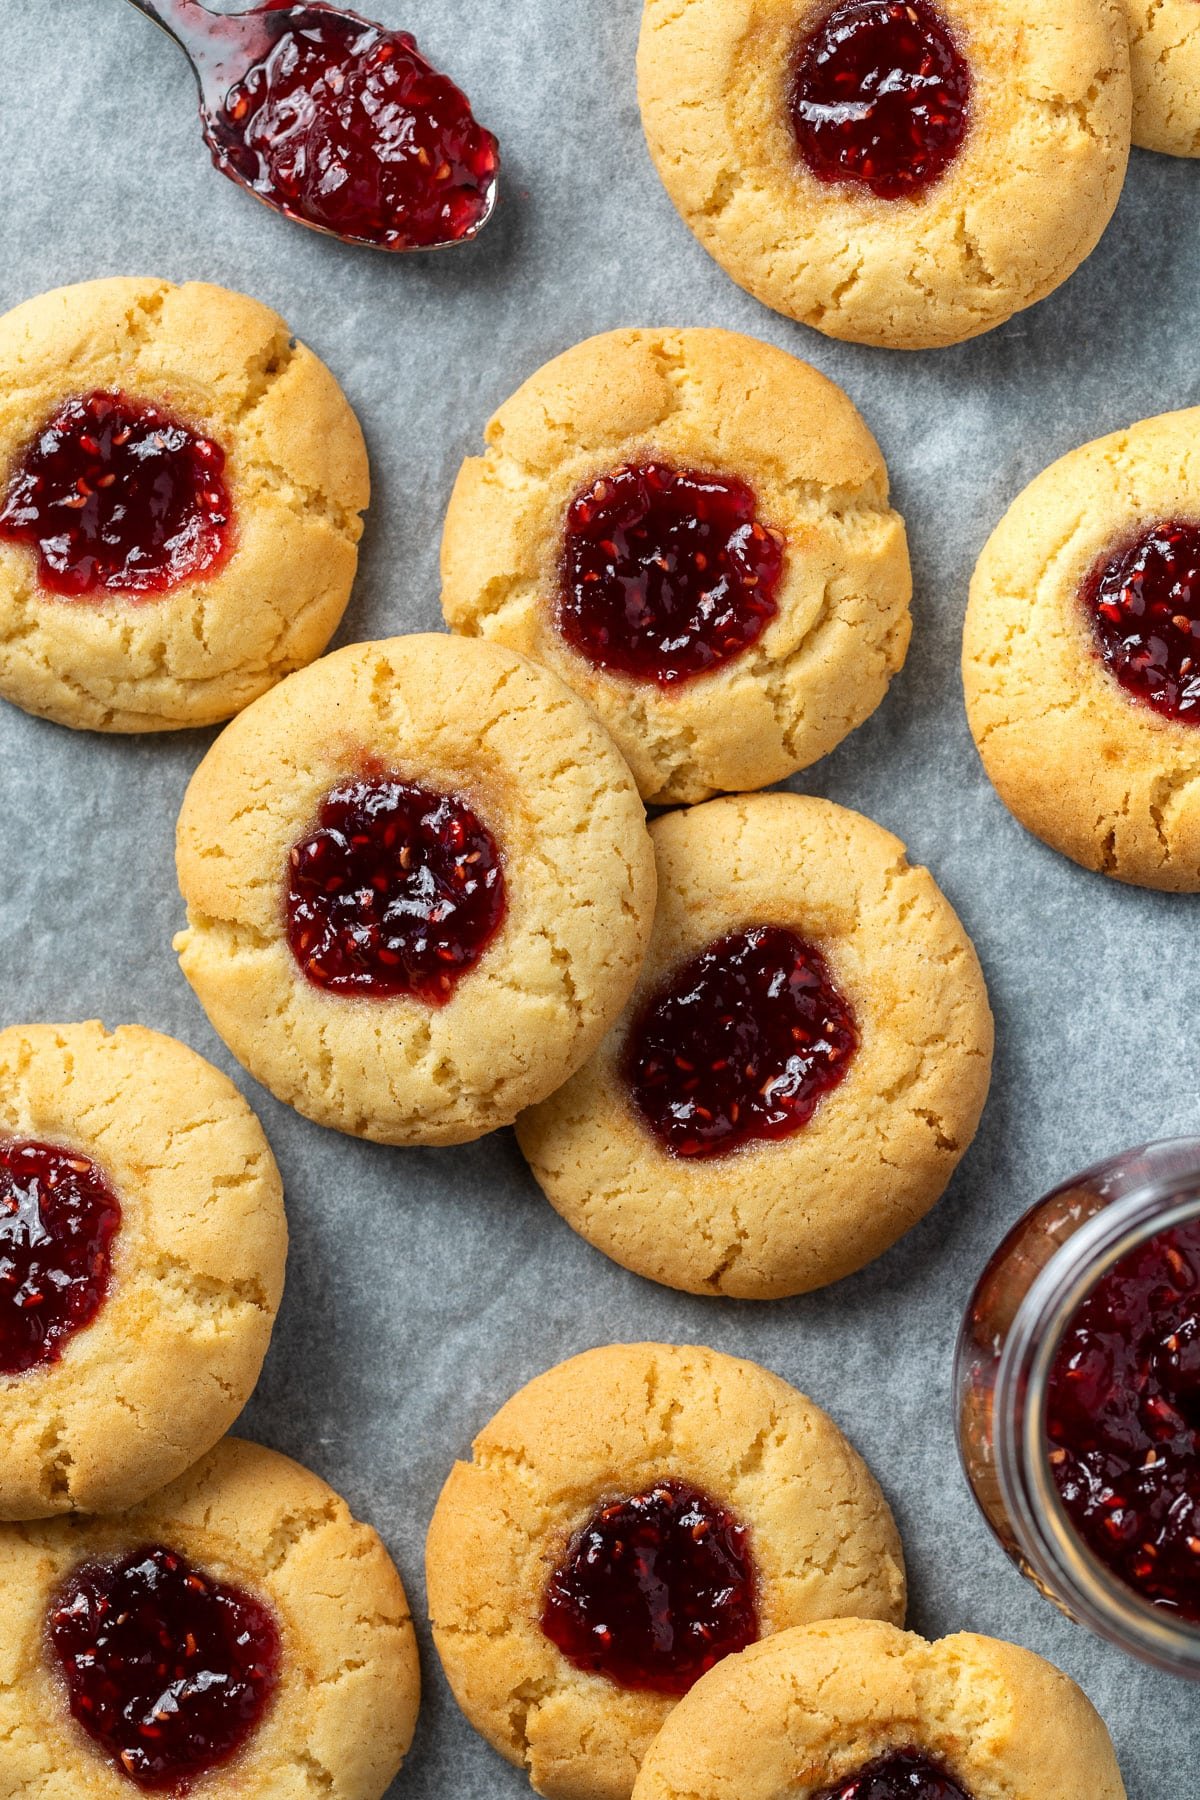
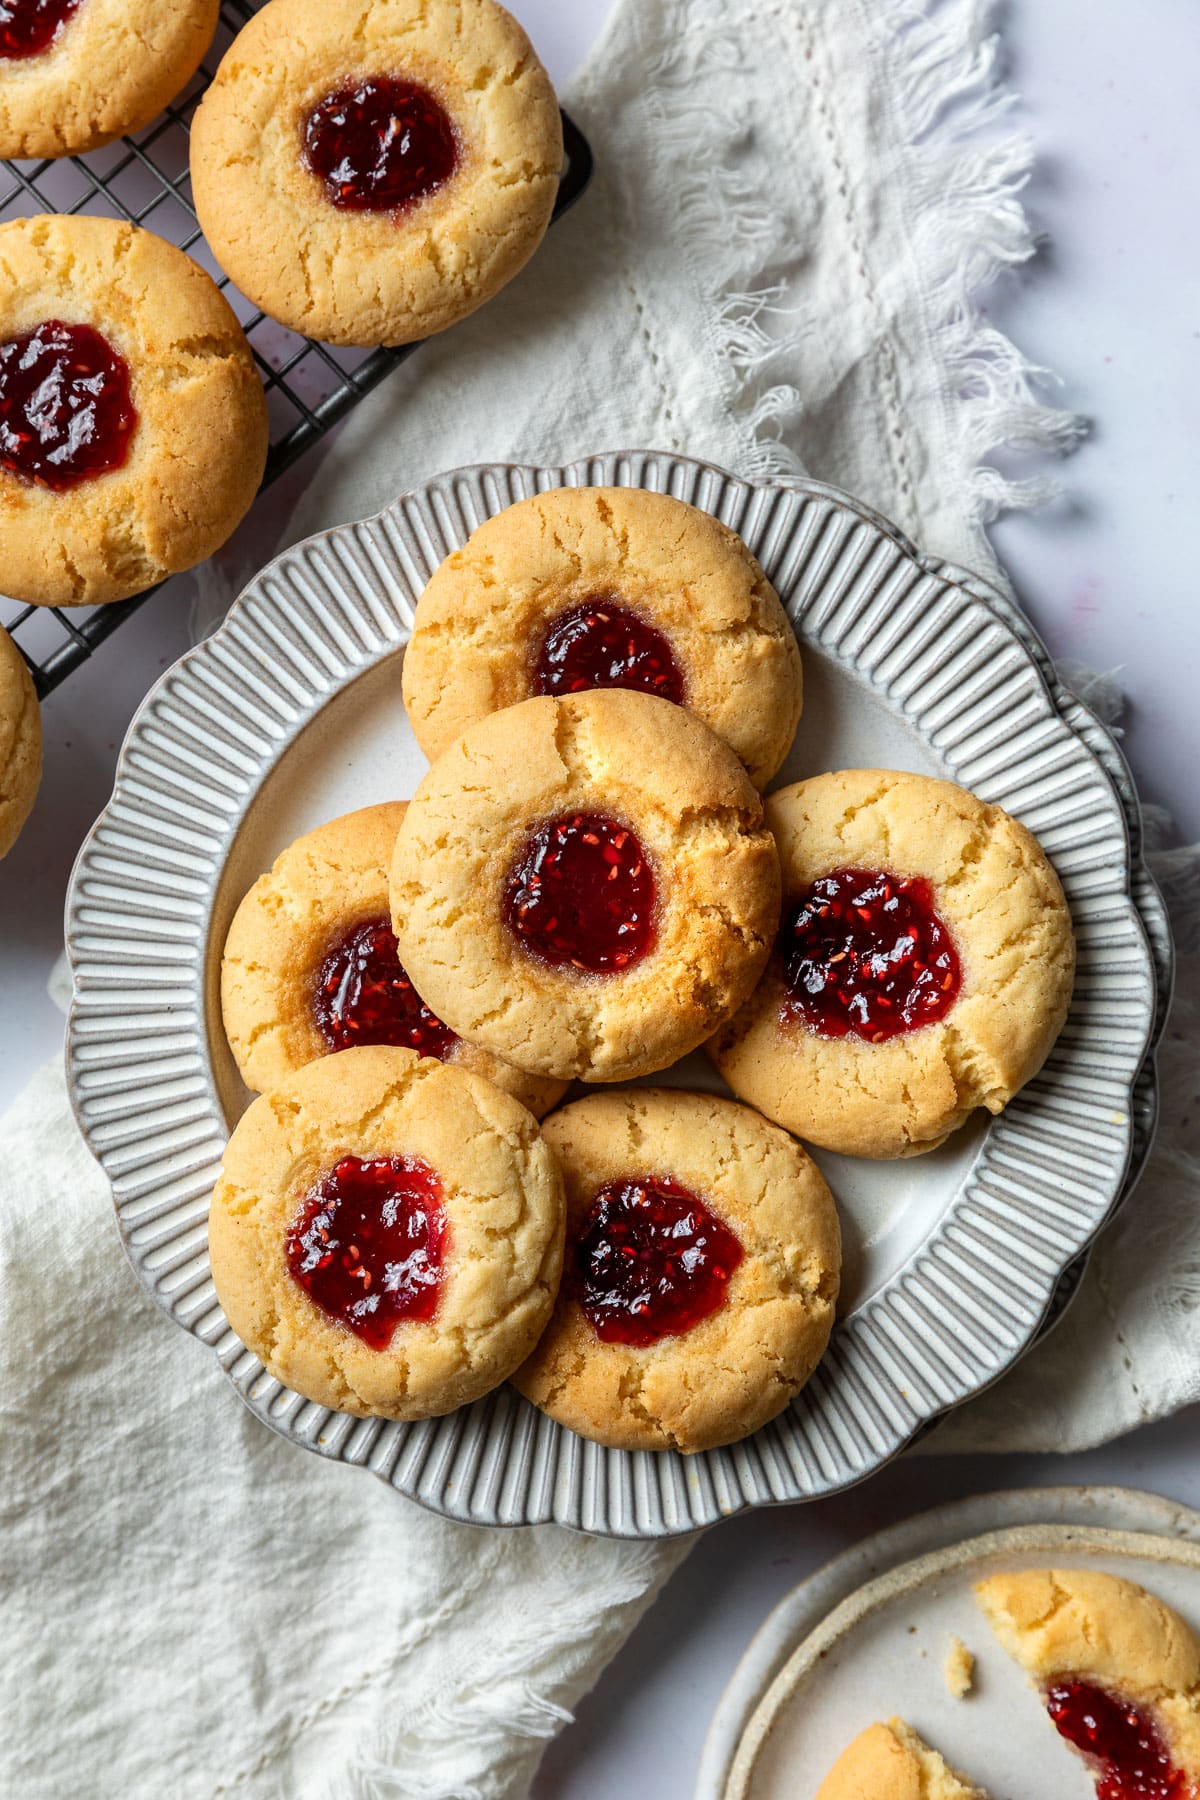
Jam drop biscuits are an old-fashioned recipe that everyone loves! Rich and buttery vanilla biscuits are filled with your favourite jam, making the perfect afternoon treat.

Jump to:
Why you’ll love this recipe
- Easy to make – jam drop biscuits are so easy to make and come together with only 6 basic pantry ingredients!
- Perfect for kids – this recipe is a great one for kids to make. They will have fun measuring ingredients, rolling the cookie dough, pressing the centres and adding the jam.
- Suitable for any occasion – soft and chewy jam drops are perfect for afternoon tea, school lunchboxes or any occasion. Especially your next party, holidays, birthdays or for gifting.
- Customisable – use traditional raspberry jam for the filling, or swap for different jams such as tangy apricot, strawberry or mixed berries. Or, use lemon curd or chocolate hazelnut spread!
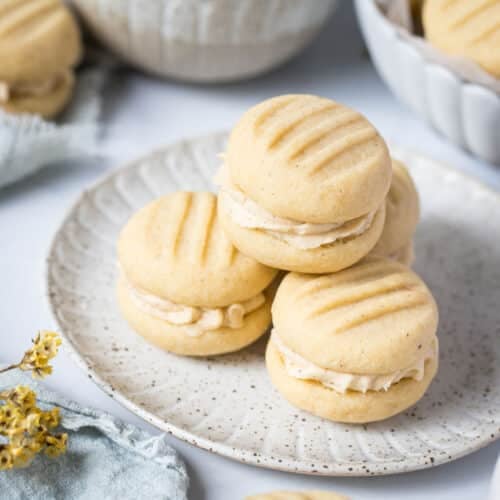
Need some more baking ideas for afternoon tea? Try this delicious raspberry coconut slice, cornflake slice or melt-in-your-mouth vanilla melting moments.
Ingredients you will need
** This post contains tips and instructions to achieve the best possible results. This photo is a great guide for when you are in the supermarket, but for full ingredient quantities and methods, please scroll down to the detailed recipe card below!
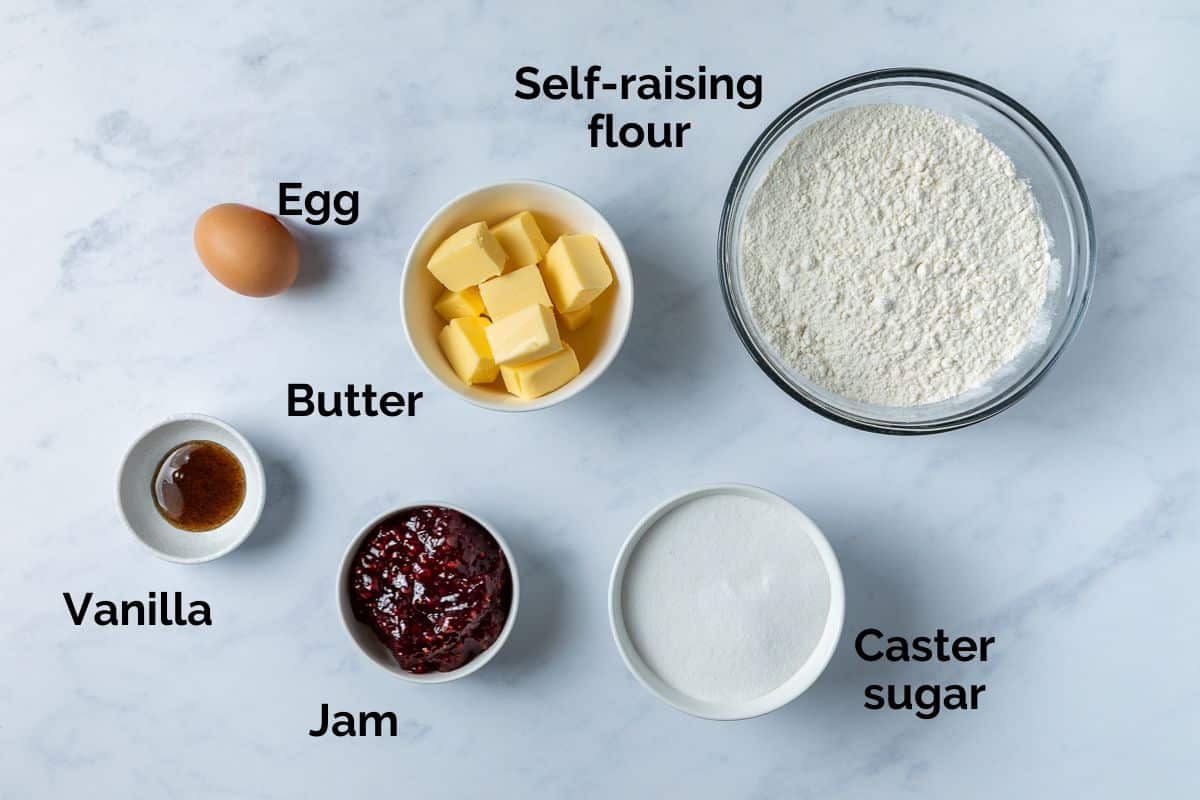
- Butter – The amount of salt in salted butters can vary between brands, so use unsalted butter to keep the jam drop biscuits from being overly salty. As they have a rich, buttery taste, I recommend using a good quality butter for best results. Make sure the butter is at room temperature; if it’s too cold, it will be hard to cream.
- Self-raising flour – helps the biscuits to spread. If you don’t have self-raising flour, you can make your own by mixing 1 teaspoon of baking powder and a pinch of salt into every (1) cup of plain flour. Be sure not to add too much baking powder, or the biscuits will spread too much. I don’t recommend swapping out for other flour substitutes.
- Caster sugar – (superfine sugar) is finer and dissolves more easily than granulated sugar, which is coarser in texture. Granulated sugar could be used, if this is all you have.
- Jam – use your favourite jam for the filling. I love to use raspberry jam or boysenberry, but you can use any sweet jam. Fig, plum, apricot and strawberry are all great substitutes. Choose a good quality jam that you love to eat. Alternatively, you can swap for homemade lemon butter or chocolate.
How to make jam drop biscuits
Full ingredient notes and quantities can be found in the detailed recipe card below. But here is a brief overview of what you can expect;
*This recipe requires creaming the butter and sugar. This can be done with electric beaters, a stand mixer or by hand. The butter should be at room temperature before mixing.
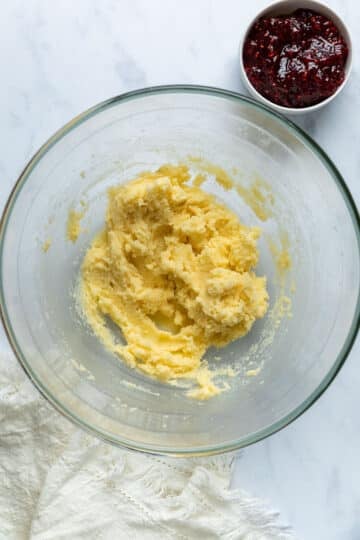
- Step 1: Cream the butter, sugar and vanilla by beating together until pale and fluffy. Don’t overbeat.
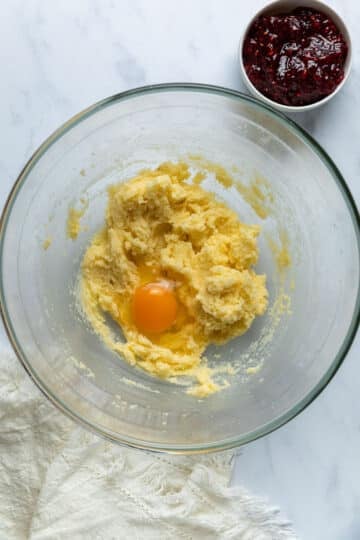
- Step 2: Add the egg to the butter mixture.
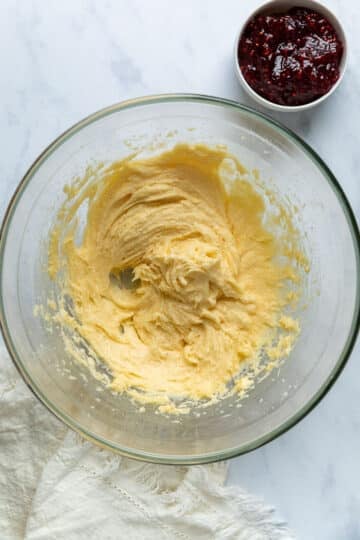
- Step 3: Continue to beat until combined.
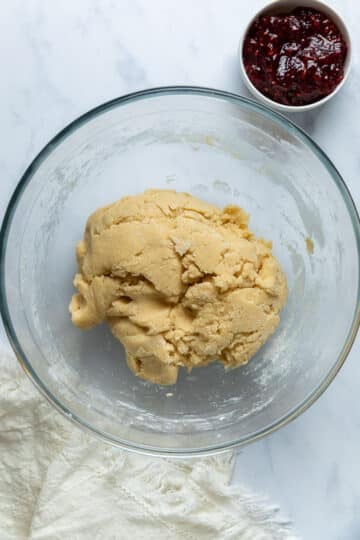
- Step 4: Add the self-raising flour and mix until a soft, sticky dough forms. Cover the dough and refrigerate for 30 minutes.
*The soft dough needs time to chill in the fridge, to make it easier to roll and prevent spreading.
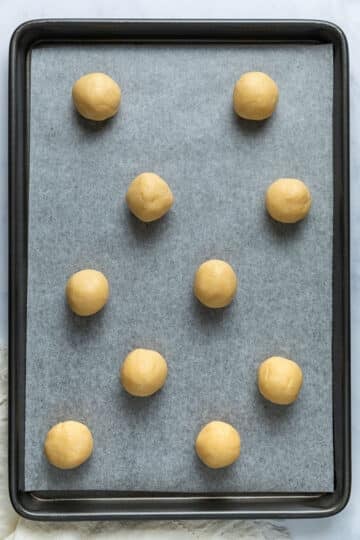
- Step 5: Roll the chilled dough into small balls and arrange on a lined baking tray.
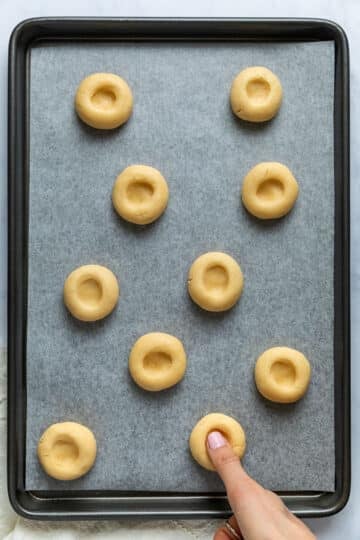
- Step 6: Use your thumb to gently press holes into the centre of each ball, making a well for the jam.

- Step 7: Use a spoon or piping bag to fill the centre of the dough with jam (image 7).

- Step 8: Bake until lightly golden (see recipe card below).
Cool the jam drops for 5-10 minutes on the tray before transferring to a wire rack. Top up with a little extra jam, if desired.
How to stop jam drops from spreading
Jam drop biscuits have a high butter content. Once the biscuits enter the oven, the butter in the dough will melt, causing them to spread. While some spreading is good, we don’t want the biscuits to spread too far or they will be thin and flat.
Let me share my top tips, guaranteed to prevent flat jam drops!
- Don’t over-beat the butter. Overbeating the butter can cause the biscuits to spread too far. Cream the butter and sugar only as long as needed (around 1-2 minutes). Adding too much air to the dough will cause them to deflate as they bake.
- Measure your ingredients. The most accurate way to do this is with kitchen scales. Too little flour or too much sugar will cause the biscuits to spread too far.
- Don’t make them too big. Use a small cookie scoop or measure about 2 teaspoons of dough per biscuit. They will spread on the baking tray as they cook.
- Chill the biscuit dough. Chilling biscuit dough helps to prevent spreading. The colder the dough, the less they will spread. Refrigerate for at least 30 minutes before shaping into balls.
- Line your trays with baking paper. Placing the dough directly onto a greased oven tray will cause spreading.
- Place your tray on the middle rack, for even baking.
Expert tips
- Measure your ingredients for best results. The easiest way to measure flour accurately is to use kitchen scales. If you don’t have scales, fluff the flour with a spoon, sprinkle it into a measuring cup and level the top with a knife.
- Lightly flour your hands as you handle the dough. This makes the dough easier to roll.
- Don’t skip chilling the dough! For perfectly shaped biscuits that don’t spread too far, rest the dough in the fridge for at least 30 minutes before baking.
- Don’t add too much jam! The jam will spread in the oven, along with the dough. If too much jam is added, it can overflow or work its way through the bottom of the biscuits. You can always top them up with more jam after baking, if needed.
- The dough may crack slightly when you press your thumb into it, or when baking. To get rid of the cracks, roll the ball of dough in your hands a bit to warm it up slightly. Then, smooth the dough with your fingers after shaping. However, this is not essential. Some cracks are normal.
- Don’t press your thumb too deeply into the dough, or the jam filling will fall through the bottom of the biscuits.
- Leave space between the biscuits. They expand as they bake.
- Be careful when removing the biscuits from the oven. The jam will be burning hot.
- Storage tips; while best eaten fresh in the first 1-2 days, jam drop biscuits will last for 5-7 days in an airtight container in the pantry.
- The dough can also be frozen and thawed, to make jam drops whenever you like. Wrap the chilled dough and freeze for up to 2 months. Thaw at room temperature, before baking as normal.
Jam drop biscuit FAQs
If jam drops are not prepared correctly, they can be prone to spreading due to their high butter content. While some spreading is normal, sometimes they can spread too far, resulting in flat biscuits. Your biscuits may spread too far if you skip chilling the dough, add too little flour to the mixture or if you grease the baking paper. Measure the ingredients accurately and chill the dough to prevent excess spreading. If your dough has warmed too much when shaping (or you are cooking on a hot day), you can place the tray of prepared biscuits in the fridge for an additional 5 minutes, to firm up before baking.
Let the biscuits cool completely before transferring to an airtight container at room temperature (or the fridge) for 5-7 days. They can also be frozen for up to 2 months. Simply thaw at room temperature for an afternoon treat.
Jam drops (also called thumbprint cookies) are a simple vanilla biscuit with a sweet jam centre. They taste like a cross between traditional shortbread and a vanilla cookie. Classic jam drops are made with raspberry jam, but can be customised with other fillings like lemon curd or chocolate.
Other easy baking recipes
Tried this recipe? Please leave a star ⭐⭐⭐⭐⭐ rating or leave a review below and let me know how you went!
Hungry for more? Subscribe to my newsletter and follow along on Facebook, Instagram and Pinterest for the latest recipes and news.

Easy Jam Drop Biscuits
Ingredients
- 125 grams unsalted butter , softened at room temperature
- 115 grams caster sugar (115 grams caster sugar = ½ cup)
- 1 teaspoon vanilla bean paste (or vanilla extract)
- 1 large egg ,at room temperature
- 225 grams self-raising flour (225 grams self-raising flour = 1 ½ cups).
- raspberry jam (or other jam/spread of choice).
Instructions
- Pre-heat oven to 180ºC/356 F (160°C fan-forced) and line 2 baking trays with baking paper.
- Using electric beaters or a wooden spoon, beat the softened butter, caster sugar and vanilla together in a large mixing bowl until pale and soft (1-2 minutes).
- Add the egg and continue to beat until combined.
- Add the self-raising flour and mix (low speed) to a soft dough, scraping down the sides of the bowl as needed.
- Wrap the dough in cling wrap and chill in the fridge for at least 30 minutes.
- Using 2 heaped teaspoons of dough per biscuit, use your hands to roll the dough into balls and arrange on the prepared trays. Leave a 5cm gap between each ball, to allow for the biscuits to spread. * This quantity of dough should make between 20-22 biscuits).
- Using your thumb, press halfway down into the centre of each biscuit, to make a well for the jam.
- Use a teaspoon or piping bag to add a little jam (about ½ teaspoon) to fill the centre of each biscuit. *Don't overfill them, you can always add more jam at the end!
- Bake for 10-12 minutes, or until lightly golden.
- Allow the biscuits to sit on the tray for 5 minutes and then use a flat spatula to transfer them to a wire rack to cool completely. Or enjoy them warm!
Notes
- Measure your ingredients. Adding too much flour to the dough will make the biscuits dry and floury. The easiest way to measure flour accurately is to use kitchen scales. If you don’t have scales, fluff the flour with a spoon, sprinkle it into a measuring cup and level the top with a knife.
- Lightly flour your hands as you handle the dough. This makes the dough easier to roll.
- Don’t skip chilling the dough! For perfectly shaped biscuits that don’t spread too far, rest the dough in the fridge for at least 30 minutes before baking.
- Don’t add too much jam! The jam will spread in the oven, along with the dough. If too much jam is added, it can overflow or work its way through the bottom of the biscuits. You can always top them up with more jam after baking, if needed.
- The dough may crack slightly when you press your thumb into it, or when baking. To get rid of the cracks, roll the ball of dough in your hands a bit to warm it up slightly. Then, smooth the dough with your fingers after shaping. However, this is not essential. Some cracks are normal.
- Don’t press your thumb too deeply into the dough, or the jam filling will fall through the bottom of the biscuits.
- Leave space between the biscuits on the tray, as they will expand as they bake.
- Be careful when removing the biscuits from the oven. The jam will be burning hot.
- Storage tips; while they are best eaten fresh in the first 1-2 days, jam drops will last for 5-7 days in an airtight container in the pantry.
- The dough can also be frozen and thawed to make jam drops whenever you like. Wrap the chilled dough and freeze for up to 2 months. Thaw at room temperature before baking as normal.
- Please note that the nutrition information is based on the mixture making 20 biscuits, with one biscuit being one serve. The nutritional information is an estimate only and does not take into account any additional toppings or sides served with the biscuits.
- This recipe is made using Australian metric cups and spoon measurements. Any reference to cups or spoons in this recipe is in Australian metric. Due to cup sizes varying from country to country, I advise adjusting if necessary.
Nutrition
Are you following us on Facebook, Instagram and Pinterest?
Update Notes: This recipe was originally published in August 2019, but was re-published with new information and photos in September 2024.







Andrea Geddes says
Our family love these biscuits. Perfect for school lunchboxes and afternoon tea with a cuppa!
Roopa says
nice
Julienne Huntriss says
This is the best jam drop recipe I’ve made! makes 3 biscuit trays, just perfect, also freezes well. I think the refrigeration prior to cooking also adds to the success. Will keep trialling your recipes. Thank you.
Andrea Geddes says
Hi Julienne! I’m SO happy to hear that you loved them, thank you so much for taking the time to let me know! I hope you find some more recipes that you love just as much 🙂