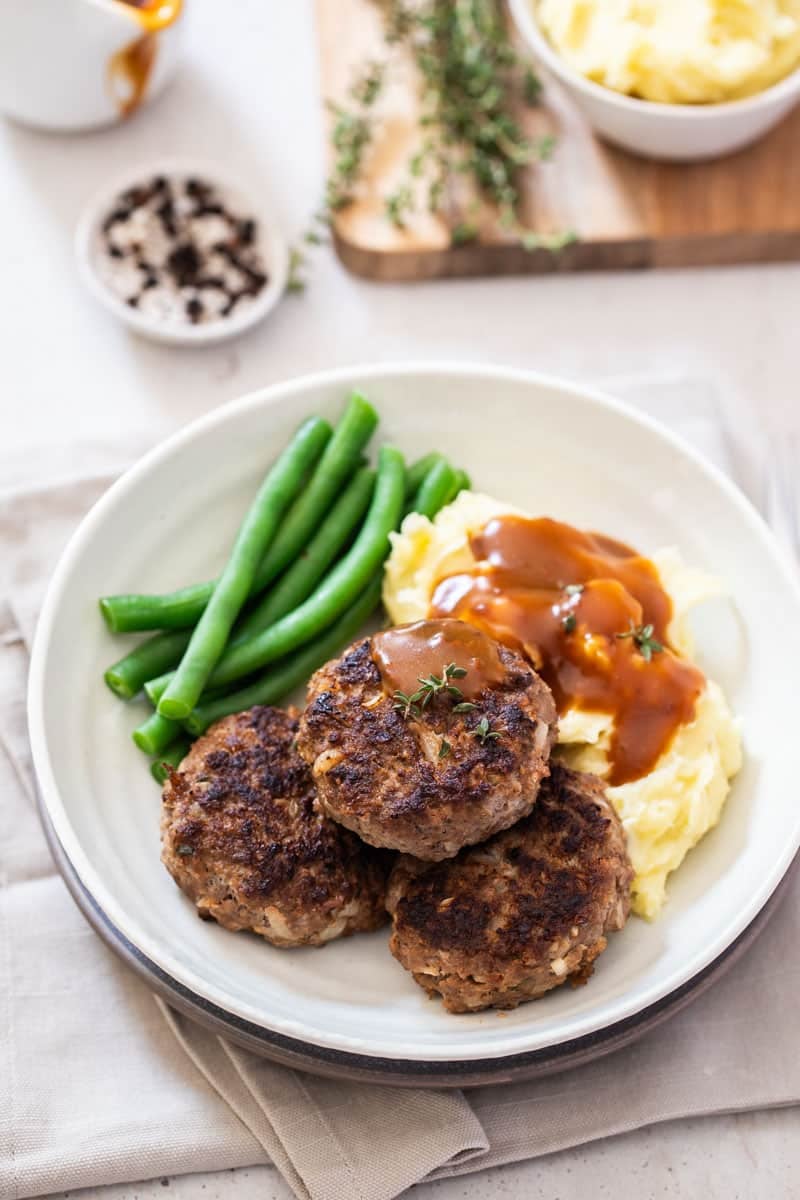
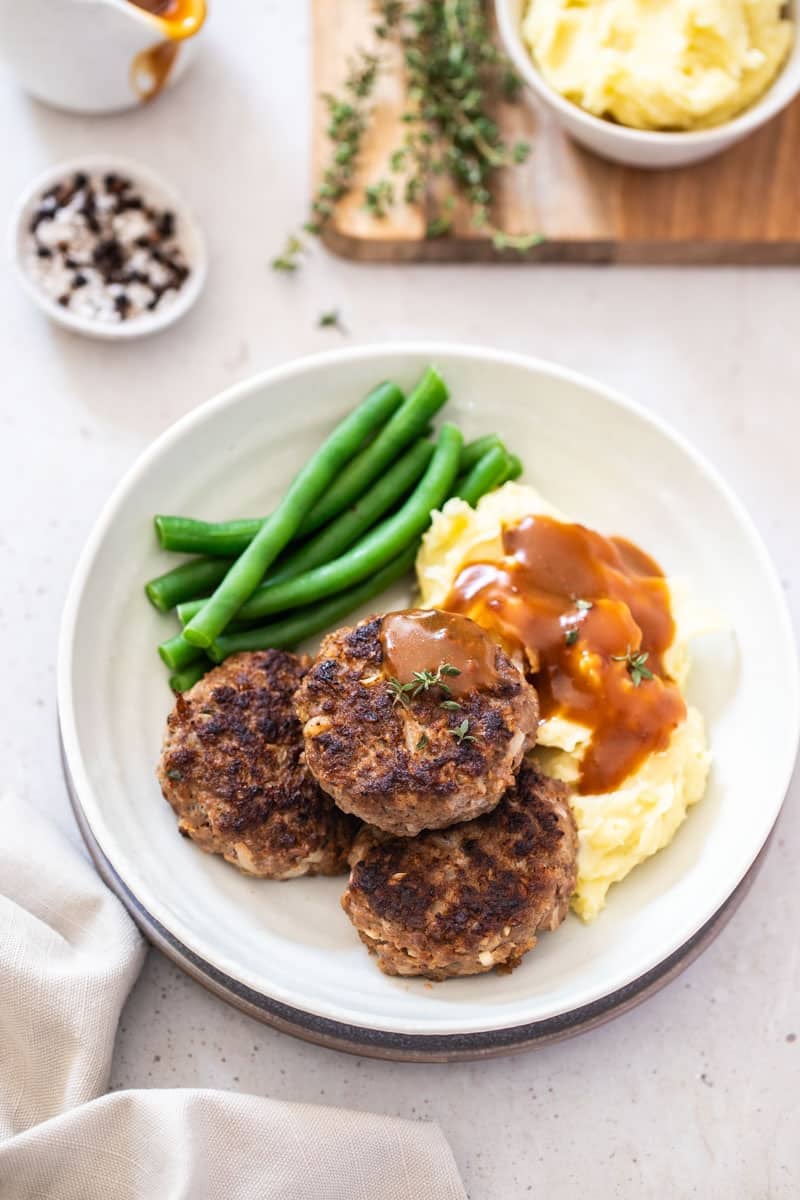
These old-fashioned beef rissoles are a classic Aussie recipe. Juicy and loaded with flavour, they are low-cost, versatile and quick and easy to make. Whether you serve them with mashed potatoes and gravy, in a burger or covered in tomato sauce, they make an easy and filling family dinner that everyone will love.
Why you’ll love this recipe
- Quick and easy to make – they come together quickly with basic, staple ingredients.
- Versatile – these rissoles are incredibly versatile and can be served with almost anything. Try them with mashed potatoes, gravy and veggies, in a burger or with your favourite sides like duck fat potatoes, roast baby carrots, roast pumpkin salad or potato salad. Beef mince can also be swapped for chicken, pork or lamb mince, and they can be customised with different seasonings to switch up the flavours.
- Loaded with flavour – well seasoned, with a few simple ingredients that add so much flavour; including herbs, garlic and Worcestershire sauce.
- Great for meal prep – they store well and are freezer-friendly (cooked, or un-cooked), making them perfect for an easy weeknight dinner or lunchbox filler.
Need some more retro dinner ideas? Try these Keens curried sausages, savoury curried mince and chicken stroganoff with sour cream.
Ingredients you will need
** This post contains tips and instructions to achieve the best possible results. This photo is a great guide for when you are in the supermarket, but for full ingredient quantities and methods, please scroll down to the detailed recipe card below!
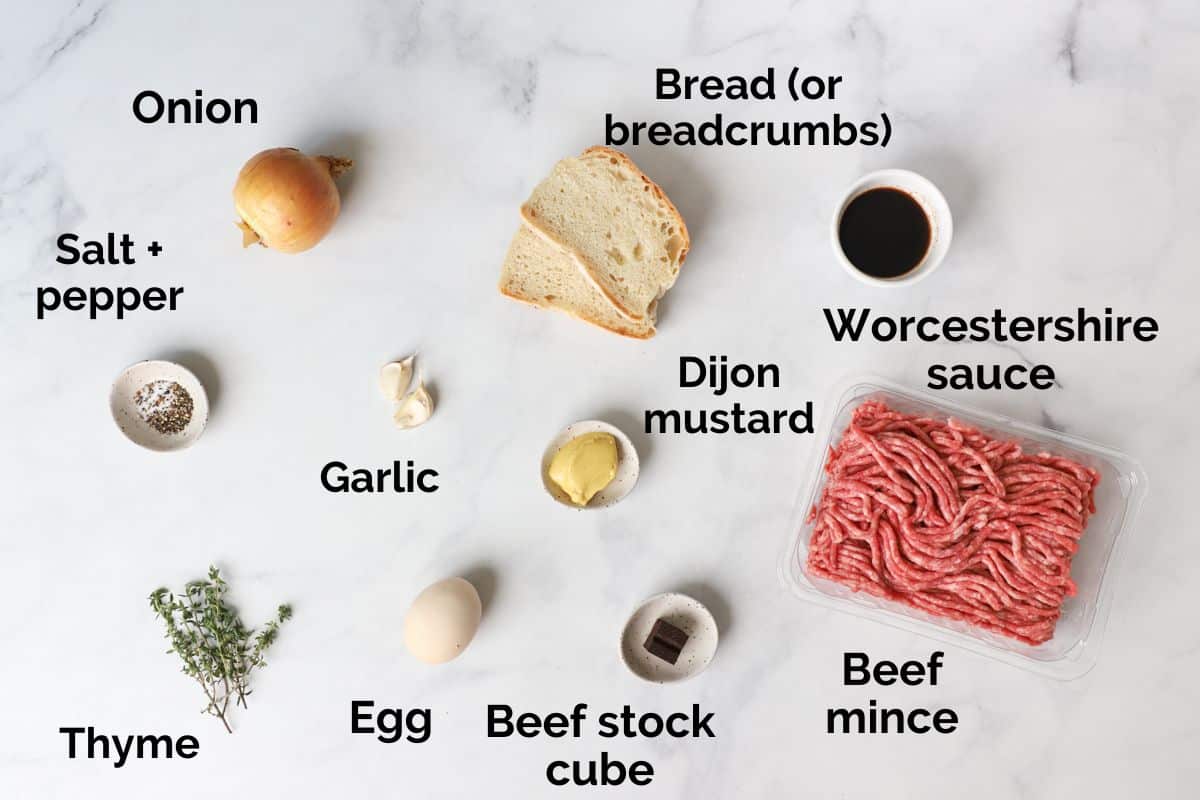
- Beef mince – use regular beef mince instead of lean or extra-lean mince. Regular mince contains more fat, which helps to keep the rissoles tender and juicy. Lean mince can be used, but the rissoles can dry out. You can easily swap the beef mince for lamb, pork or chicken mince.
- Egg – binds the rissole mixture and keeps them from falling apart.
- Garlic and onion – to enhance the flavours. Very finely chop or grate the onion, to avoid large pieces of onion in the rissoles. Large chunks of onion can cause the rissoles to break apart.
- Bread – white or sourdough bread is placed in a food processor and broken down into breadcrumbs. Breadcrumbs are used as a binder in the rissoles, helping to keep the mixture together. They also absorb the juices from the meat as it cooks, keeping the rissoles moist. 1 cup of homemade breadcrumbs are needed. Alternatively, you can use equal quantities of panko breadcrumbs.
- Worcestershire sauce – a well-known pantry staple sauce that adds a savoury, umami flavour to the rissoles. Worcestershire sauce can be found in supermarkets and grocers. Or, swap for soy sauce and a little HP sauce or tomato sauce (ketchup).
- Beef stock cubes – stock cubes (bouillon cubes) are concentrated broth or stock, dehydrated and packaged in a small cube. The stock cube is crumbled into the meat mixture, adding seasoning and savoury flavour. I use OXO stock cubes, but any will work.
- Dijon mustard –or swap for wholegrain mustard or even some tomato sauce (ketchup).
Step by step instructions
Full ingredient notes and quantities can be found in the detailed recipe card below. But here is a brief overview of what you can expect;
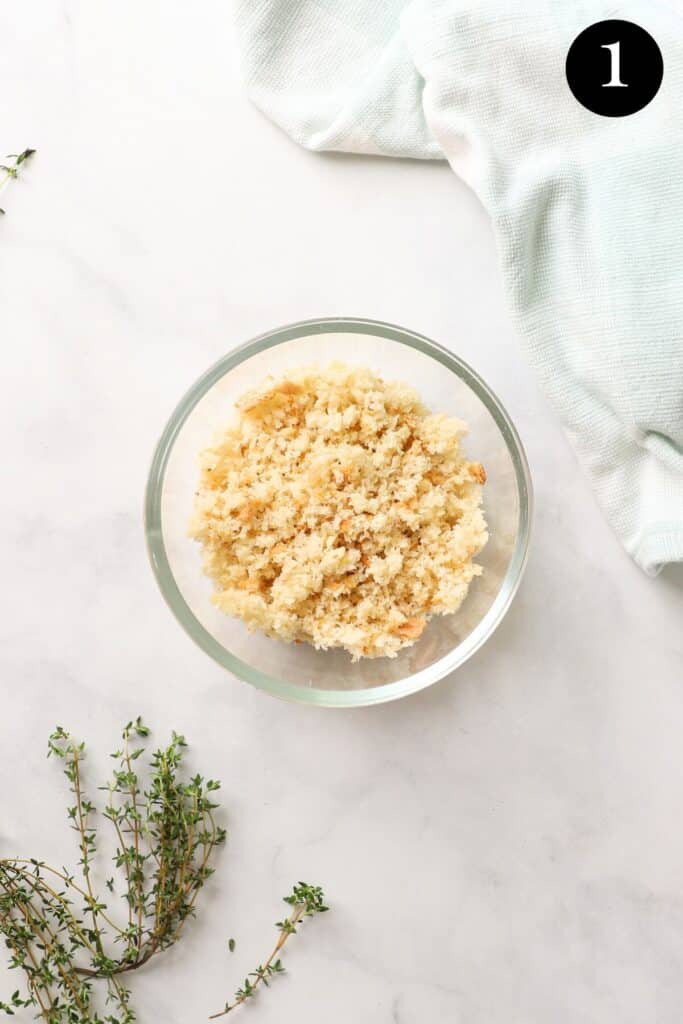
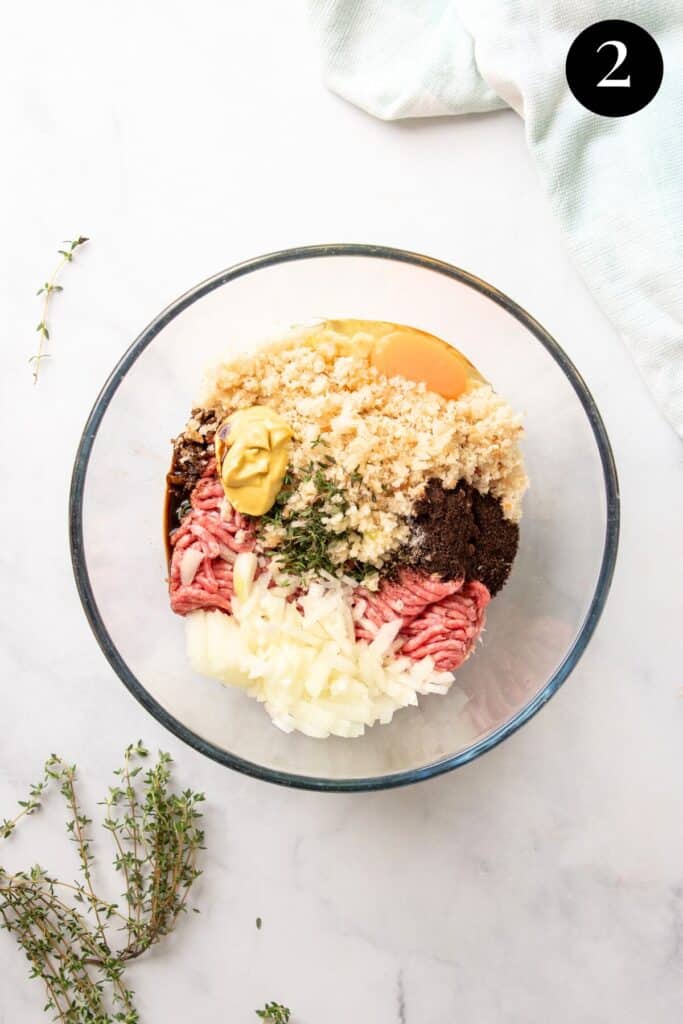
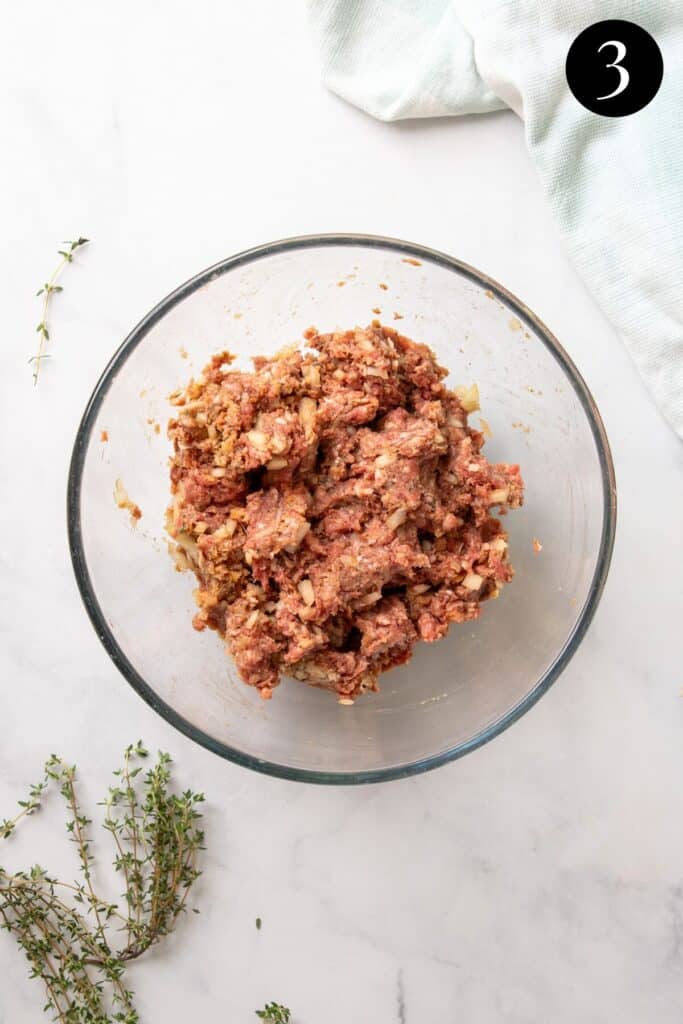
- Make the mixture – make the breadcrumbs by breaking down the bread in a food processor. Add all of the rissole ingredients into a large bowl and use your hands to mix everything until combined. (Disposable gloves can be used, for easy clean-up).
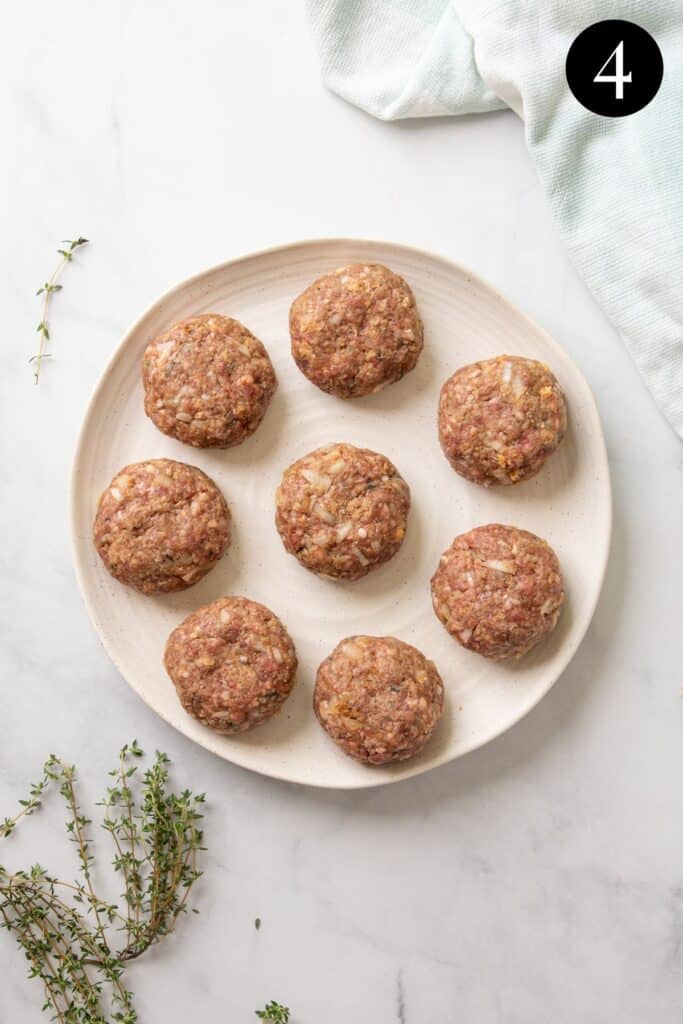
- Shape the rissoles – divide the mixture into 8, evenly-sized portions. Use your hands to roll them into balls and gently flatten them.
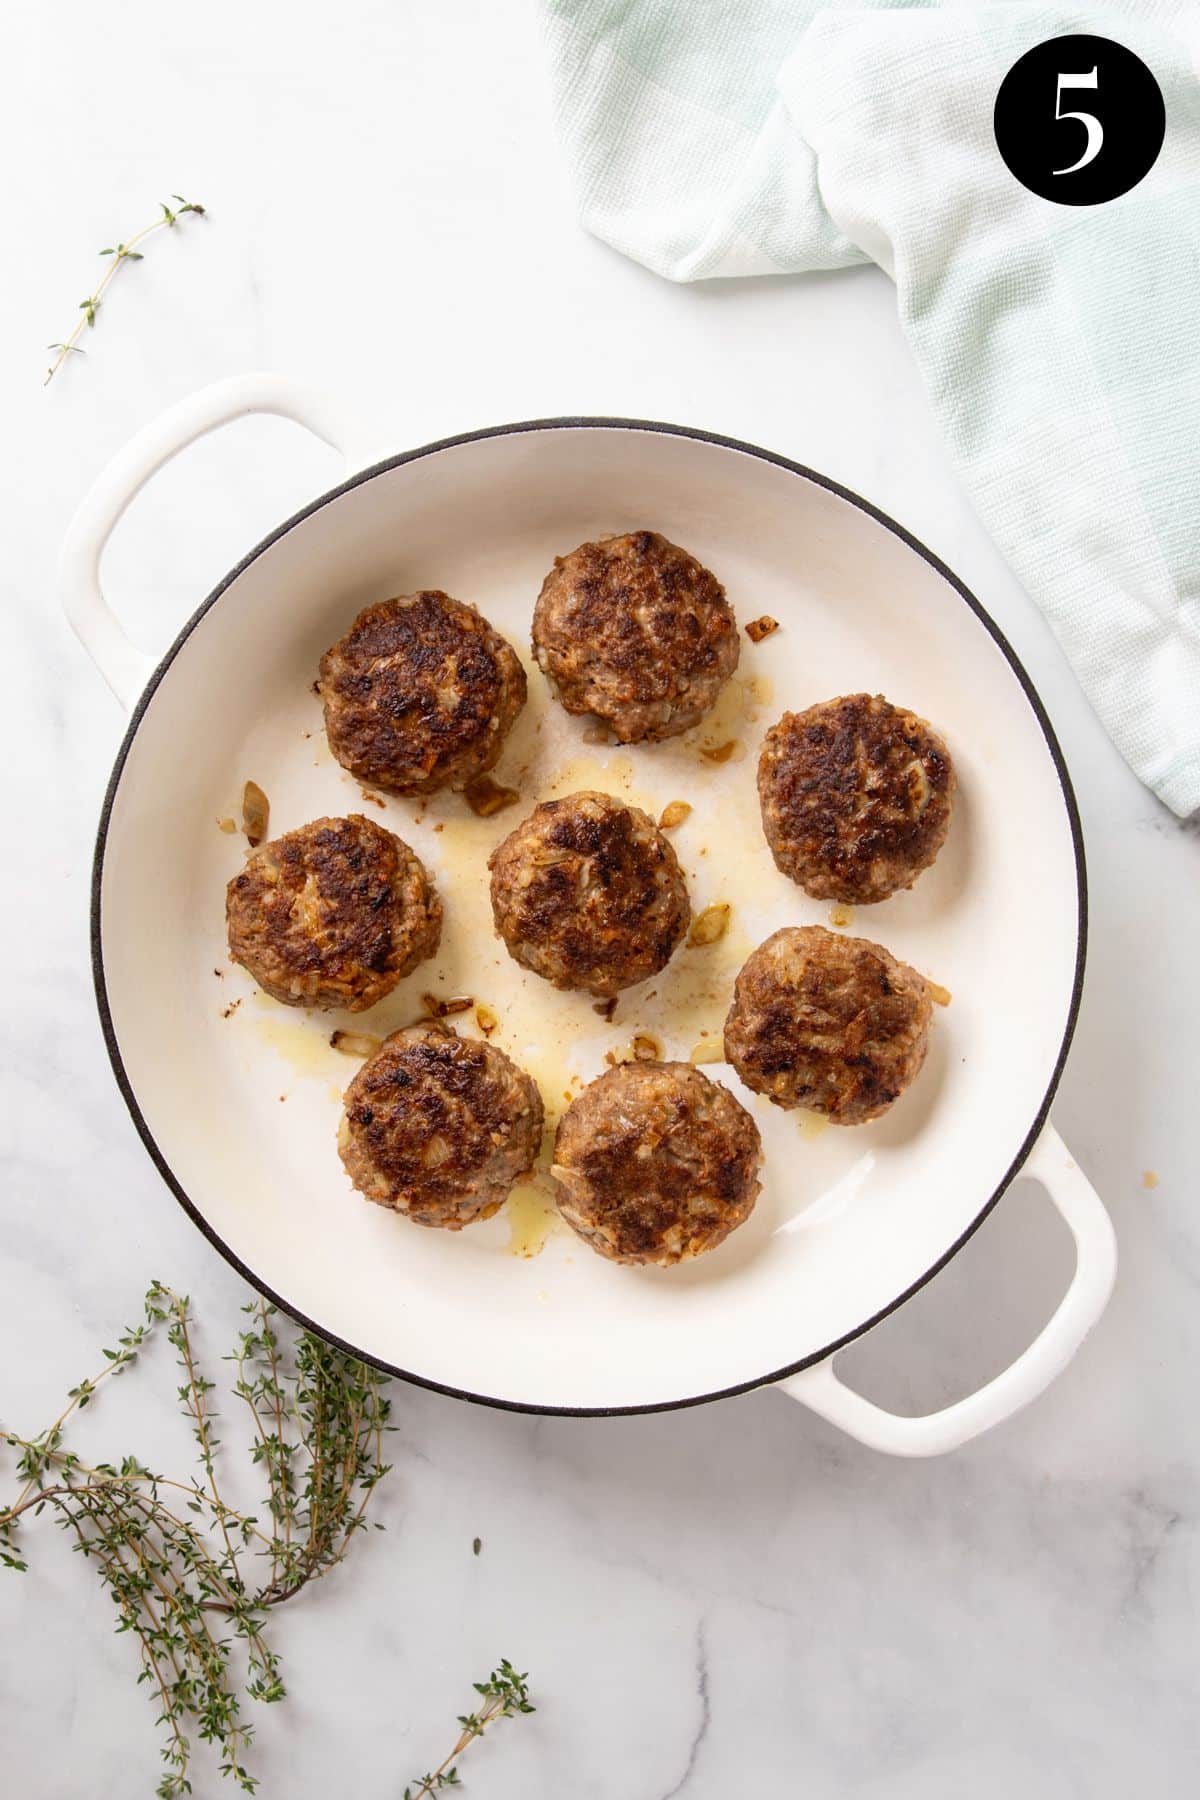
- Cook the rissoles – heat the oil in a large frying pan over medium-high heat. Cook the rissoles for 4-5 minutes on each side, or until golden brown and completely cooked through.
Tip: Finely dice or grate the onions. Large chunks of onion can cause the rissoles to break apart when cooking.
Tip: use a cookie scoop to divide the mixture into evenly-sized patties.
How to serve them
Rissoles (and their leftovers) are so versatile. They can be enjoyed hot or cold and can be served in a number of ways. Serve them with classic mashed or roast potatoes, vegetables and gravy or choose from the following options;
- In a burger – add them to a bread roll, sandwich or wrap and add salads, cheese and your sauce of choice.
- Potatoes – serve them with creamy mashed potatoes, air fryer chips, roast potatoes or garlic potatoes.
- Vegetables – broccolini, steamed green beans, cauliflower, peas, snow peas or carrots.
- Salad – serve them with creamy potato salad, Italian pasta salad, a simple green salad or roast pumpkin salad.
- Rice – steamed rice, chorizo rice or fried rice.
- Meal prep – add them to individual containers with mashed sweet potato and green beans, mashed potato, rice and veggies or your choice of sides. Reheat in the microwave for easy lunches or dinners.
Expert tips
- Don’t overcook the patties, or you will end up with dry rissoles.
- They can be cooked in an air fryer for around 12 minutes at 200 C.
- Meal prep – to make dinner easier, prep the rissoles in the morning and keep them covered in the fridge until you’re ready to cook them. When ready to cook, sit the rissoles at room temperature for about 20 minutes.
- Use a small cookie scoop for uniform rissoles. This ensures the rissoles are exactly the same size, which will help them cook evenly.
- When shaping the meat, flatten the rissoles into patties to ensure they cook evenly.
FAQs
Adding an egg to the mixture helps to bind the rissoles and hold them together when cooking. Make sure the onion is finely diced or grated, as large chunks can split the rissoles. And avoid overhandling or turning the rissoles too much while they are cooking. They should only be flipped once or twice; moving them around too much can cause them to fall apart.
Store them in an airtight container in the fridge for 3-4 days.
Rissoles store beautifully and can be frozen for up to 3 months. Allow them to cool and then transfer to an airtight container. I recommend wrapping them in a layer of baking paper first, to prevent freezer-burn. Thaw in the fridge overnight or at room temperature before reheating.
Reheat rissoles in the oven at 180C for 10 minutes or until warmed through, or in an air fryer for 5-10 minutes until warmed through. You can also reheat them in the microwave.
Related recipes


Tried this recipe? Please leave a star ⭐⭐⭐⭐⭐ rating or leave a review below and let me know how you went!
Hungry for more? Subscribe to my newsletter and follow along on Facebook, Instagram and Pinterest for the latest recipes and news.

Beef Rissoles
Ingredients
- 2 slices bread sour dough or white bread (or swap for panko breadcrumbs – 1 cup of panko breadcrumbs per 500 grams beef mince)
- 500 grams beef mince regular beef mince
- 1 medium brown onion very finely diced or grated
- 2 cloves garlic crushed
- 1 large egg
- 1 teaspoon fresh thyme leaves
- 1 tablespoon Dijon mustard
- 2 tablespoons Worcestershire sauce
- 1 beef stock cube crumbled
- salt and pepper
For cooking
- 2 tablespoons olive oil
Instructions
- Place the bread into a food processor and blend until the bread breaks down into fine crumbs. 2 slices of bread makes about 1 cup of breadcrumbs.
- Place the breadcrumbs and the remaining rissole ingredients into a large bowl and use your hands to mix until everything is completely combined. (Disposable gloves can be used, if needed).
- Divide the mixture into 8, evenly sized portions and use your hands to roll each portion into a ball. Then, gently flatten and shape into patties.
- Heat the oil in a large frying pan over medium-high heat.
- Add the patties to the pan and cook for 4-5 minutes each side, or until golden on the outside and completely cooked through in the middle.
- Serve hot with your choice of sides.
Notes
- Don’t overcook the patties, or you will end up with dry rissoles.
- They can be cooked in an air fryer for around 12 minutes at 200 C.
- Meal prep – to make dinner easier, prep the rissoles in the morning and store them in the fridge until you’re ready to cook them in the pan. When ready to cook, sit the rissoles at room temperature for about 20 minutes.
- Use a small cookie scoop for uniform rissoles. This ensures the rissoles are exactly the same size, which will help them cook evenly.
- Flatten the rissoles when shaping them, to ensure they cook evenly.
- Storage; Store them in an airtight container in the fridge for 3-4 days.
- Freezing; Allow them to cool and then transfer to an airtight container and freeze for up to 3 months. I recommend wrapping them in a layer of baking paper first, to prevent freezer-burn. Thaw in the fridge overnight or at room temperature before reheating.
- Reheating; Reheat rissoles in the oven at 180C for 10 minutes or until warmed through, or in an air fryer for 5-10 minutes until warmed through. You can also reheat them in the microwave.
- Please note that the nutrition information is based on the mixture being divided into 8 rissoles, with one rissole being one serve. The nutritional information is an estimate only and does not take into account any additional toppings or sides served with the rissoles.
- This recipe is made using Australian metric cups and spoon measurements. Any reference to cups or spoons in this recipe is in Australian metric. Due to cup sizes varying from country to country, I advise adjusting if necessary.


Leave a Reply