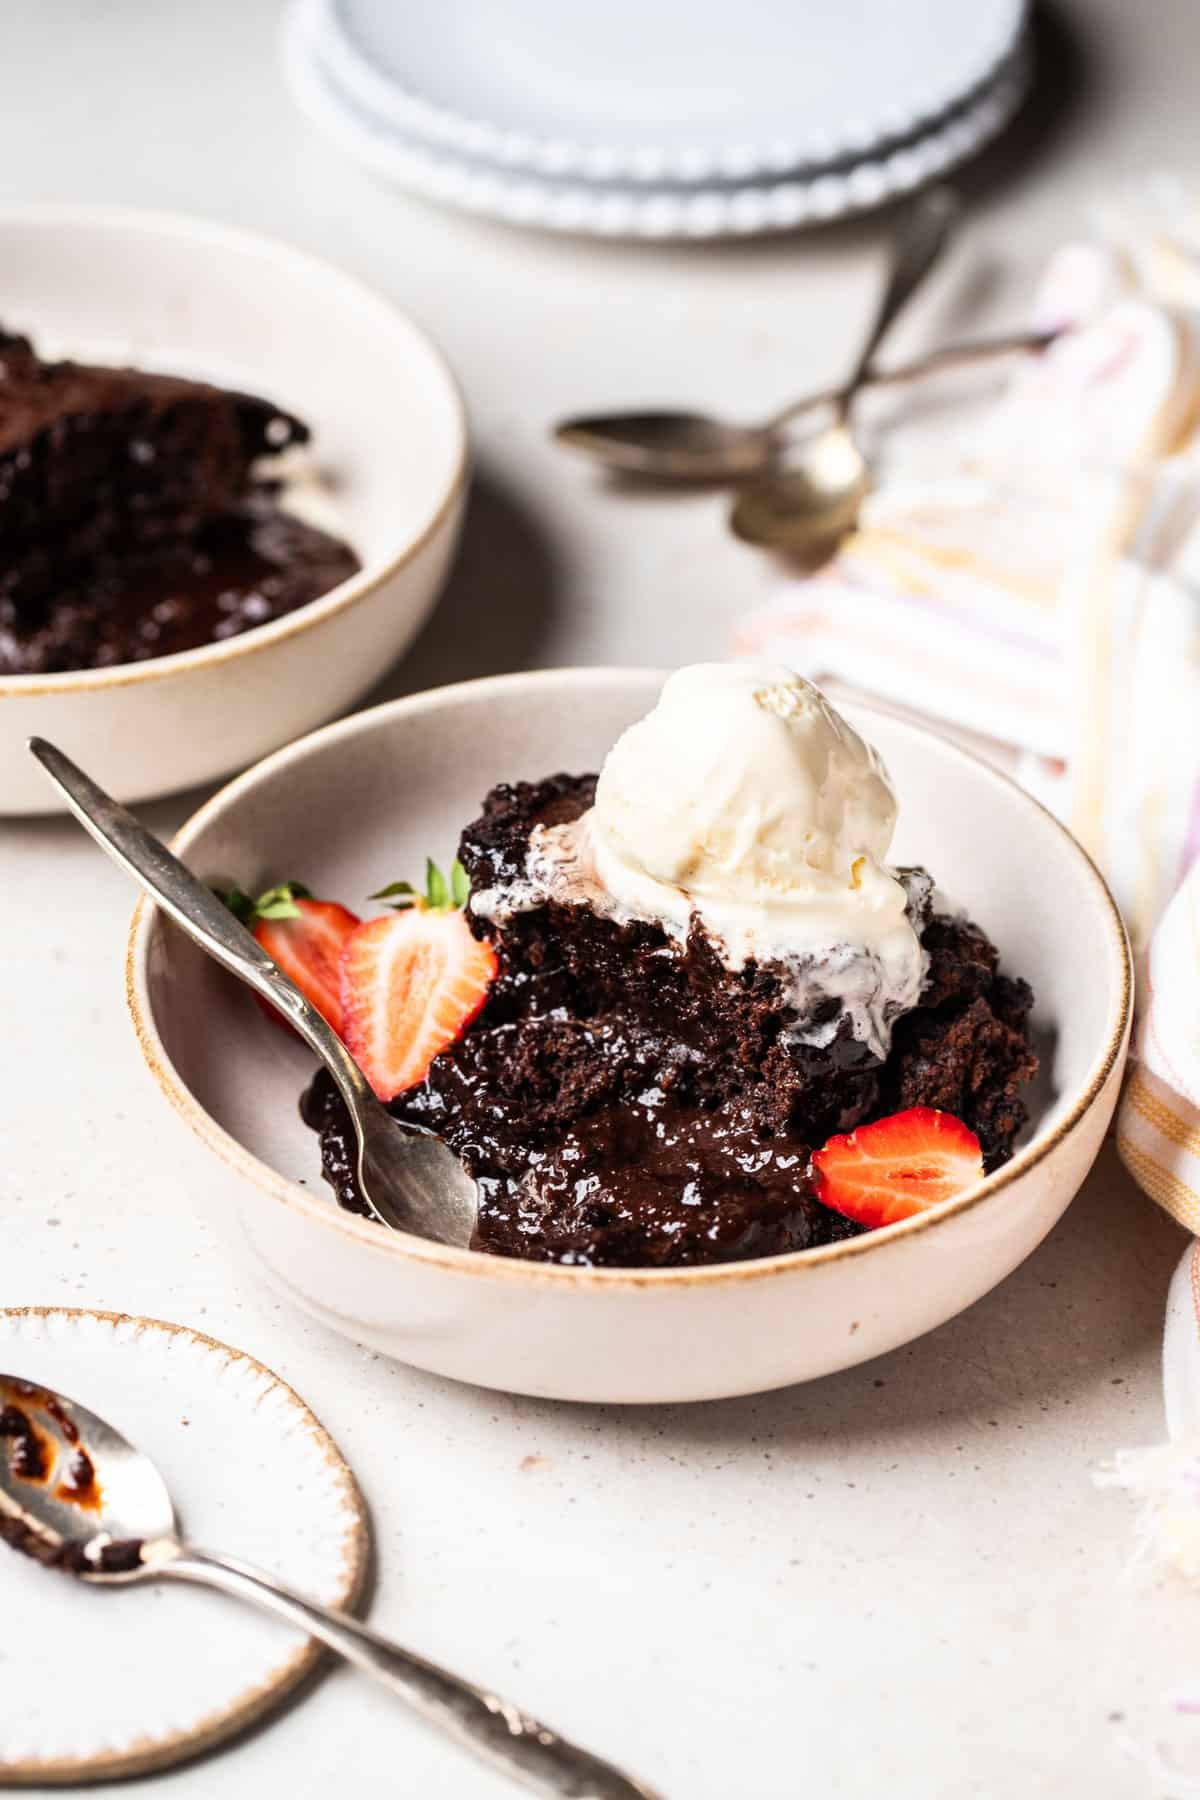
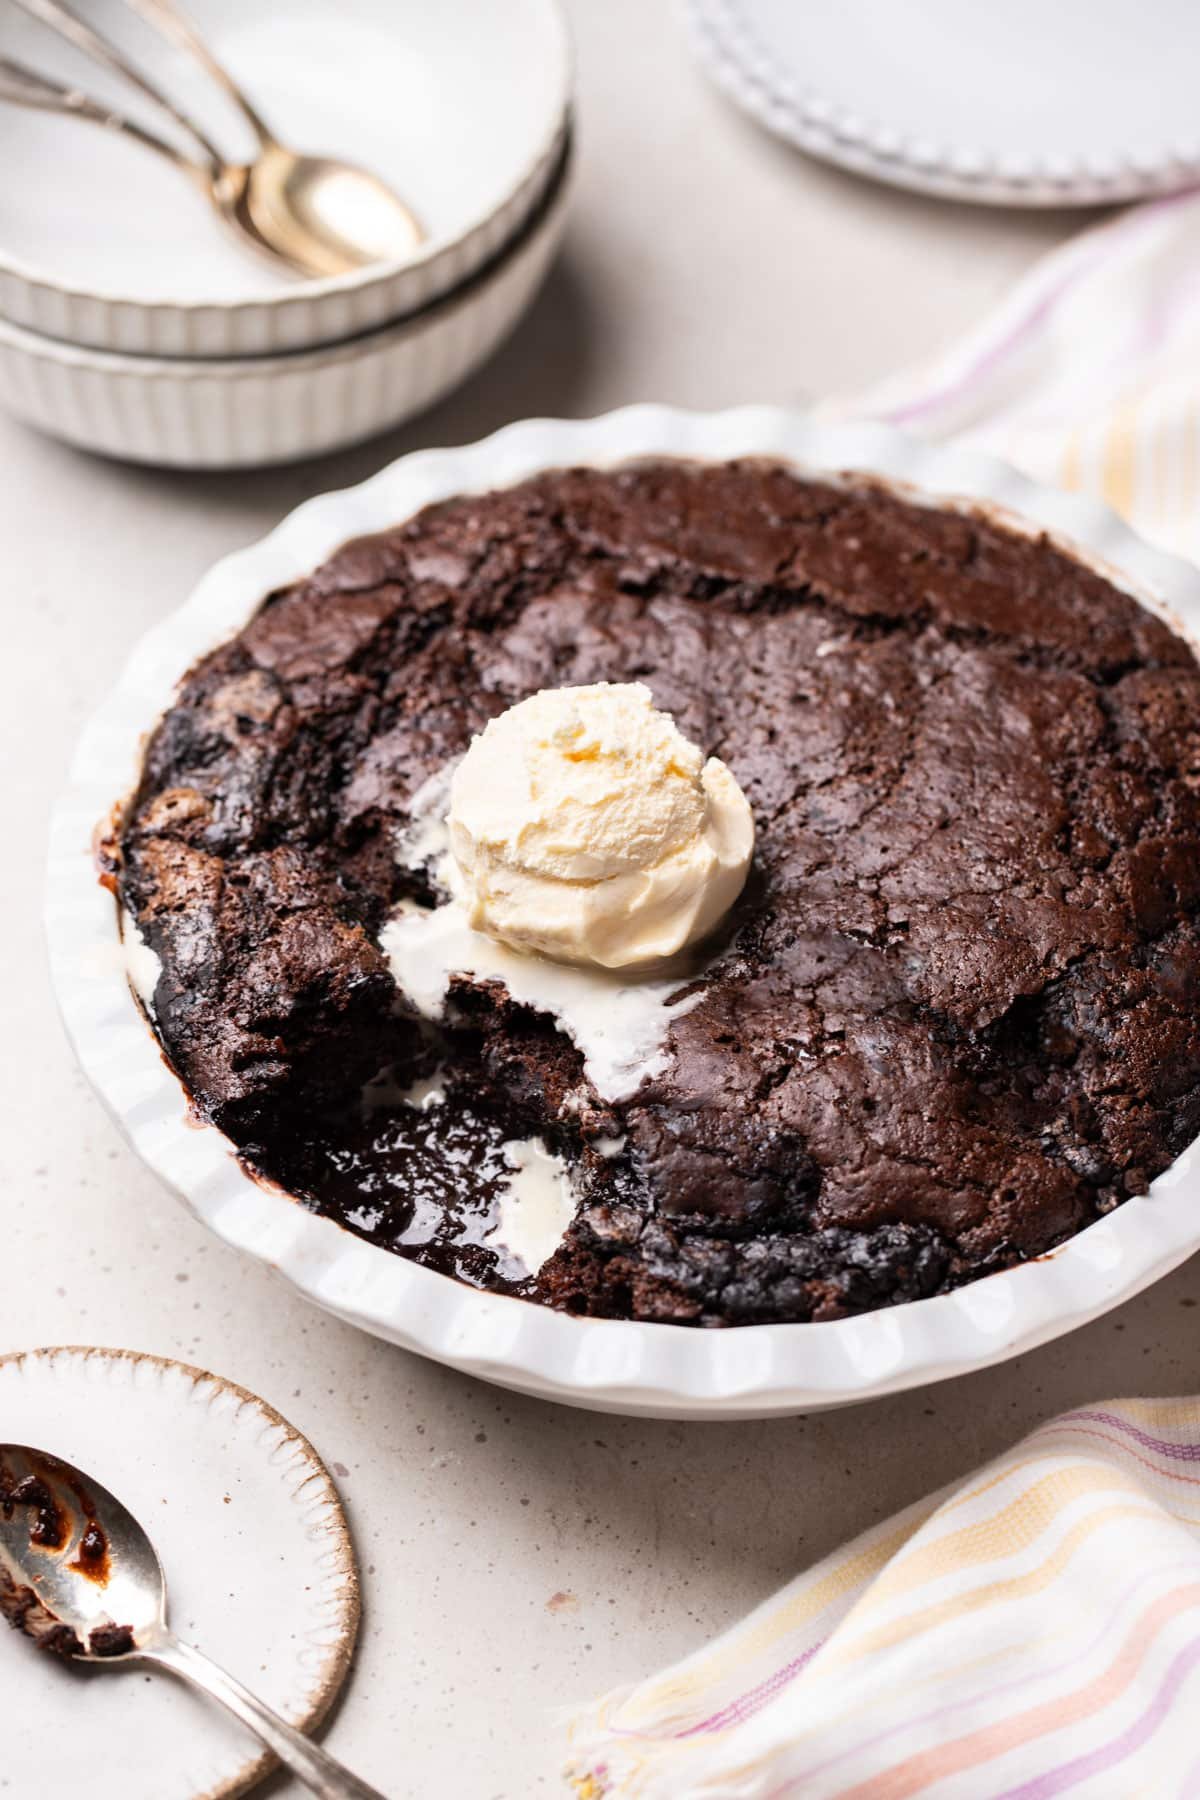
Serve this decadent self-saucing chocolate pudding warm with ice cream for the ultimate family dessert.
Jump to:
Why you’ll love this recipe
This self-saucing chocolate pudding is so quick and easy to make at home. And it’s the perfect dessert; a soft chocolate sponge that magically creates a rich, indulgent chocolate sauce underneath as it bakes.
Perfect for special occasions, Mothers’ Day or for weeknight chocolate cravings, this pudding is so easy to whip together. You only need some simple pantry staples, making it perfect for a last-minute dessert.
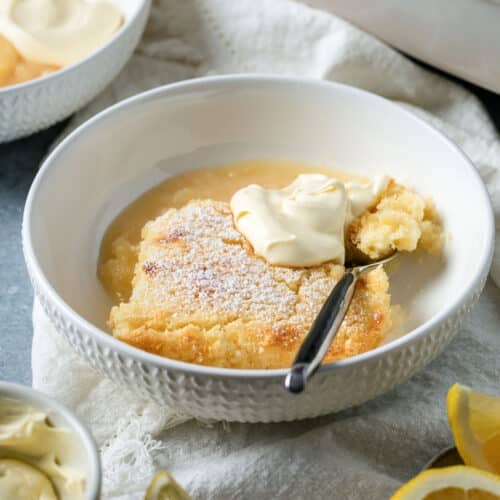
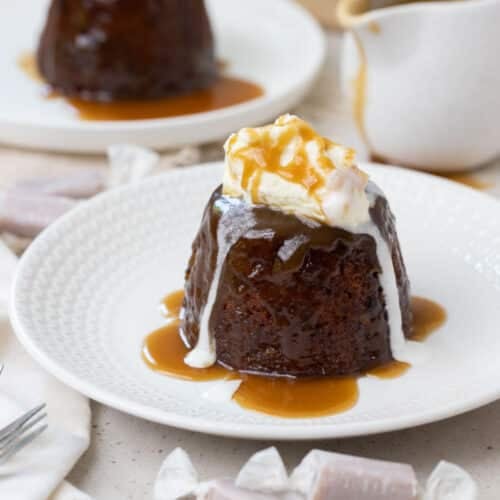
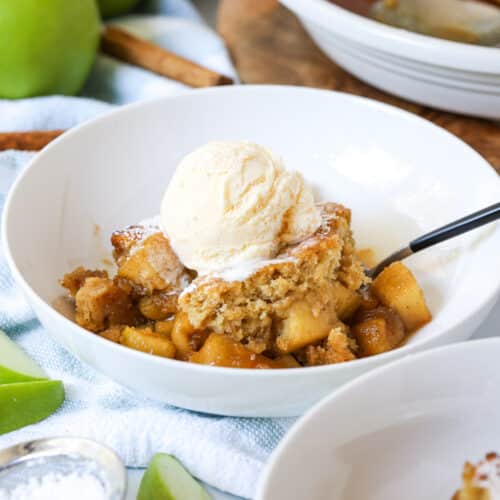
If you love this easy chocolate pudding, try my lemon delicious pudding, sticky date pudding and this self-saucing apple sponge pudding.
Ingredients you will need
** This post contains tips and instructions to achieve the best possible results. The photo below is a great guide for when you are in the supermarket, but for full ingredient quantities and methods, please scroll down to the detailed recipe card below!
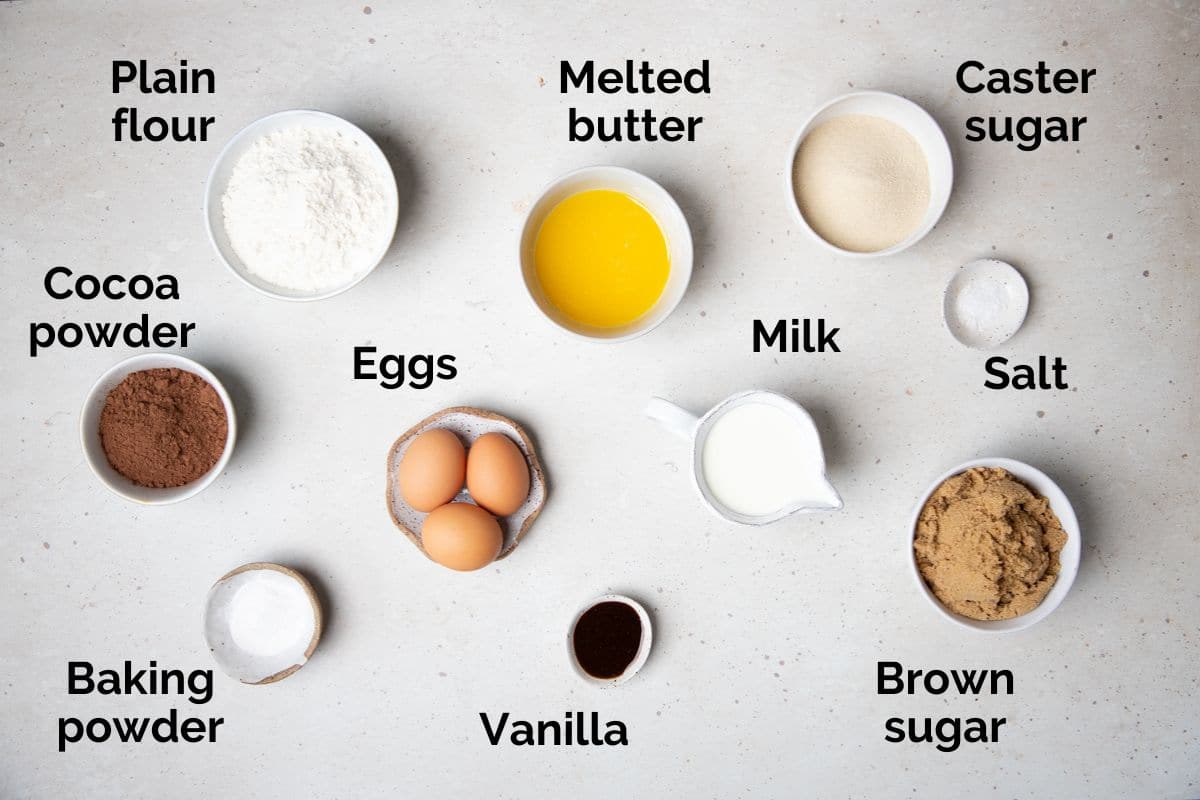
Cocoa powder – use a good quality, unsweetened cocoa powder or Dutch-processed cocoa powder. If there are lumps, sift it first.
Baking powder – to help the cake rise. Make sure the baking powder is fresh and within its use-by date for best results.
Butter – use real butter and make sure it is unsalted, so the pudding does not end up overly salty.
How to make self-saucing chocolate pudding
Full recipe measurements and instructions can be found in the detailed recipe card below. But here’s a brief overview of what to expect;
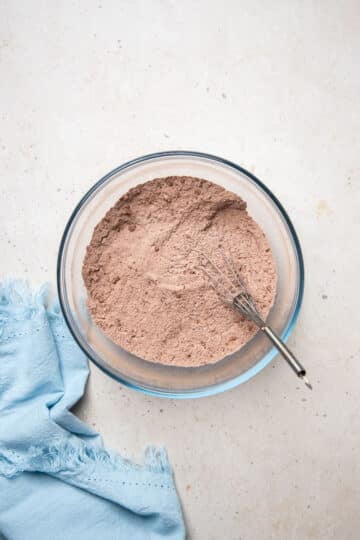
- Step 1: Whisk the dry ingredients together in a bowl, until combined.
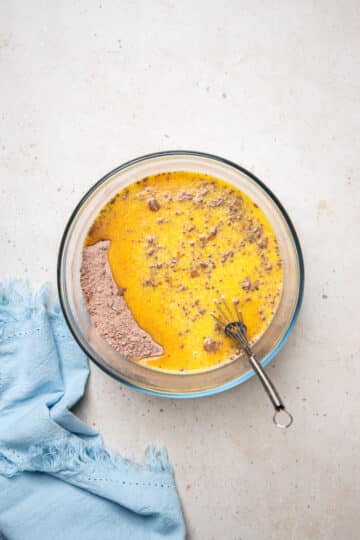
- Step 2: In a small jug or bowl, whisk together the wet ingredients (eggs, melted butter, vanilla and milk) until well combined. Add the wet mixture to the dry ingredients.
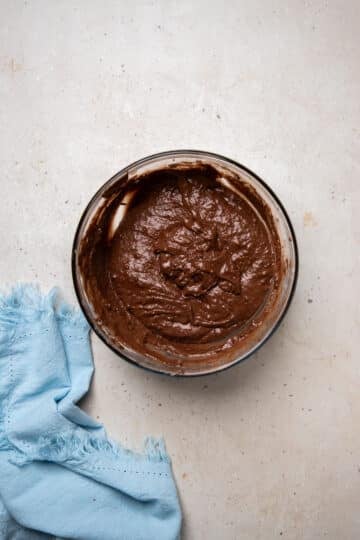
- Step 3: Mix until just combined. Don’t overmix the batter.
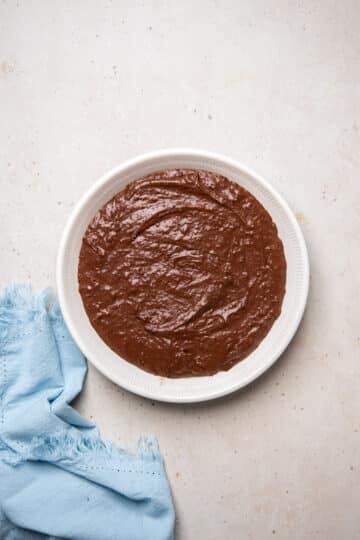
- Step 4: Carefully spread the pudding batter into the bottom of a baking dish (at least 1.5L capacity).
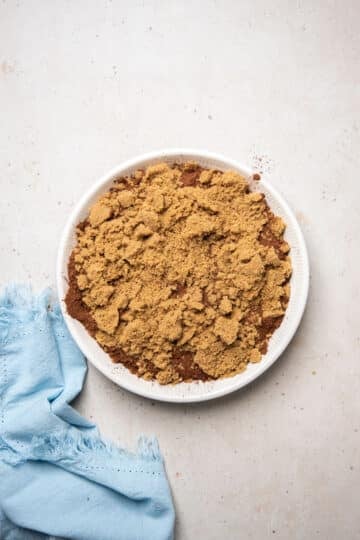
- Step 5: Sprinkle the cocoa powder and brown sugar evenly over the top of the pudding batter.
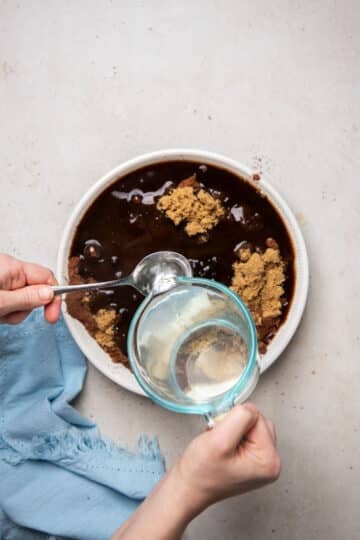
- Step 6: Using a spoon to slow the flow, carefully pour the boiling water over the top of the sugar and cocoa powder. Bake the pudding according to the instructions in the recipe card below.
As the pudding bakes, the water, sugar and cocoa powder seep down through the batter and into the bottom of the dish, creating a rich chocolate sauce and an incredibly moist sponge.
Helpful tips
- Make sure you choose a big enough baking dish. You will need a dish with enough room to fit both the pudding batter and the boiling water that sits on top. Allow 1.5L (6 cups) or slightly larger.
- Make individual puddings instead – you can divide the pudding batter and sauce into individual ramekins or pudding dishes, if preferred. Make sure there is enough space for both the batter and sauce and adjust the cooking times to suit. Smaller puddings will bake a lot faster, so check them at the 10-15 minute mark.
- For an even richer chocolate flavour, add a teaspoon of instant coffee powder to the batter.
- Serve the pudding warm. As the pudding sits, the sauce is absorbed back into the cake. Leftovers won’t be as saucy, but are still delicious reheated in the microwave.
FAQs
Serve this pudding with ice cream, double cream or a dusting of icing sugar. Fresh berries or salted caramel sauce make great additions too.
This pudding is best eaten warm, fresh from the oven. This is because as the pudding sits, the sauce will absorb into the cake and thicken. However, it can certainly be made ahead and reheated when ready to serve.
Reheat leftovers in the microwave in individual bowls. Start with 30 seconds and then heat further if required. Heat until steaming hot.
Related recipes
Tried this recipe? Please leave a star ⭐⭐⭐⭐⭐ rating or leave a review below and let you know how you went!
Hungry for more? Subscribe to my newsletter and follow along on Facebook, Instagram and Pinterest for the latest recipes and news.

Self-Saucing Chocolate Pudding
Ingredients
- 225 grams plain flour
- 3 teaspoons baking powder
- 100 grams caster sugar – I use raw caster sugar, but white caster sugar will also work.
- 50 grams cocoa powder – unsweetened cocoa powder or Dutch processed cocoa powder. Sift if lumpy.
- ½ teaspoon salt
- 3 large eggs
- 100 grams unsalted butter – melted
- 200 ml milk – regular, full-fat milk
- 2 teaspoons vanilla bean paste – or vanilla extract
For the chocolate sauce
- 250 grams brown sugar
- 60 grams cocoa powder – unsweetened cocoa powder or Dutch processed cocoa powder.
- 500 ml boiling water
To serve
- vanilla ice cream – or double cream
- fresh berries (optional)
Instructions
- Pre-heat oven to 180°C/356F (160°C fan-forced). Set aside a large baking dish (at least 1.5L / 6 cup capacity).
- Whisk the dry ingredients (flour, baking powder, caster sugar, cocoa powder and salt) together in a large mixing bowl bowl, until combined.
- In a small bowl or jug, whisk together the wet ingredients (eggs, melted butter, milk and vanilla) until well combined.
- Pour the wet ingredient mixture into the dry ingredients and mix until just combined. Don't overmix.
- Gently spread the pudding batter into the baking dish.
- Sprinkle the cocoa powder and brown sugar evenly over the top of the pudding batter.
- Carefully pour the boiling water onto a dessert spoon and let the water fall from the spoon onto the top of the pudding, making sure to cover the whole pudding (see step-by step image in post).
- Bake for 30-35 minutes, or until the top of the pudding springs back slightly when pressed.
- Remove from the oven and sit for a few minutes before serving hot, topped with ice cream.
Notes
- Make sure you choose a big enough baking dish. You will need a dish with enough room to fit both the pudding batter and the boiling water that sits on top. Allow 1.5L (6 cups) or slightly larger.
- Make individual puddings instead – you can divide the pudding batter and sauce into individual ramekins or pudding dishes, if preferred. Make sure there is enough space for both the batter and sauce and adjust the cooking times to suit. Smaller puddings will bake a lot faster, so check them at the 10-15 minute mark.
- For an even richer chocolate flavour, add a teaspoon of instant coffee powder to the batter.
- This pudding is best eaten warm, fresh from the oven. This is because as the pudding sits, the sauce will absorb into the cake and thicken. However, it can certainly be made ahead and reheated when ready to serve. Leftovers won’t be as saucy, but are still delicious.
- Reheat leftovers in the microwave in individual bowls. Start with 30 seconds and then heat further if required. Heat until steaming hot.
- Please note that the nutrition information is based on the pudding being divided into 6 serves. The nutritional information is an estimate only and does not take into account any additional toppings served with the pudding.
- This recipe is made using Australian cups and spoon measurements. Due to cup sizes varying from country to country, I advise adjusting if necessary. I have included weights for the shortbread crust, to help with the exact measurements.


Leave a Reply