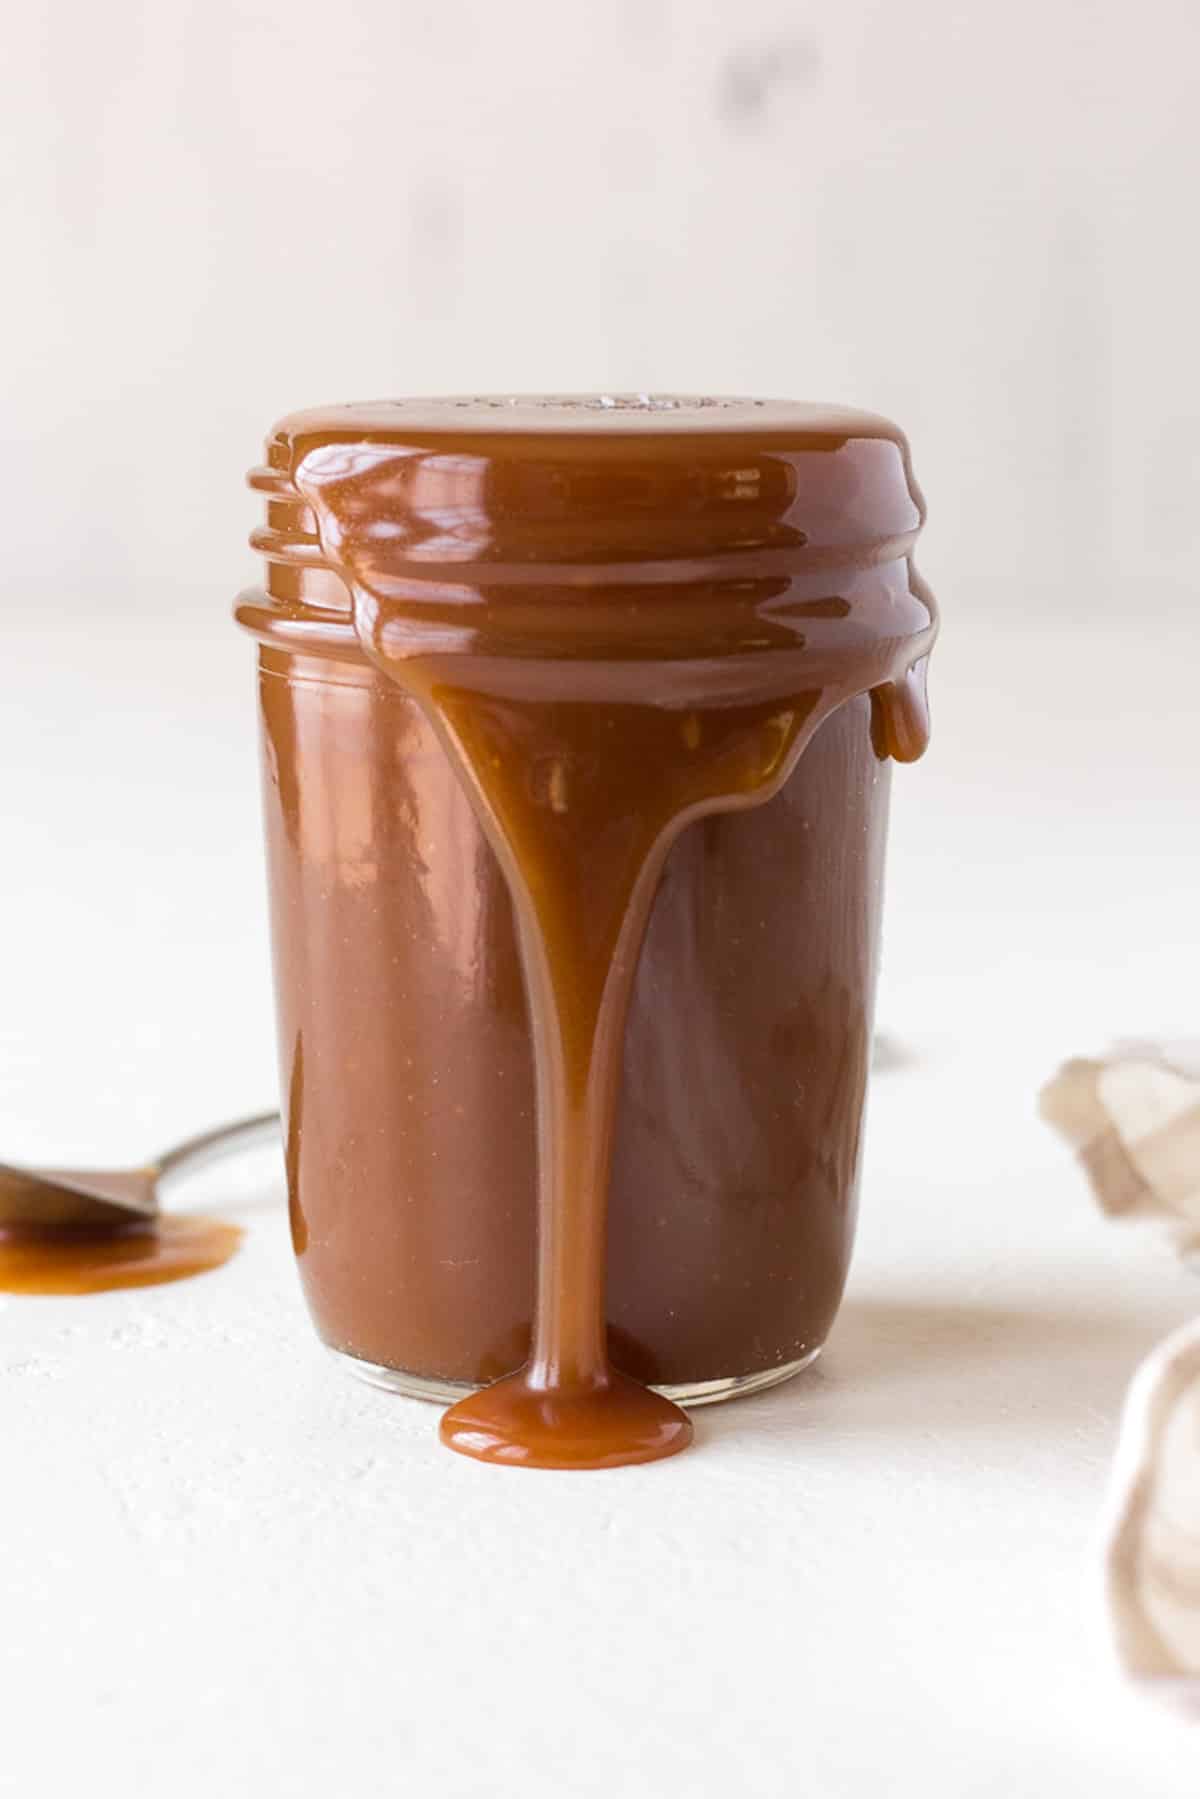
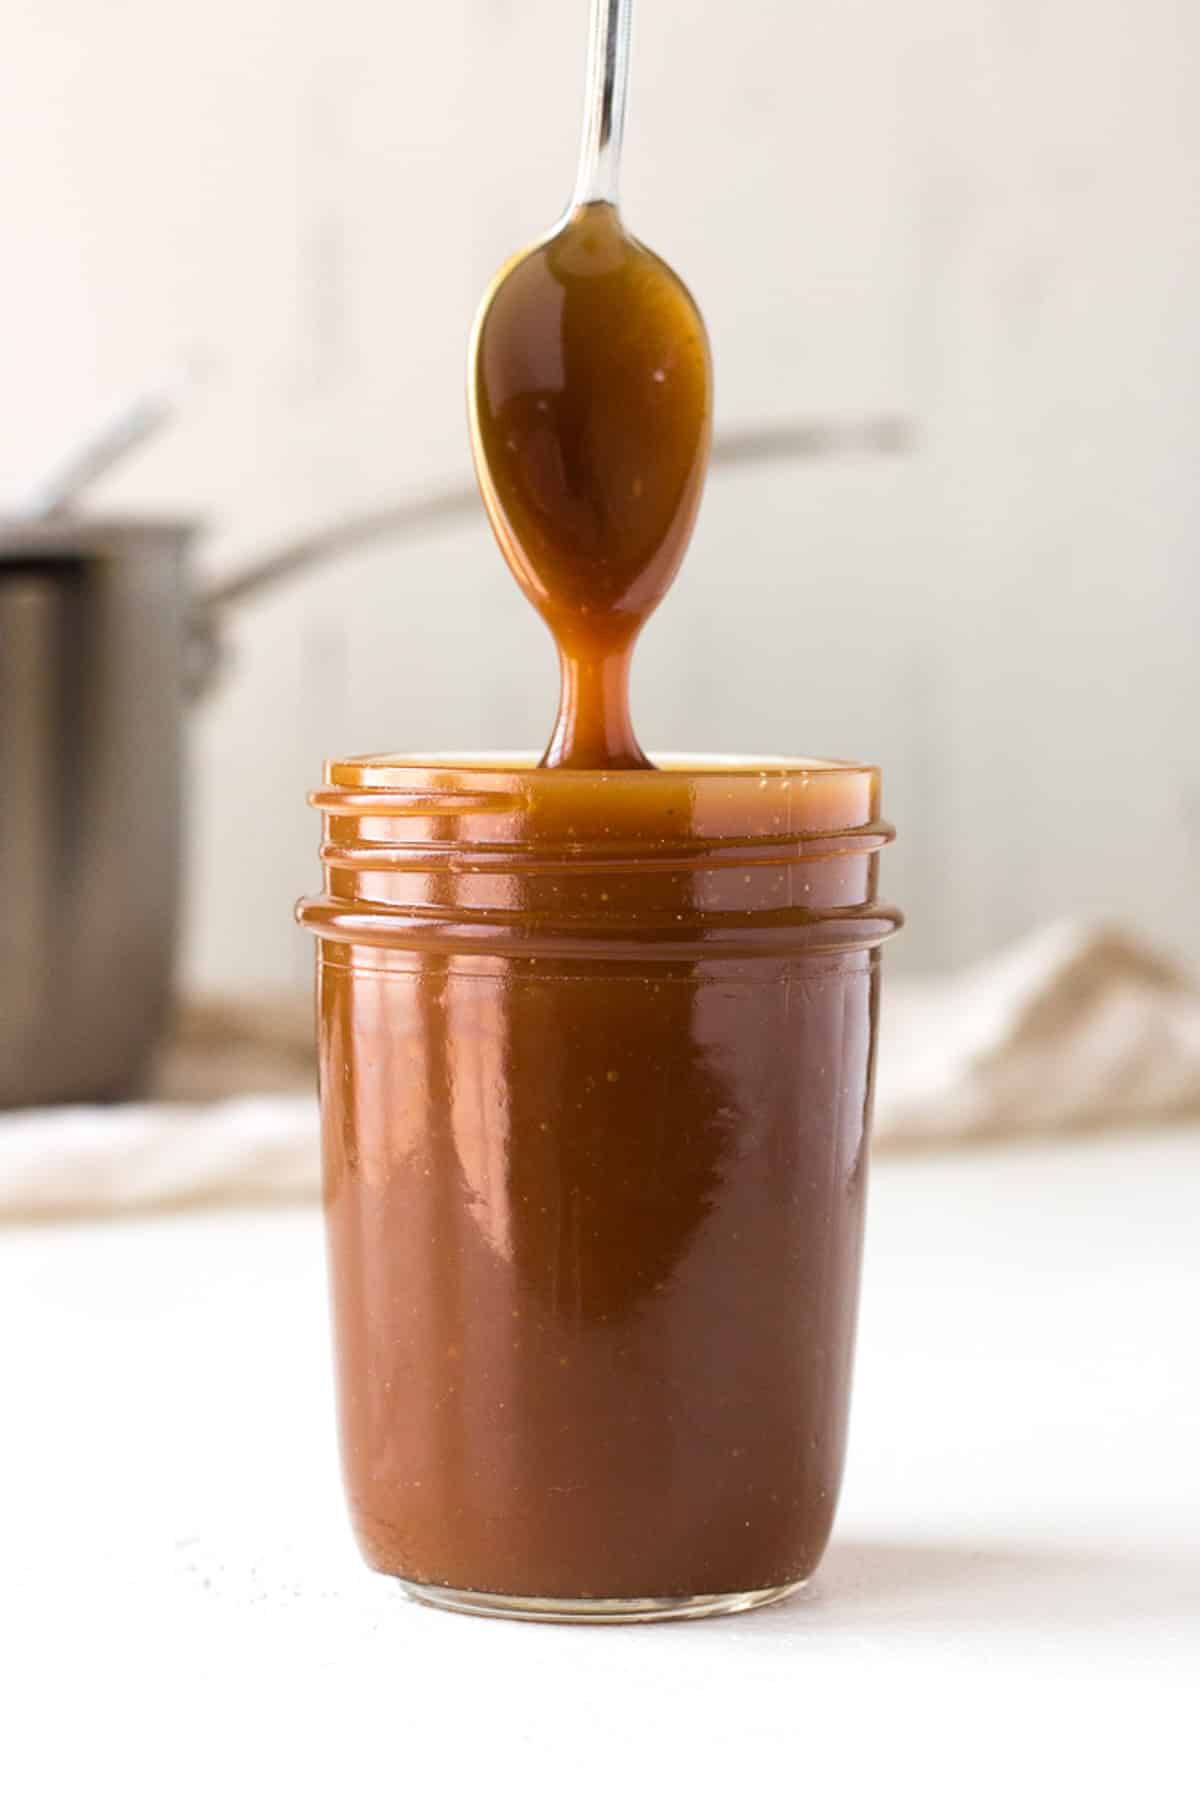
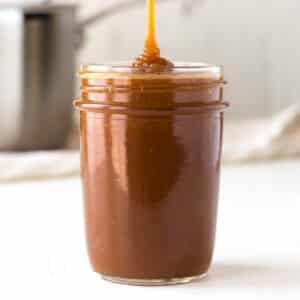
The most luxuriously creamy salted caramel sauce, homemade from scratch in under 15 minutes. Sweet and silky with bursts of flaky salt, it can be used in a number of ways. Pour it liberally over ice cream, cupcakes, chocolate cake, tarts or any sweet treat you fancy. Or, just eat it by the spoonful! You’ll never go back to store-bought caramel sauce again.
Why you’ll love this recipe
- Easy to make – everything is made in one pot using basic pantry ingredients; sugar, cream, butter and salt. Learn how to make caramel sauce from scratch in around 15 minutes, even if you’ve never made it before!
- No need for a candy thermometer – follow my step-by-step guide to make caramel sauce using visual cues, no thermometer required.
- Great for gifting – add it to decorative jars with a nice label and gift it over the holidays, for birthdays or after parties.
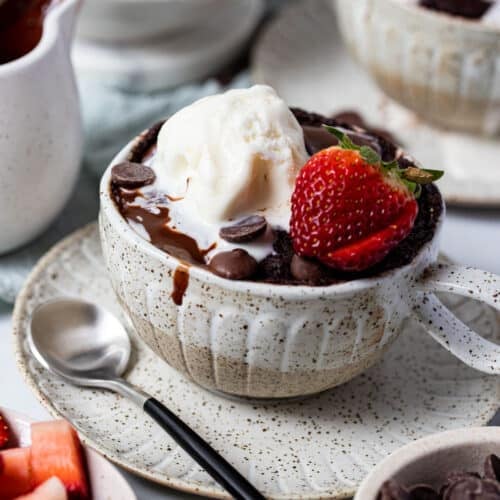
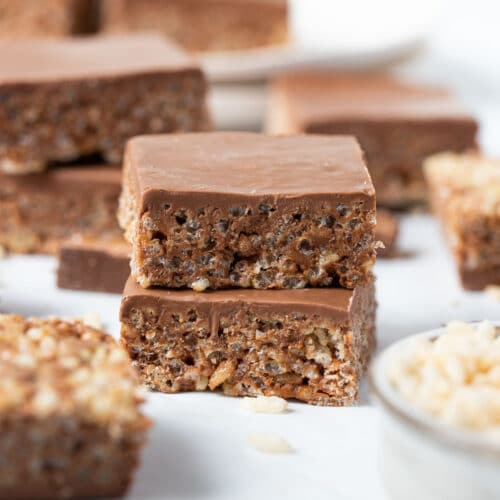
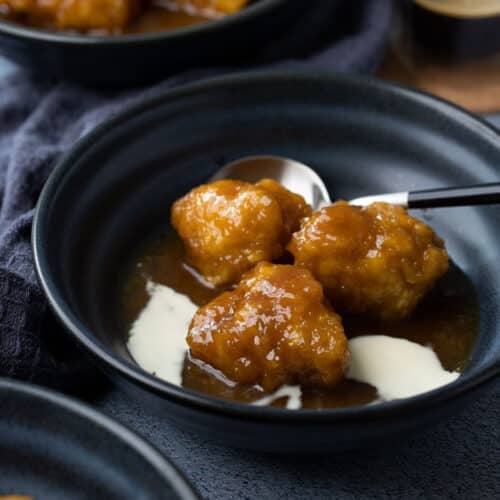
- Versatile – use it on everything! Brownies, cakes, puddings, cupcakes, cookies, ice cream, mug cakes and more!
Ingredients you will need
** This post contains tips and instructions to achieve the best possible results. The photo above is a great guide for when you are in the supermarket, but for full ingredient quantities and methods, please scroll down to the detailed recipe card below!
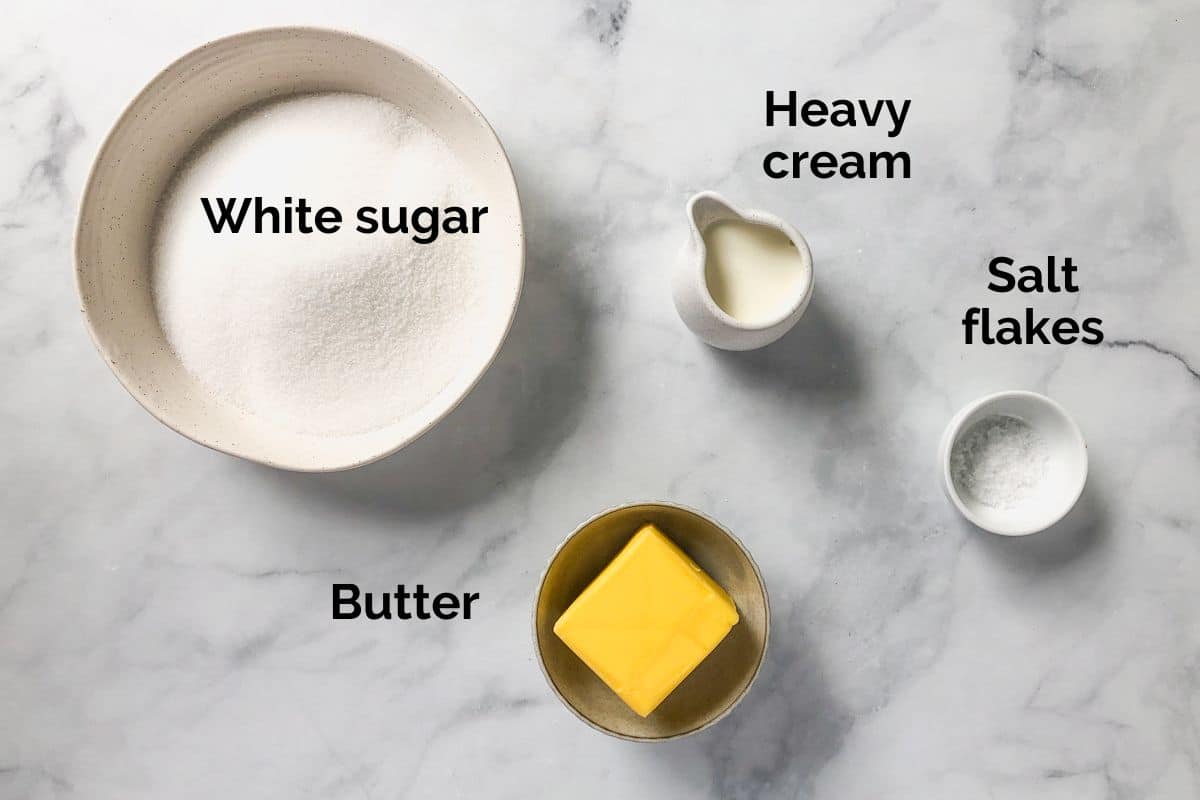
- Sugar – use white, granulated or caster sugar. While either will work, caster sugar is finer, so will melt and dissolve a little easier. Use real sugar, not a sugar substitute.
- Water – helps the sugar to dissolve and heat more easily, while reducing the risk of burning.
- Butter – for a rich, silky and glossy sauce. Butter also helps to thicken the sauce as it cools. As salt flakes are added to the sauce at the end, I recommend using unsalted butter. This means that you can control the salt level more easily. Make sure the butter is at room temperature before using.
- Cream – double or heavy cream (also called whipping cream or thickened cream). Full fat (35% milk fat) cream is recommended, but light cream or double cream can also be used. Like the butter, the cream needs to be at room temperature before using (it can also be gently warmed in the microwave), as cold cream can cause the sauce to split or seize.
- Salt flakes – use good quality salt flakes for little bursts of salt throughout the sauce. Table salt can be used, but use less or the sauce may be too salty. Control the salt levels to suit your preferred taste.
Step by step instructions
While candy thermometers or special equipment are not required, it is very important to keep a close watch on the sugar during the heating process to avoid overcooking. Overcooking the sugar will make the caramel become too brown/burnt and it will be bitter-tasting. Keep the temperature on low-medium to control the process.
** Before starting, measure out all of the ingredients and place everything you need within reach, as everything can happen quickly.
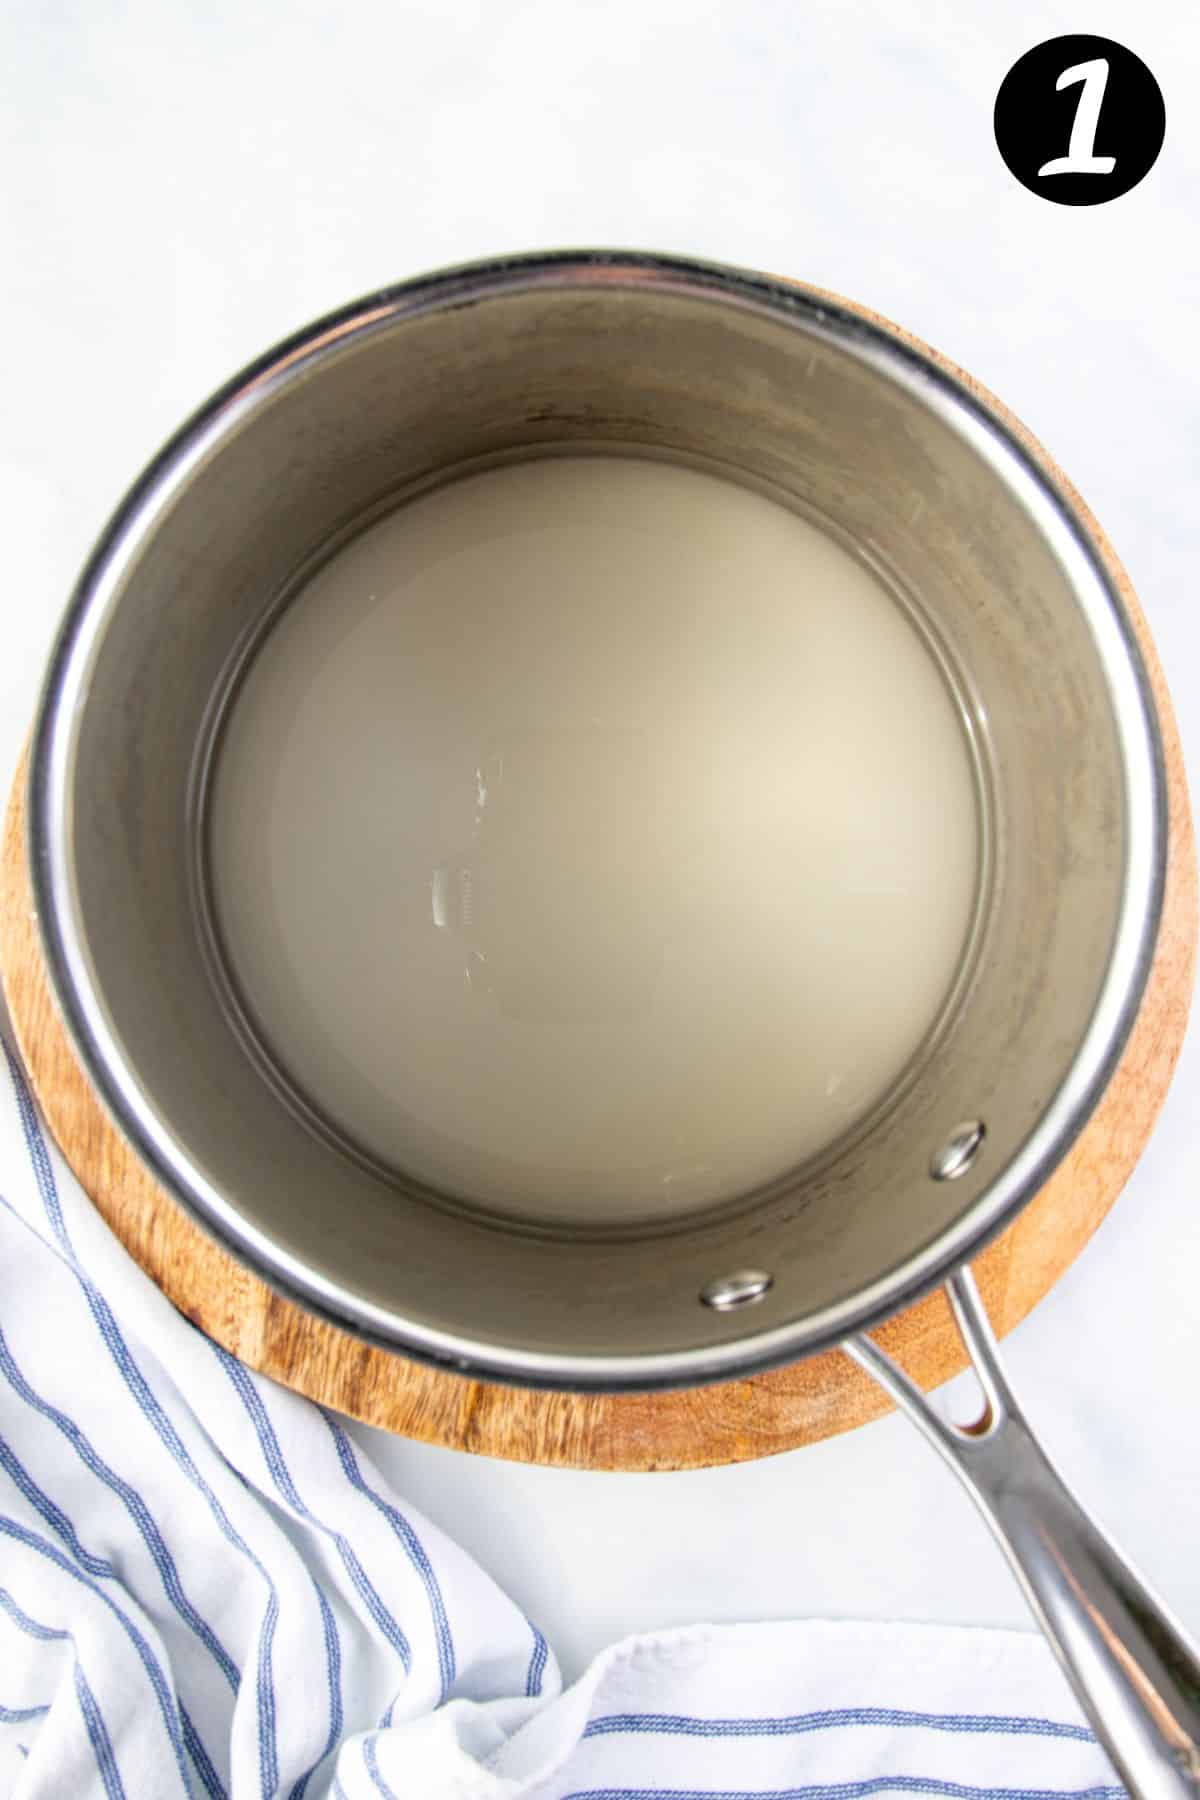
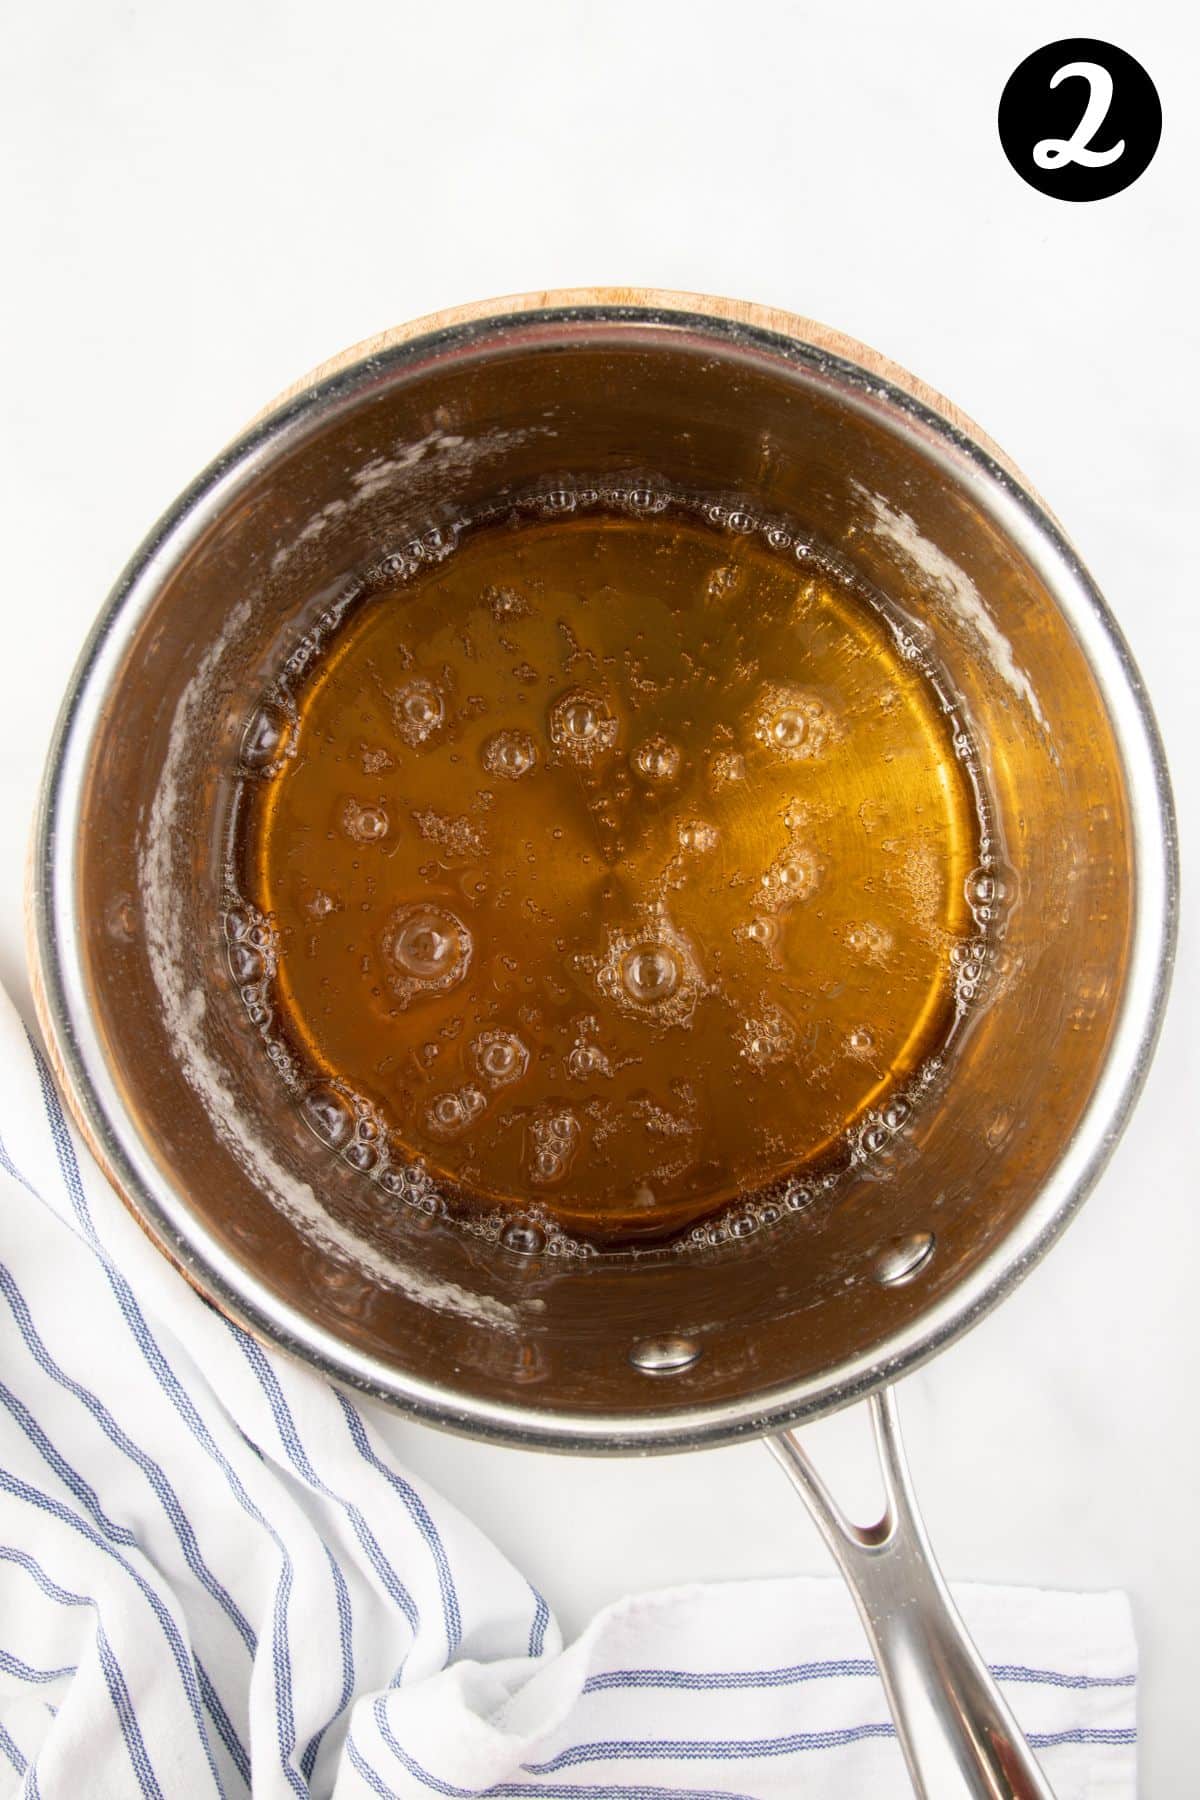
Step 1 – Caramelise the sugar;
To make caramel sauce, the white granulated sugar and water is heated in a large saucepan. As the sugar heats, it will melt and start to change from a light straw colour to an amber/light brown colour. This process should take between 5-10 minutes.
** Don’t stir the sugar. Rather, gently swirl the pan as the sugar starts to change colour to prevent burning and ensure even caramelisation.
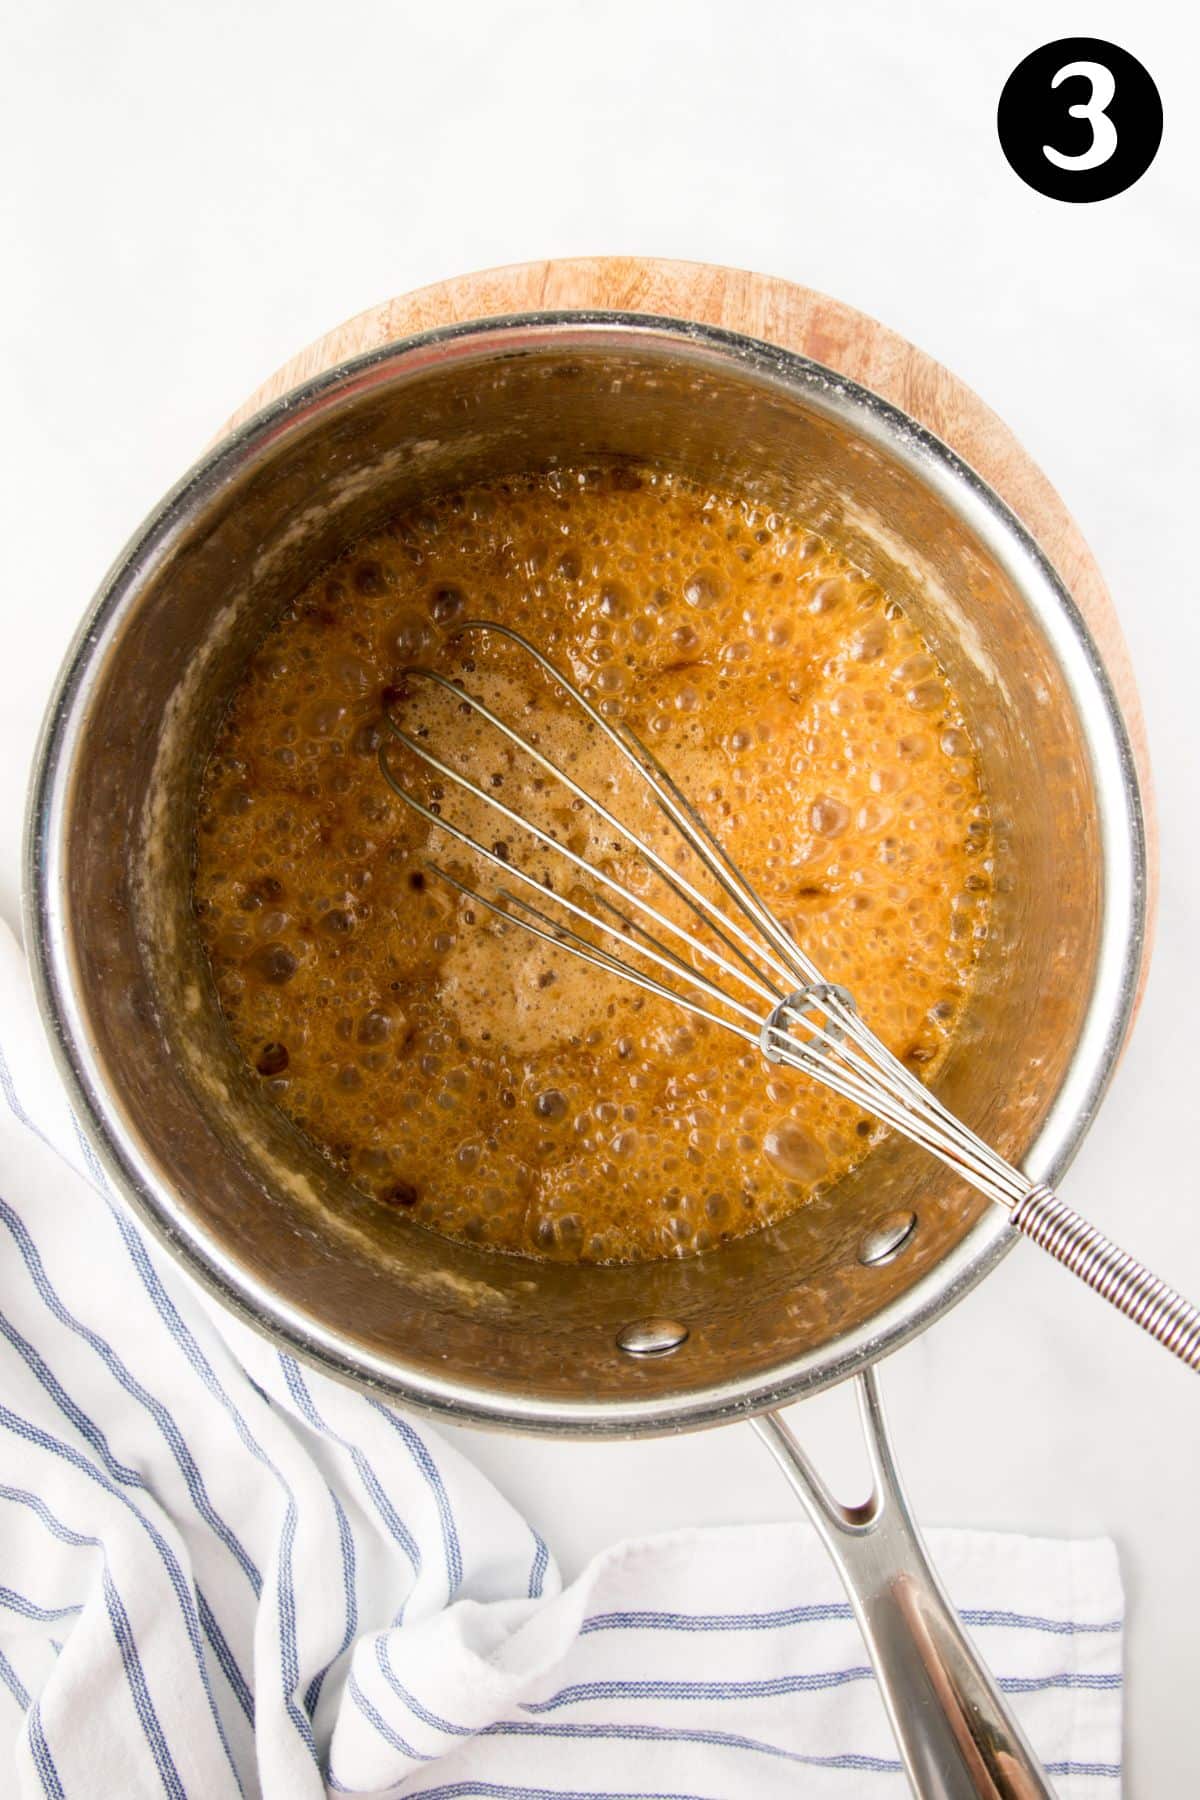
Step 2 – Add the butter;
Have your whisk in hand, ready to go.
Once the sugar has dissolved and turned brown, immediately add the butter and whisk continuously. As you whisk, the butter will melt and incorporate into the mixture.
**When the butter hits the sugar, it will bubble up the sides of the pan. The bubbling will subside as the butter melts.
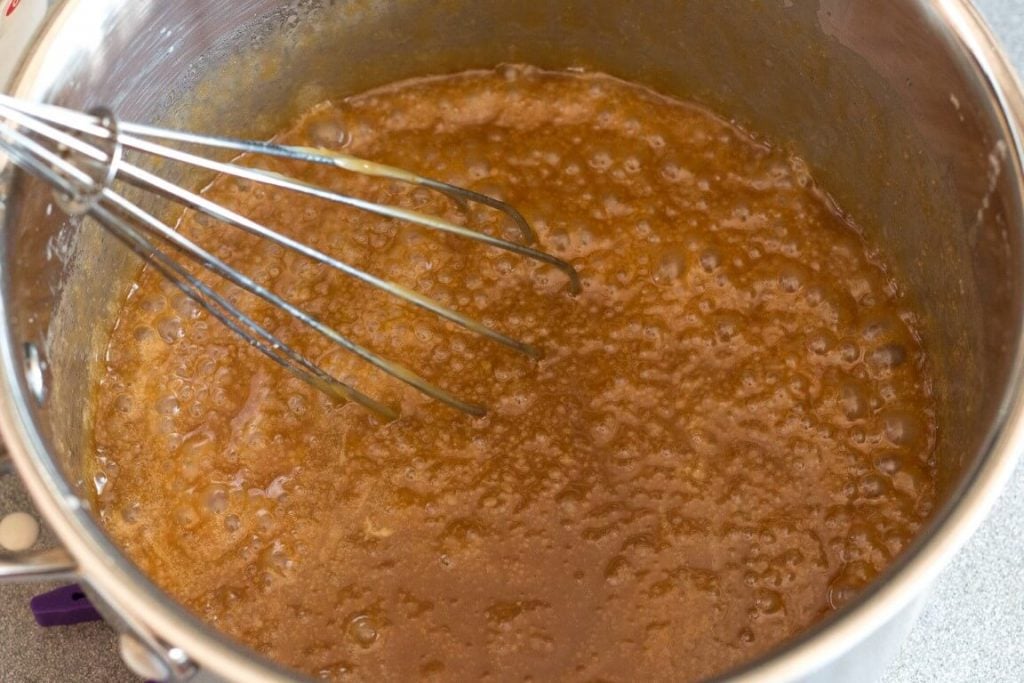
Step 3 – Add the cream;
Once the butter has melted, turn off the heat and carefully add the cream while whisking. The cream will bubble up as the butter did, but will slow down as everything combines.
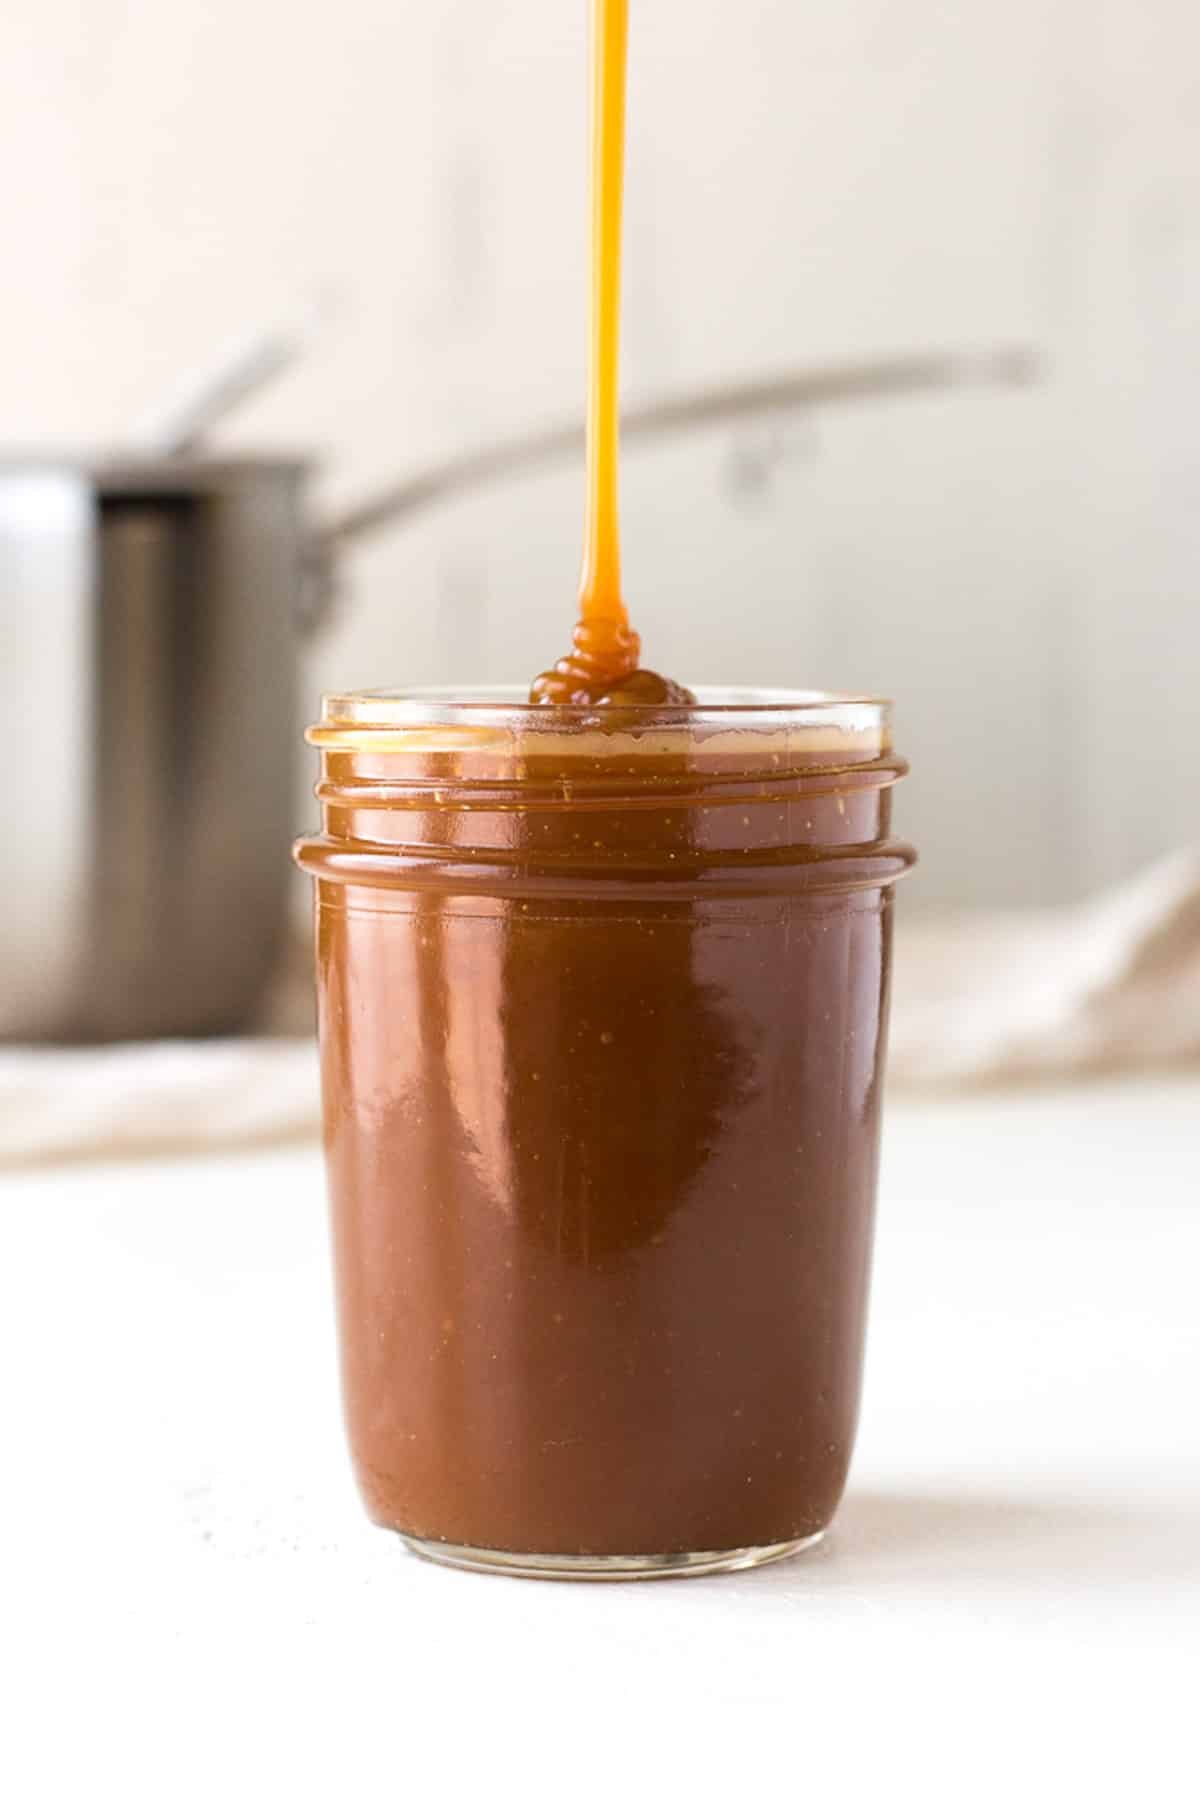
Step 4 – Add the salt;
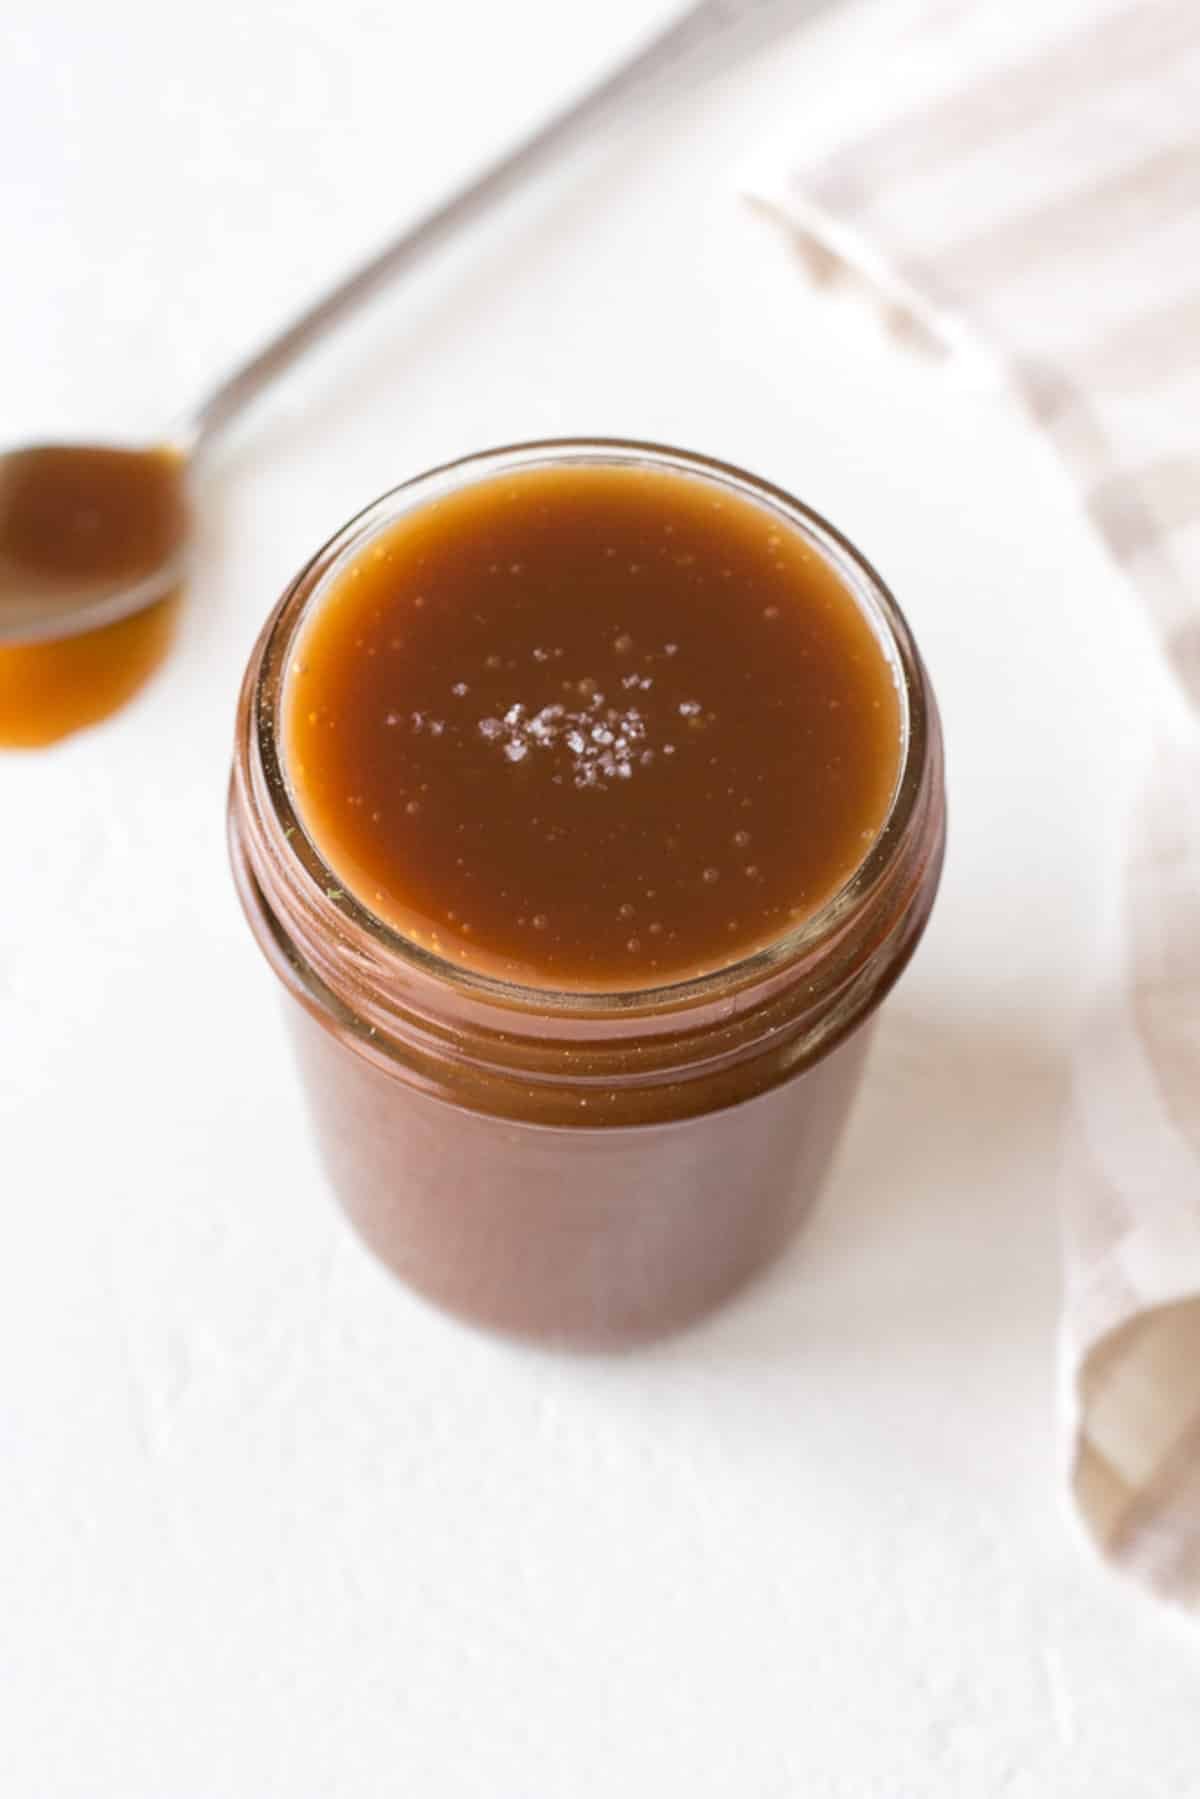
Once the caramel sauce is ready, add salt flakes to taste.
* The sauce may seem runnier than expected, but it will thicken as it cools.
Expert tips
- Have everything ready to go before starting. Making caramel is time-sensitive, so having your ingredients and equipment ready makes the process much easier.
- Take care while making. While it is easy to make, everything happens quickly and the caramel sauce will get very hot and can cause burns. Take caution while cooking to avoid hot caramel sauce landing on your skin.
- Keep an eye on the sugar. As it caramelises, keep a close watch on the sugar. It can turn from golden brown to burnt very quickly. It should be an amber, light-medium brown colour. Once it turns this colour, the butter needs to be added immediately or it will continue to darken.
- Do not stir. Stirring can make the sugar crystallise, which will cause the sauce to be grainy. Instead, gently swirl the pan to move the sugar syrup and ensure even caramelisation.
- Be patient. The sugar syrup will appear clear for some time before it starts to caramelise. It will look like nothing is happening for a 5-10 minutes before it starts to colour. It’s best to keep it at a medium-low temperature, or things may happen too quickly and burn.
- Room temperature ingredients. Make sure that the butter and cream are at room temperature. Cold ingredients will cause the hot sugar syrup to seize, which can cause lumps. It can also make the sauce split. Room temperature ingredients will incorporate more easily.
- If the cream doesn’t immediately incorporate into the mixture, don’t panic! Simply place it back over low heat and whisk until combined.
- Use a saucepan with high walls. The cream and butter will foam and bubble up the sides of the pan. Using a large saucepan will ensure the mixture does not bubble over the sides.
- How much salt you add will depend on how salty you want the sauce. You can just add a pinch, or add more to your preference. Start with 1 teaspoon and go from there.
- This recipe yields about 3 cups of caramel sauce.
FAQs
Allow the caramel to cool slightly and pour into clean, sterilised glass jars or airtight container. Store the caramel in the fridge for up to 1 month. The caramel sauce cools in the fridge, it will harden. When you are ready to use it, spoon the desired amount into a microwave-safe bowl and microwave it in 20-30 second intervals (stirring in between) until it warms and loosens again.
Caramel sauce can be made ahead and stored in the fridge or freezer until ready for use. Heat on the stovetop or in the microwave to make it runny again.
Caramel sauce can be frozen for up to 3 months. Allow it to come to room temperature first and then place it into freezer-safe containers in the freezer. Thaw in the fridge overnight or at room temperature before using.
Related recipes

Tried this recipe? Please leave a star ⭐⭐⭐⭐⭐ rating or leave a review below and let you know how you went!
Hungry for more? Subscribe to my newsletter and follow along on Facebook, Instagram and Pinterest for the latest recipes and news.
Homemade Salted Caramel Sauce
Ingredients
- 2 cups white sugar white granulated sugar or caster sugar
- 1 cup water
- 225 grams unsalted butter about 1 cup at room temperature
- 1 cup cream room temperature or gently warmed
- 1 teaspoon salt flakes or more or less, to taste.
Instructions
- Place the sugar and water into a saucepan with high sides. Do not stir the sugar, but swirl to combine.
- Cook over medium-low heat until the mixture starts to simmer and the sugar dissolves. Do not stir.
- Continue to simmer on medium-low heat until the sugar changes from clear to a light straw colour and then a light brown/amber caramel colour.
- Once the sugar has reached a light brown caramel colour, immediately add the butter and whisk continually. The mixture will foam and rise up, but will settle as the butter incorporates into the caramel. Bring back to a low simmer.
- Turn off the heat and add the cream, whisking to combine. The cream will cause the mixture to bubble rapidly, but it will settle as it incorporates.
- Whisk until smooth. Add the salt flakes to taste and store into clean, sterilised jars. The mixture will thicken as it cools.
Notes
- Have everything ready to go before starting. Adding the ingredients to the caramel is time-sensitive, so having your ingredients and equipment ready makes the process much easier.
- Take care while making. While it is easy to make, everything happens quickly and the caramel sauce will get very hot and can cause burns. Take caution while cooking to avoid hot caramel sauce landing on your skin.
- Keep an eye on the sugar. As it caramelises, keep a close watch on the sugar. It can turn from golden brown to burnt very quickly. It should be an amber, light-medium brown colour. Once it turns this colour, the butter needs to be added immediately or it will continue to darken.
- Do not stir. Stirring can make the sugar crystallise, which will cause the sauce to be grainy. Instead, gently swirl the pan to move the sugar syrup and ensure even caramelisation.
- Be patient. The sugar syrup will appear clear for some time before it starts to caramelise. It will look like nothing is happening for 5-10 minutes before it starts to colour. It’s best to keep it at a medium-low temperature, or things may happen too quickly and burn.
- Room temperature ingredients. Make sure that the butter and cream are at room temperature. Cold ingredients will cause the hot sugar syrup to seize, which can cause lumps. It can also make the sauce split. Room temperature ingredients will incorporate more easily.
- If the cream doesn’t immediately incorporate into the mixture, don’t panic! Simply place it back over low heat and whisk until combined.
- Use a saucepan with high walls. The cream and butter will foam and bubble up the sides of the pan. Using a large saucepan will ensure the mixture does not bubble over the sides.
- Sugar – use white, granulated or caster sugar. While either will work, caster sugar is finer, so will melt and dissolve a little easier. Use real sugar, not a sugar substitute.
- Butter – for a rich, silky and glossy sauce. Butter also helps to thicken the sauce as it cools. As salt flakes are added to the sauce at the end, I recommend using unsalted butter so that you can control the salt content more easily. Make sure the butter is at room temperature before using.
- Cream – double or heavy cream (also called whipping cream or thickened cream). Full fat (35% milk fat) is recommended, but light cream or double cream can also be used. Like the butter, the cream needs to be at room temperature before using, or the sauce can split or seize.
- How much salt you add will depend on how salty you want the sauce. You can just add a pinch, or add more to your preference. Start with 1 teaspoon and go from there.
- Storage; Allow the caramel to cool and pour into clean, sterilised glass jars or airtight container. Store the caramel in the fridge for up to 1 month. The caramel sauce cools in the fridge, it will harden. When you are ready to use it, spoon the desired amount into a microwave-safe bowl and microwave it in 20-30 second intervals (stirring in between) until it warms and loosens again.
- Reheating; Caramel sauce can be made ahead and stored in the fridge or freezer until ready for use. Heat on the stovetop or in the microwave to make it runny again.
- Freezing; Caramel sauce can be frozen for up to 3 months. Allow it to come to room temperature first and then place it into freezer-safe containers in the freezer. Thaw in the fridge overnight or at room temperature before using.
- Please note that the nutrition information is based on the caramel yielding about 3 cups, with about ¼ cup being one serve. The nutritional information is an estimate only and does not take into account any additional toppings or sides served with the sauce.
- This recipe is made using Australian cups and spoon measurements. Due to cup sizes varying from country to country, I advise adjusting if necessary.
Nutrition
Are you following us on Facebook, Instagram and Pinterest?
Update Notes: This recipe was originally published in February 2019, but was re-published with new information and photos in August 2022.


Leave a Reply