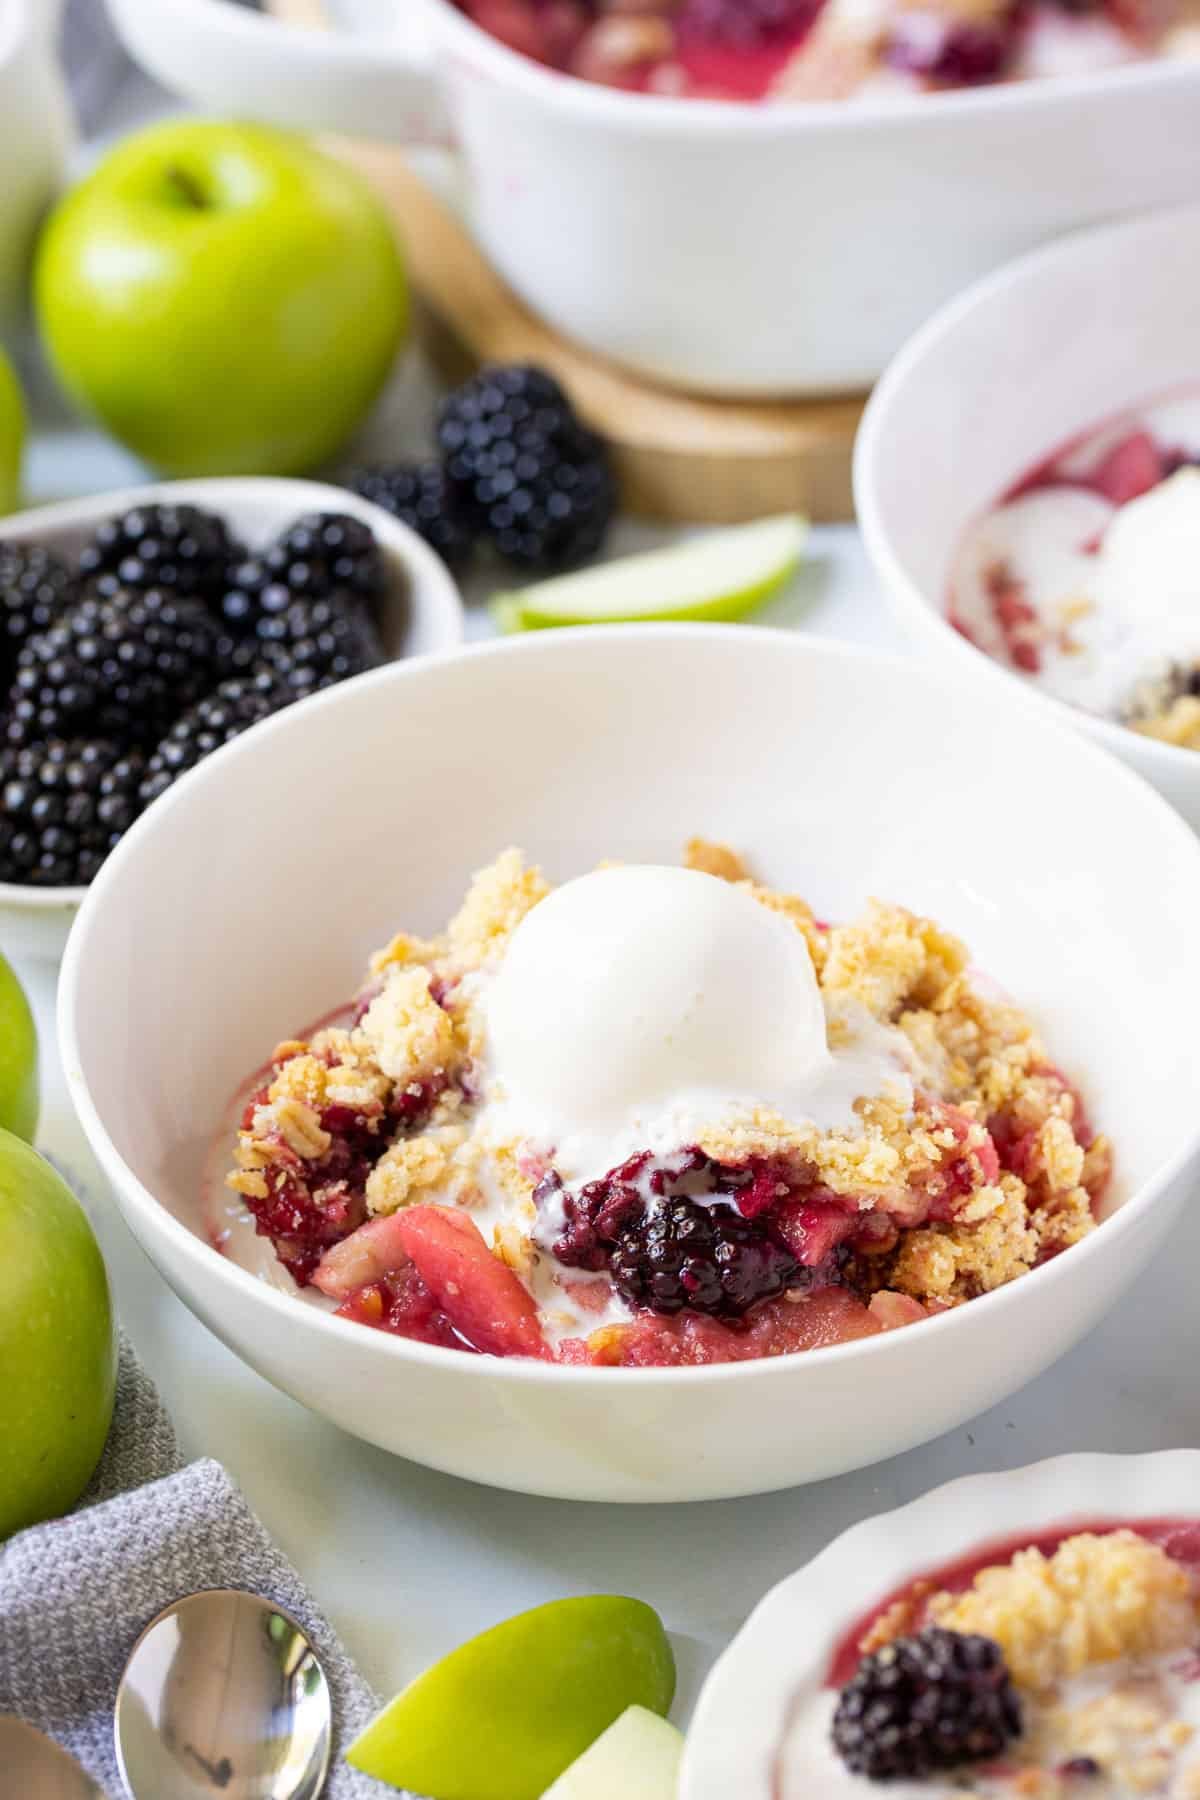
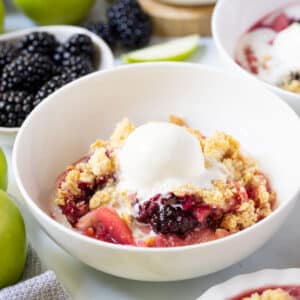
This easy apple and blackberry crumble is completely delicious and a cold weather must! Featuring juicy apples, dotted with fresh (or frozen) blackberries and topped with a crunchy oat crumble, it is comfort dessert at its best. And it can be made ahead and frozen.
Why you’ll love this recipe
You only need a handful of basic ingredients to get started.
- Foolproof recipe – it’s quick to throw together and can be made in advance with ingredients you probably already have in your pantry.
- Freezer friendly – it can be made ahead (cooked or un-cooked) and frozen.
- 8 serves – this recipe is made for a hungry crowd; with 8 generous serves.
- Delicious as leftovers! It makes a tasty breakfast, topped with creamy Greek yoghurt.
- Comforting – serve it with a drizzle of cream, some creamy custard or a scoop (or two!) of vanilla ice cream for the ultimate indulgence.
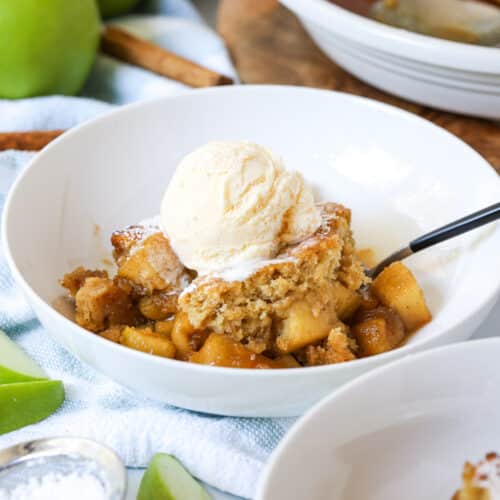
Looking for more baked apple desserts? You’ll love this apple sponge pudding and apple sour cream slice.
Ingredients you will need
** This post contains tips and instructions to achieve the best possible results. This photo is a great guide for when you are in the supermarket, but for full ingredient quantities and methods, please scroll down to the detailed recipe card below!

- Apples – you will need about 6-8 medium apples, peeled and thinly sliced. Firmer apples are best for baking, as they hold their shape better when cooked. Avoid soft apples, as they will lose their texture and become mushy. I recommend Granny Smith apples for their tart flavour and firm texture, which is perfect for baking. But, a mix of sweet and tart apples can be used for depth of flavour. Jonathan apples or Pink Lady are great choices too.
- Blackberries – fresh or frozen blackberries can be used, depending on the season and what is available. If using frozen berries, there is no need to thaw them first. Alternatively, you can add blueberries, raspberries, strawberries or frozen mixed berries.
- Flour – plain (all purpose) flour is used to form the crumble. For gluten free crumble, use gluten-free flour or add a mixture of gluten-free flour and almond meal instead of regular flour. Plain flour is also used to thicken the apple filling.
- Sugar – to sweeten the dish and balance the tartness of the apples. You need it for both the apple layer and the crumble topping.
- Vanilla – complements the apple and buttery crumble flavours. I don’t recommend skipping this ingredient.
- Butter – use chilled butter, straight from the fridge.
- Oats – add crunchy and chewy textures to the crumble layer. Use whole, rolled oats for best results.
Step by step instructions
Full recipe quantities and instructions can be found in the detailed recipe card below.
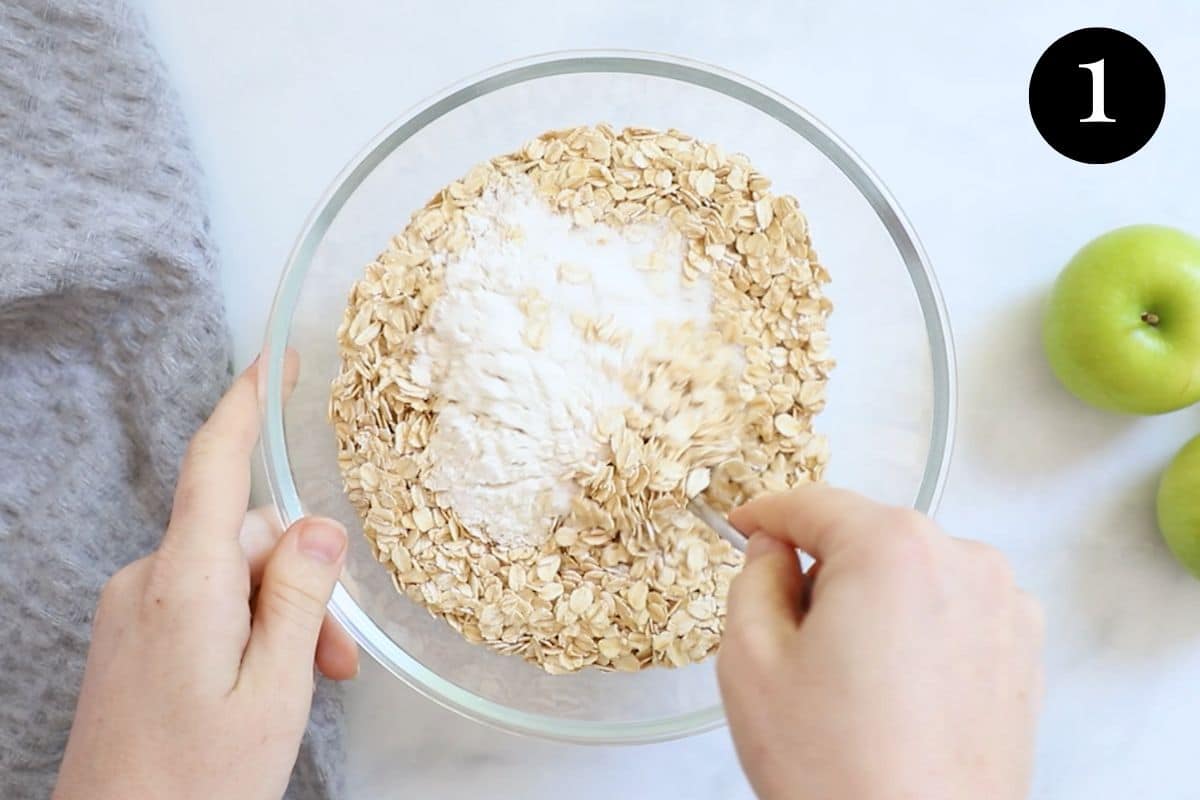
Step 1 – Prepare the crumble;
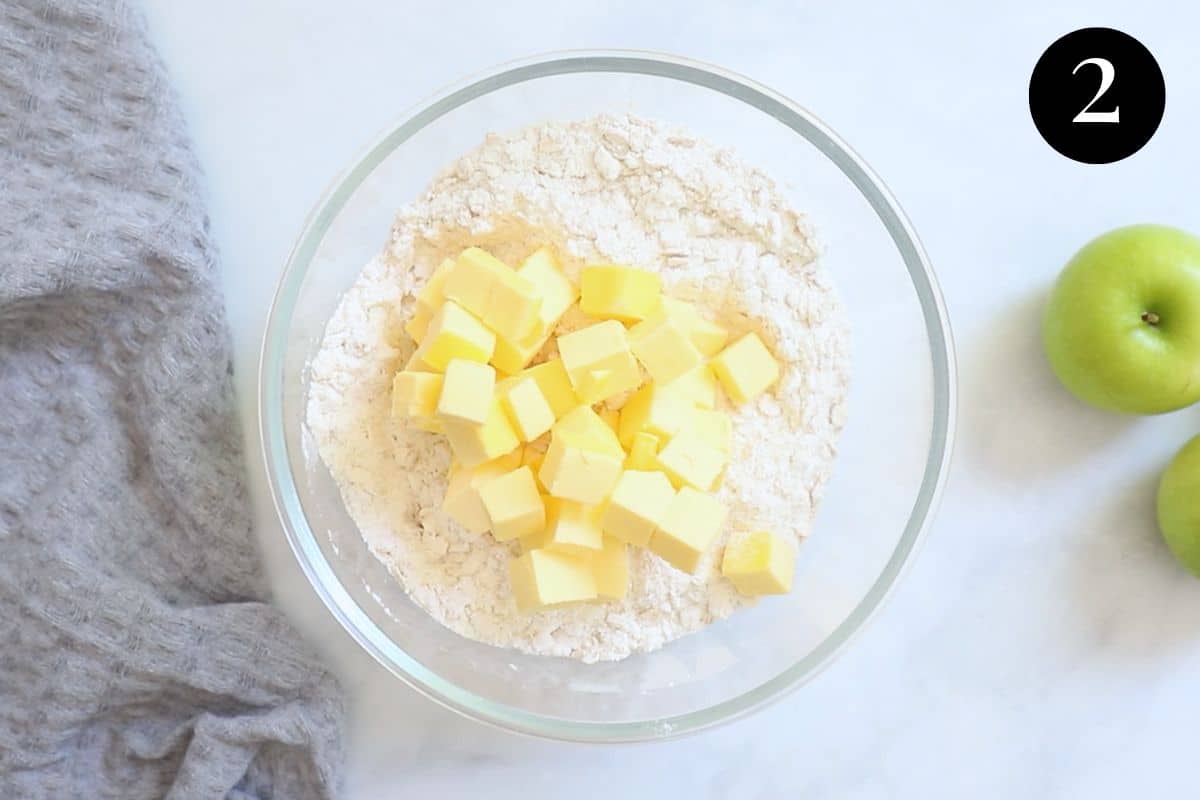
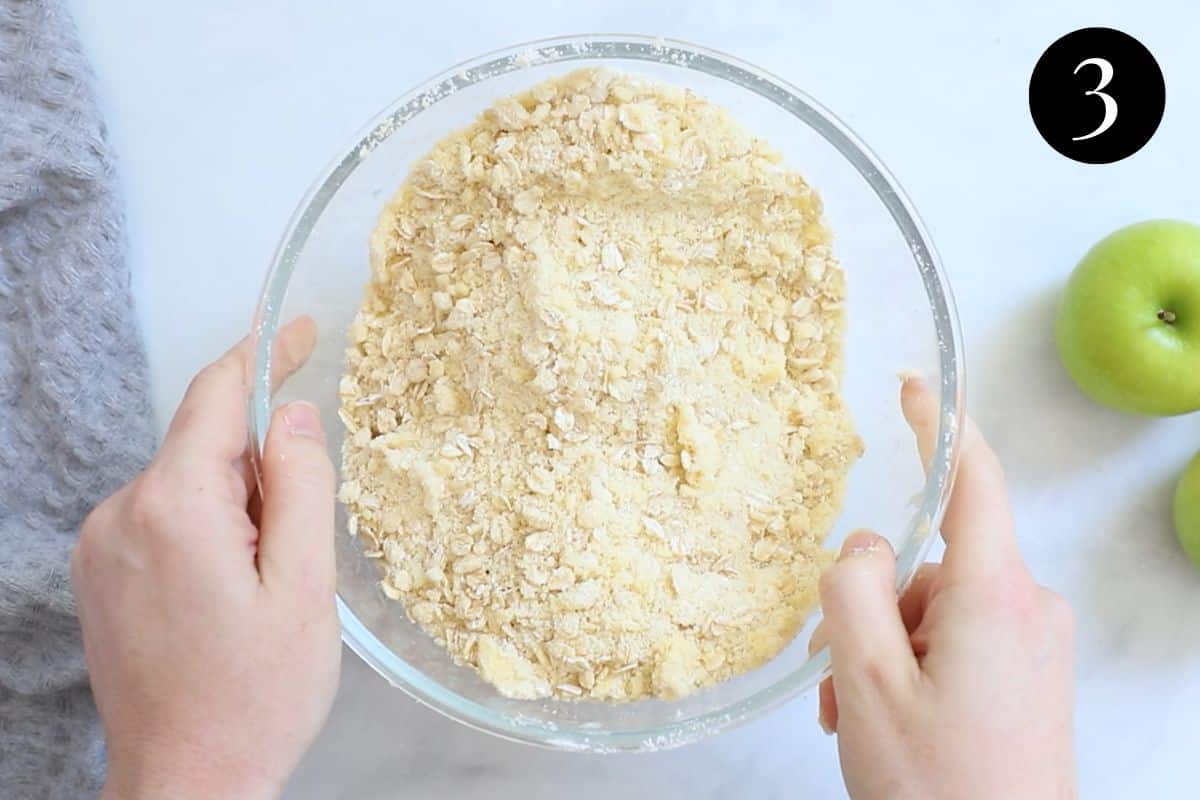
Mix the dry crumble ingredients together in a large bowl. Using your fingers (or a food processor), rub the chilled butter into the dry mixture, until it looks like coarse sand or crumbs.
**Optional step: if you prefer extra crispy crumble, you can place it on an oven tray and bake for 10-15 minutes before placing it on top of the apples to continue baking. Cook at 180 C (356 F)/160 C (fan forced) before following the rest of the recipe as normal.
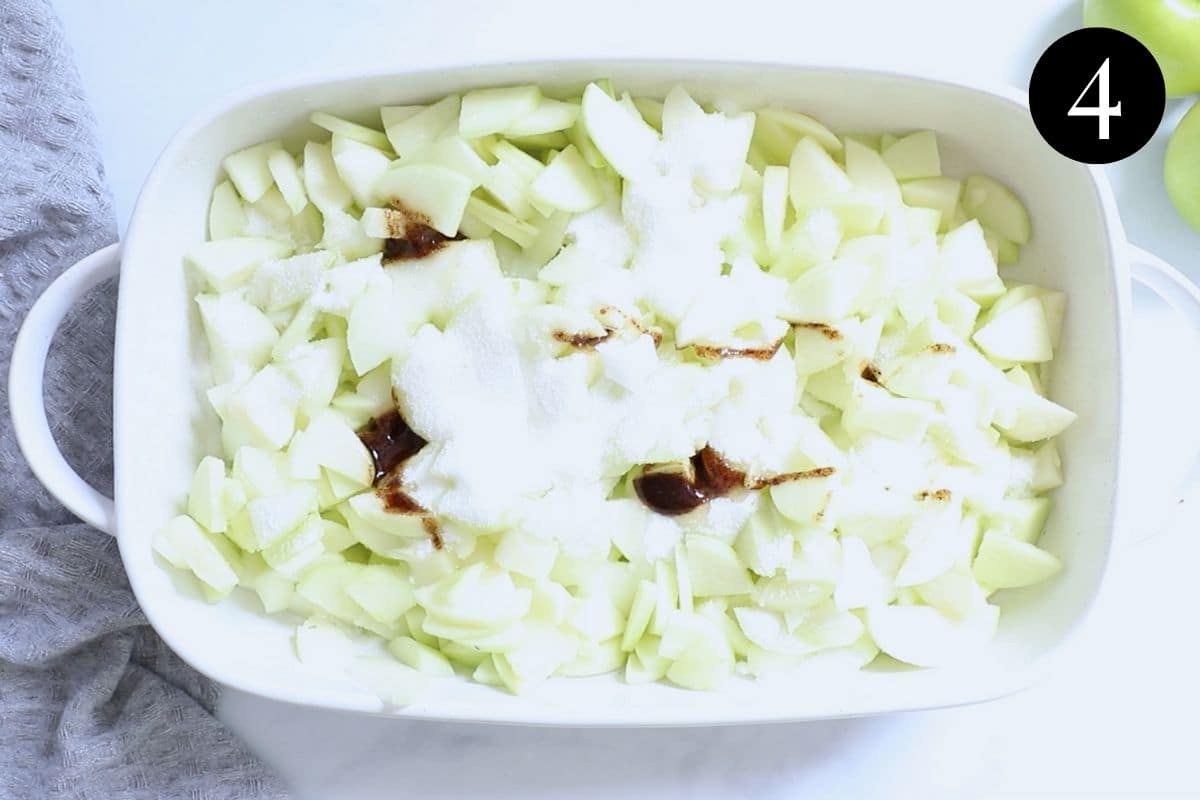
Step 2 – Make the apple and blackberry filling;
Set the blackberries aside.
Stir the apple and other filling ingredients together in the bottom of a deep baking dish, until the apples are evenly coated. I used a deep, 30 cm x 18 cm (12 “ x 7 “) dish.
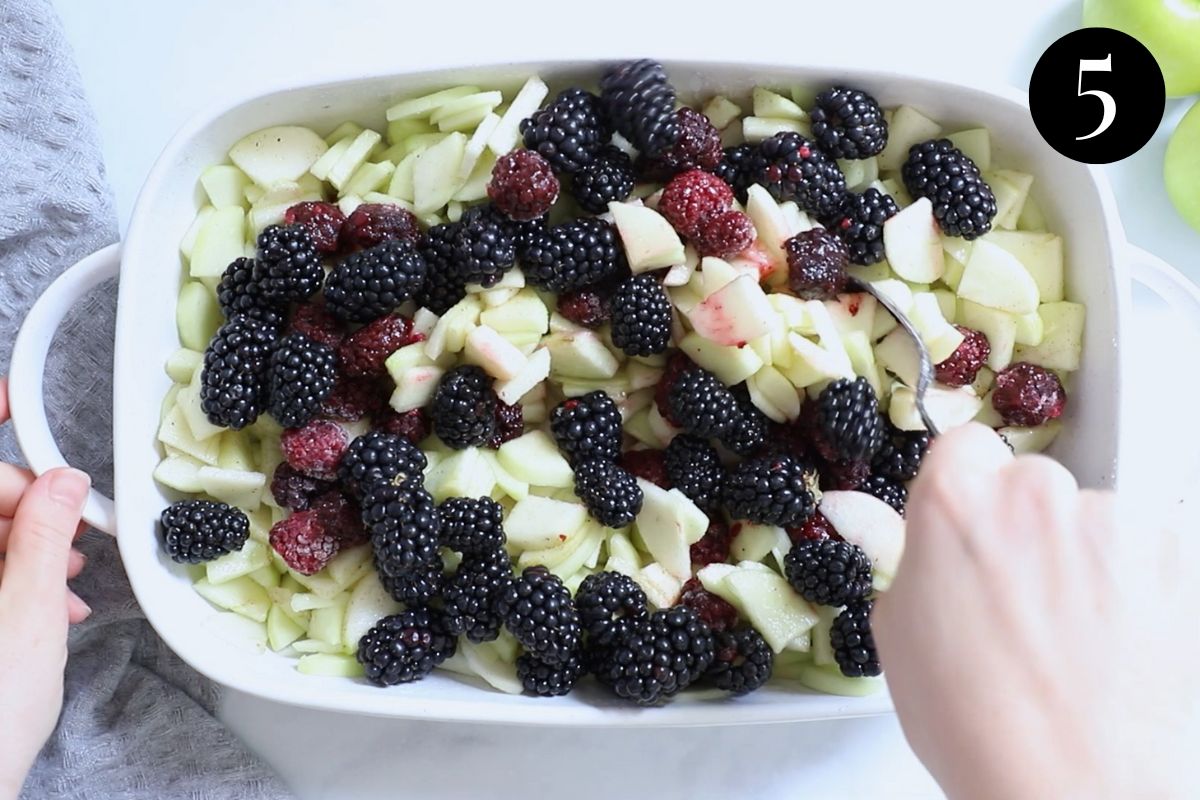
Then, gently add the blackberries and lightly fold them into the apple mixture.
*Make sure the apples are thinly sliced, or they won’t completely cook through.
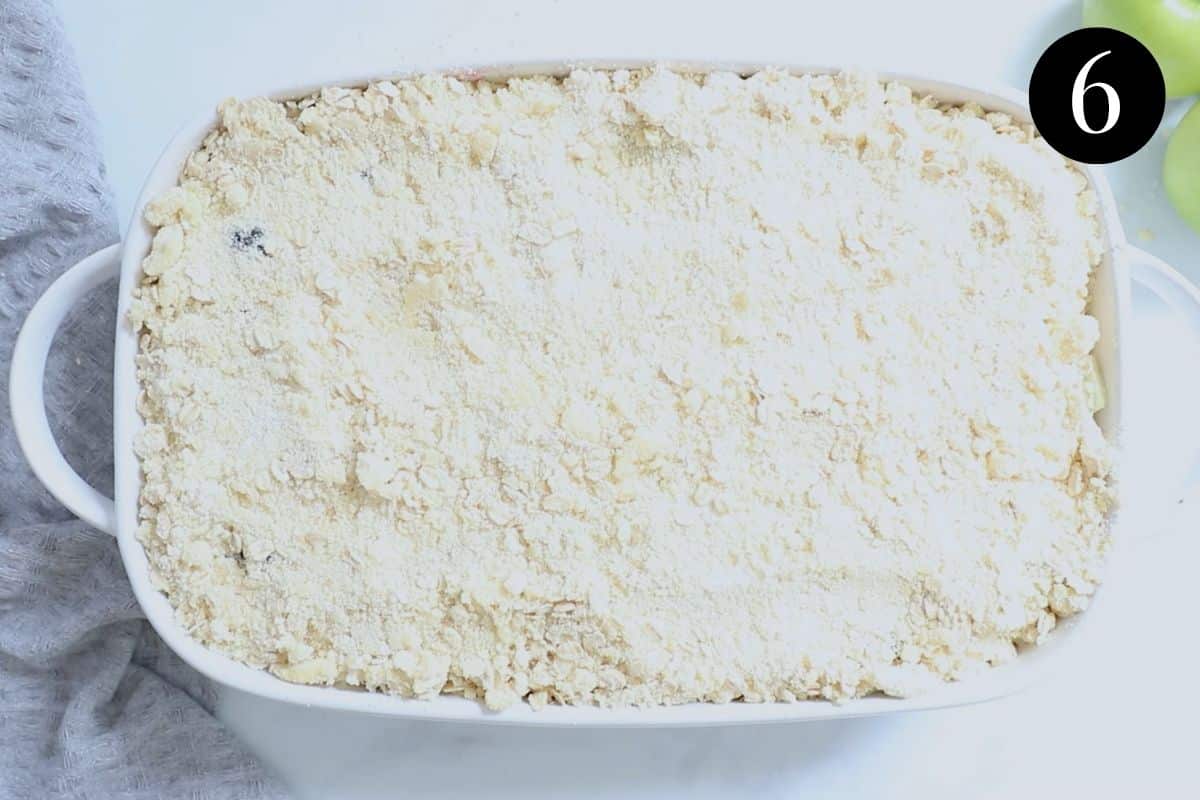
Step 3 – Assemble;
Sprinkle the crumble mixture over the top of the apple blackberry layer, until evenly covered. Bake until the crumble is crunchy and the apple filling is cooked through (full instructions in the recipe card below).
Variations
- Mix it up – While we are using apples and blackberries here, I don’t think there are many fruits that don’t taste amazing when baked and topped with a crispy crumble! You could also try mixed berries, stone fruits like peaches, cherries, apricots, nectarines, plums, pears or a combination of your favourites. Follow the instructions in the recipe card below, but add your favourite fruit combinations.
- Sweetness – using a tart variety of apples and a little lemon juice, this crumble isn’t overly sweet. If you prefer a sweeter filling, you can add a little extra sugar to the apples.
- Crumble – basic crumble is made by rubbing butter into flour and sugar. This recipe also adds oats for extra texture and flavour. You can also add your favourite crushed or slivered nuts (like almonds, hazelnuts or macadamias). Or swap a little of the flour for some almond or hazelnut meal. And, try adding your favourite spices, like cinnamon or my favourite, a little ground ginger for a little extra warming spice.
Expert tips
- Make sure the apples are thinly sliced or cut into small chunks, or they will take longer to cook through.
- Use chilled butter and rub it into the crumble mixture with your fingertips, or stir through with a fork. The butter doesn’t need to be fully incorporated; it’s ok for the crumble to be messy, crumbly and coarse.
- Bake the crumble in one large dish, or divide the filling and crumble topping between 6-8 individual ramekins or pie dishes for single serve apple crumbles. The baking times will be reduced for smaller serves. Bake until the apples are soft and the crumble is golden and crisp.
- For an even crispier crumble, you can add a little more sugar to the mixture. Or, spread the crumble mixture over a flat baking tray and bake for 10-15 minutes before adding it to the top of the filling and baking further. This will result in a more caramelised, crunchy topping.
- Prep ahead – this is a great prep-ahead dish. Cut the apples and mix the filling mixture in the baking dish. Then, sprinkle the crumble topping over the top, cover and place in the fridge, ready to pop in the oven.
FAQs
Apple blackberry crumble can be frozen either baked, or unbaked.
To freeze before cooking; Assemble the crumble as normal in a freezer-safe baking tray. Or, keep the uncooked filling and crumble separate in individual containers, ready to assemble in a baking dish when you want to bake it. Make sure the crumble is well wrapped or covered before freezing. It will keep this way for up to 3 months. When ready to bake, continue with the baking instructions below and add 5 minutes to the cooking time.
To freeze baked crumble; Allow the crumble to cool completely. Cover the whole crumble, or divide into individual serves in freezer-safe containers. To re-heat, allow to thaw in the fridge or at room temperature and either microwave it, or cover with foil and bake at 180 C/356F until warmed through. Individual pieces are easy to reheat in the microwave.
I recommend using Granny Smith apples, for their tart-sweet flavour. They also hold their shape well when baked and won’t go mushy. You can also try a combination of a tart baking apple like Granny Smith mixed with other apple varieties for a sweeter result.
If you are making it on the same day that you are planning to serve it, it can be assembled and kept covered it in the fridge until you are ready to bake it.
You can store this crumble for up to 3 days in the fridge, or for up to 3 months in the freezer. It will lose some of the crisp texture in the freezer, but still tastes delicious for an easy dessert or quick breakfast.
Related Recipes
Looking for more easy and comforting dessert recipes? You’ll love these ideas!
Tried this recipe? Please leave a star ⭐⭐⭐⭐⭐ rating or leave a review below and let me know how you went!
Hungry for more? Subscribe to my newsletter and follow along on Facebook, Instagram and Pinterest for the latest recipes and news.
Apple and Blackberry Crumble
Ingredients
For the apple and blackberry filling
- 6-8 medium apples Peeled and thinly sliced. Approx. 1.4kg. I recommend Granny Smith or any other tart, firm baking apple.
- ½ cup caster sugar
- 2 teaspoon vanilla bean paste or vanilla extract
- 2-3 tablespoons lemon juice
- 1 tablespoon plain flour
- 3 cups frozen blackberries
For the crumble
- 1 ¾ cup plain flour
- 1 cup sugar
- 1 ¼ cup oats
- 185 grams salted butter chilled, cut into cubes
To serve
- vanilla ice cream or custard
Instructions
For the crumble
- Pre-heat the oven to 180 °C/356 F (160 °C fan forced). Set aside a deep 30cm x 18cm (12“ x 7 “) dish.
- Place the flour, sugar and oats into a mixing bowl and stir to combine.
- Add the butter and use your fingers to rub the butter into the flour mixture, until everything is combined and the mixture looks like coarse breadcrumbs.
For the apple filling
- Arrange the thinly sliced apples along the bottom of the baking dish. Add the sugar, vanilla, lemon juice and flour and stir until everything is combined.
- Add the blackberries and gently fold them in to the apple mixture.
To assemble
- Sprinkle the crumble evenly over the top of the apple and blackberry mixture.
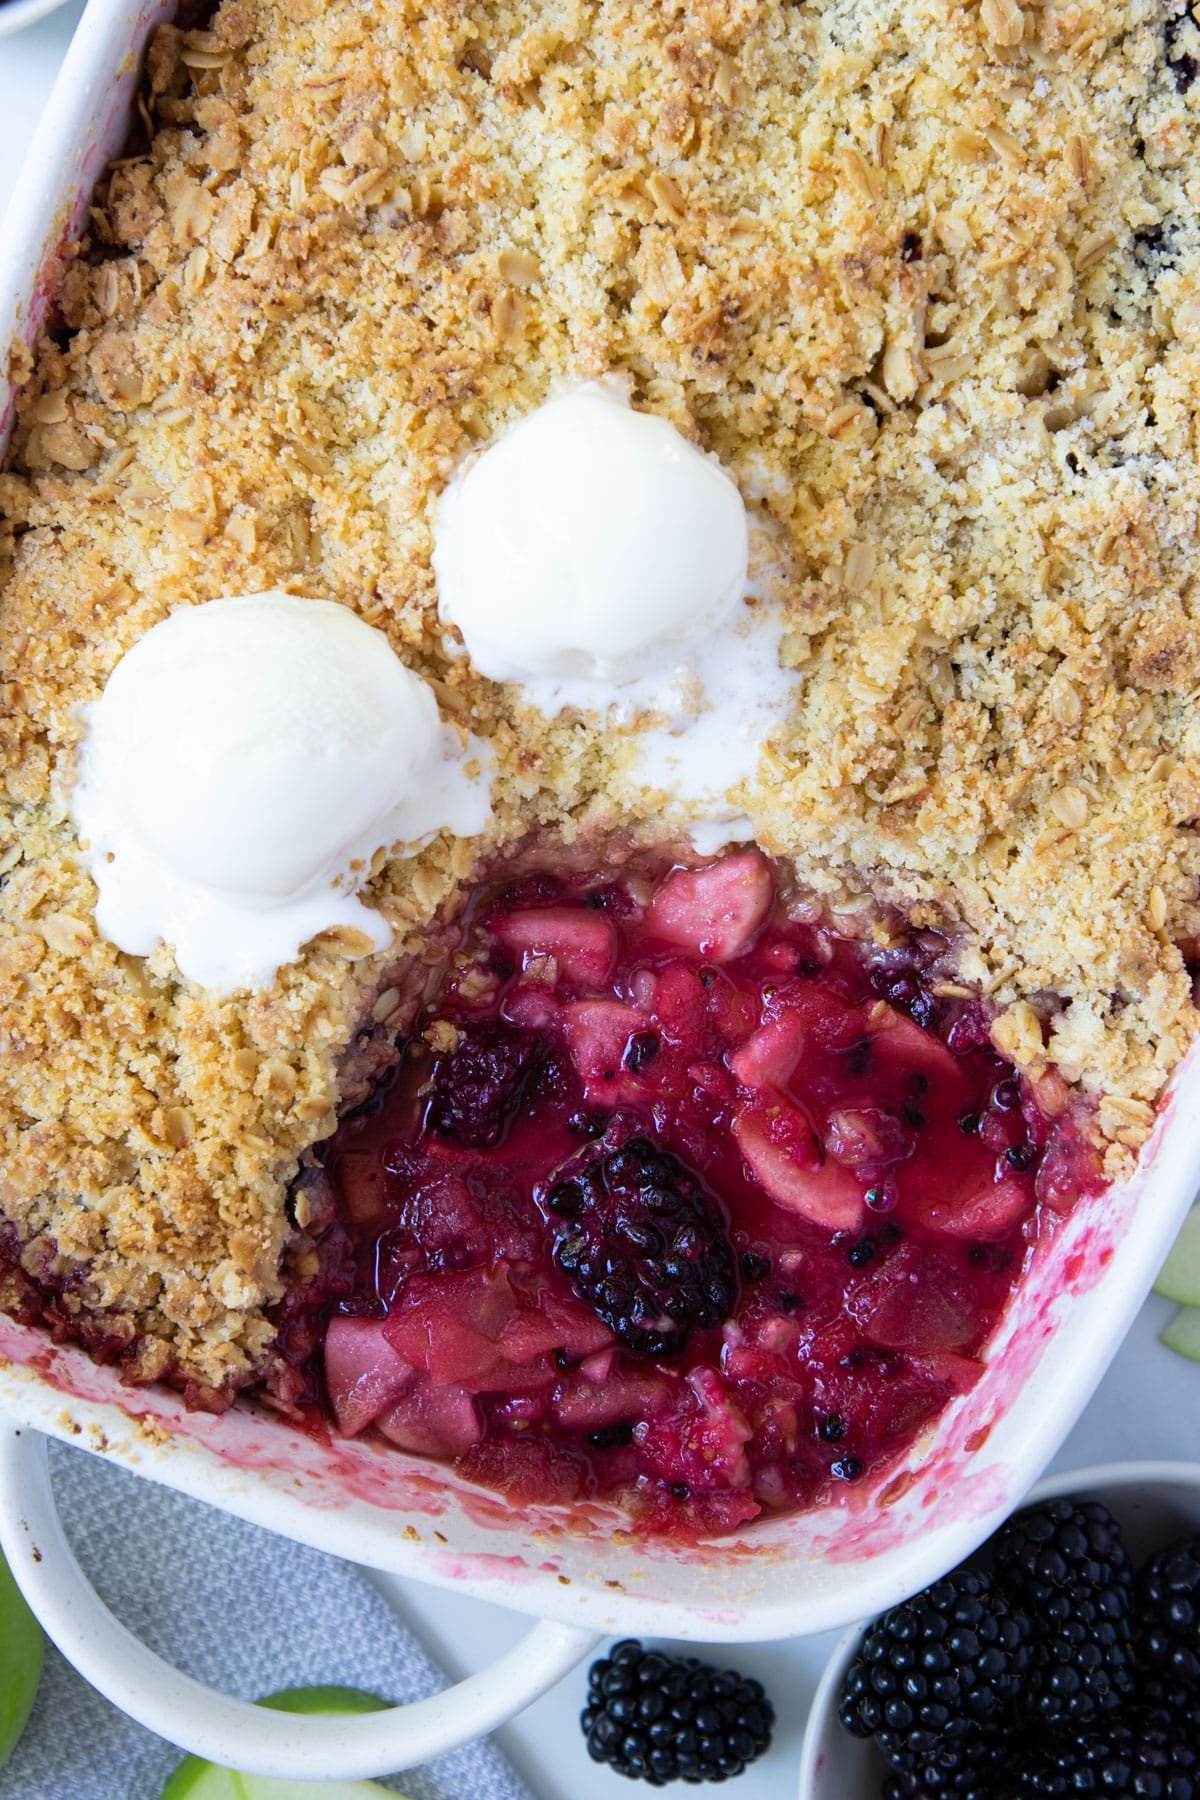
- Bake for around 1 hour – 1 hour and 15 minutes, until the apples have completely cooked through and the crumble on top has become a light golden colour. Thickly sliced apples may need a little longer to cook.
- The apple filling will thicken as it sits, so set the crumble aside for 5-10 minutes before serving hot with ice cream, a dollop of whipped cream or custard.
Video
Notes
- Fruit. While we are using apples and blackberries here, I don’t think there are many fruits out there that don’t taste amazing when topped with a crispy crumble! Some other fruit suggestions are; mixed berries, stone fruits like peaches, cherries, apricots, nectarines, plums, pears or a combination of your favourites. Follow the instructions in the recipe card below, but add your favourite fruit combinations.
- Sweetness – using a tart variety of apples and a little lemon juice, this crumble isn’t overly sweet. But, if you prefer a little more sweetness, you can add some brown sugar or maple syrup to the apples, along with the caster sugar.
- Make sure the apples are thinly sliced or cut into small chunks, or they will take longer to cook through.
- Use chilled butter and rub it into the crumble mixture with your fingertips, or stir through with a fork. The butter doesn’t need to be fully incorporated; it’s ok for the crumble to be messy, crumbly and coarse.
- Bake the crumble in one large dish, or divide the filling and crumble topping between 6-8 individual ramekins or pie dishes for single serve apple crumbles. The baking times will be reduced for smaller serves. Bake until the apples are soft and the crumble is golden and crisp.
- For an even crispier crumble, you can add a little more sugar to the mixture. Or, spread the crumble mixture over a flat baking tray and bake for 10-15 minutes before adding it to the top of the filling and baking further. This will result in a more caramelised, crunchy topping.
- Prep ahead – this is a great prep-ahead dish. Cut the apples and mix the filling mixture in the baking dish. Then, sprinkle the crumble topping over the top, cover and place in the fridge, ready to pop in the oven.
- To freeze before cooking; Assemble the crumble as normal in a freezer-safe baking tray. Or, keep the uncooked filling and crumble separate in individual containers, ready to assemble in a baking dish when you want to bake it. Make sure the crumble is well wrapped or covered before freezing. It will keep this way for up to 3 months. When ready to bake, continue with the baking instructions below and add 5 minutes to the cooking time.
- To freeze baked crumble; Allow the crumble to cool completely and cover the whole crumble, or individual serves. To re-heat, allow to thaw in the fridge or at room temperature and either microwave it, or cover with foil and bake at 180 C/356F until warmed through. Individual pieces are easy to reheat in the microwave.
- Make ahead – If you are making it on the same day that you are planning to serve it, assemble the whole crumble and cover it in the fridge until you are ready to bake it.
- Storage; You can store this crumble for up to 3 days in the fridge, or for up to 3 months in the freezer. It will lose some of the crisp texture in the freezer, but still tastes delicious for an easy dessert or quick breakfast.
- Please note that the nutrition information is based on the crumble being divided into 8 bowls, with one bowl being one serve. The nutritional information is an estimate only and does not take into account any additional toppings or sides served with the crumble.
- This recipe is made using Australian cups and spoon measurements. Any reference to cups or spoons in this recipe is in Australian metric. Due to cup sizes varying from country to country, I advise adjusting if necessary.
Nutrition
Are you following along on Facebook, Instagram and Pinterest?
Update Notes: This recipe was originally published in October 2020, but was re-published with new information and photos in January 2023.


Joy Hughes says
I found this recipe very good and easy to followed make. I was involved in a mountain bike race in May 2018, came of while going down a hill and suffered severe brain trauma. Being able to get back to following simple recipes is fantastic, I really appreciate recipes like this.
Andrea Geddes says
Hello Joy! Your lovely comment has absolutely made my day. I’m so happy that you enjoyed the recipe and that you found it easy to follow. And it is so wonderful that you are able to get back into cooking during your recovery. Best of luck with your recovery and I hope that you continue to enjoy these recipes! Andrea 🙂