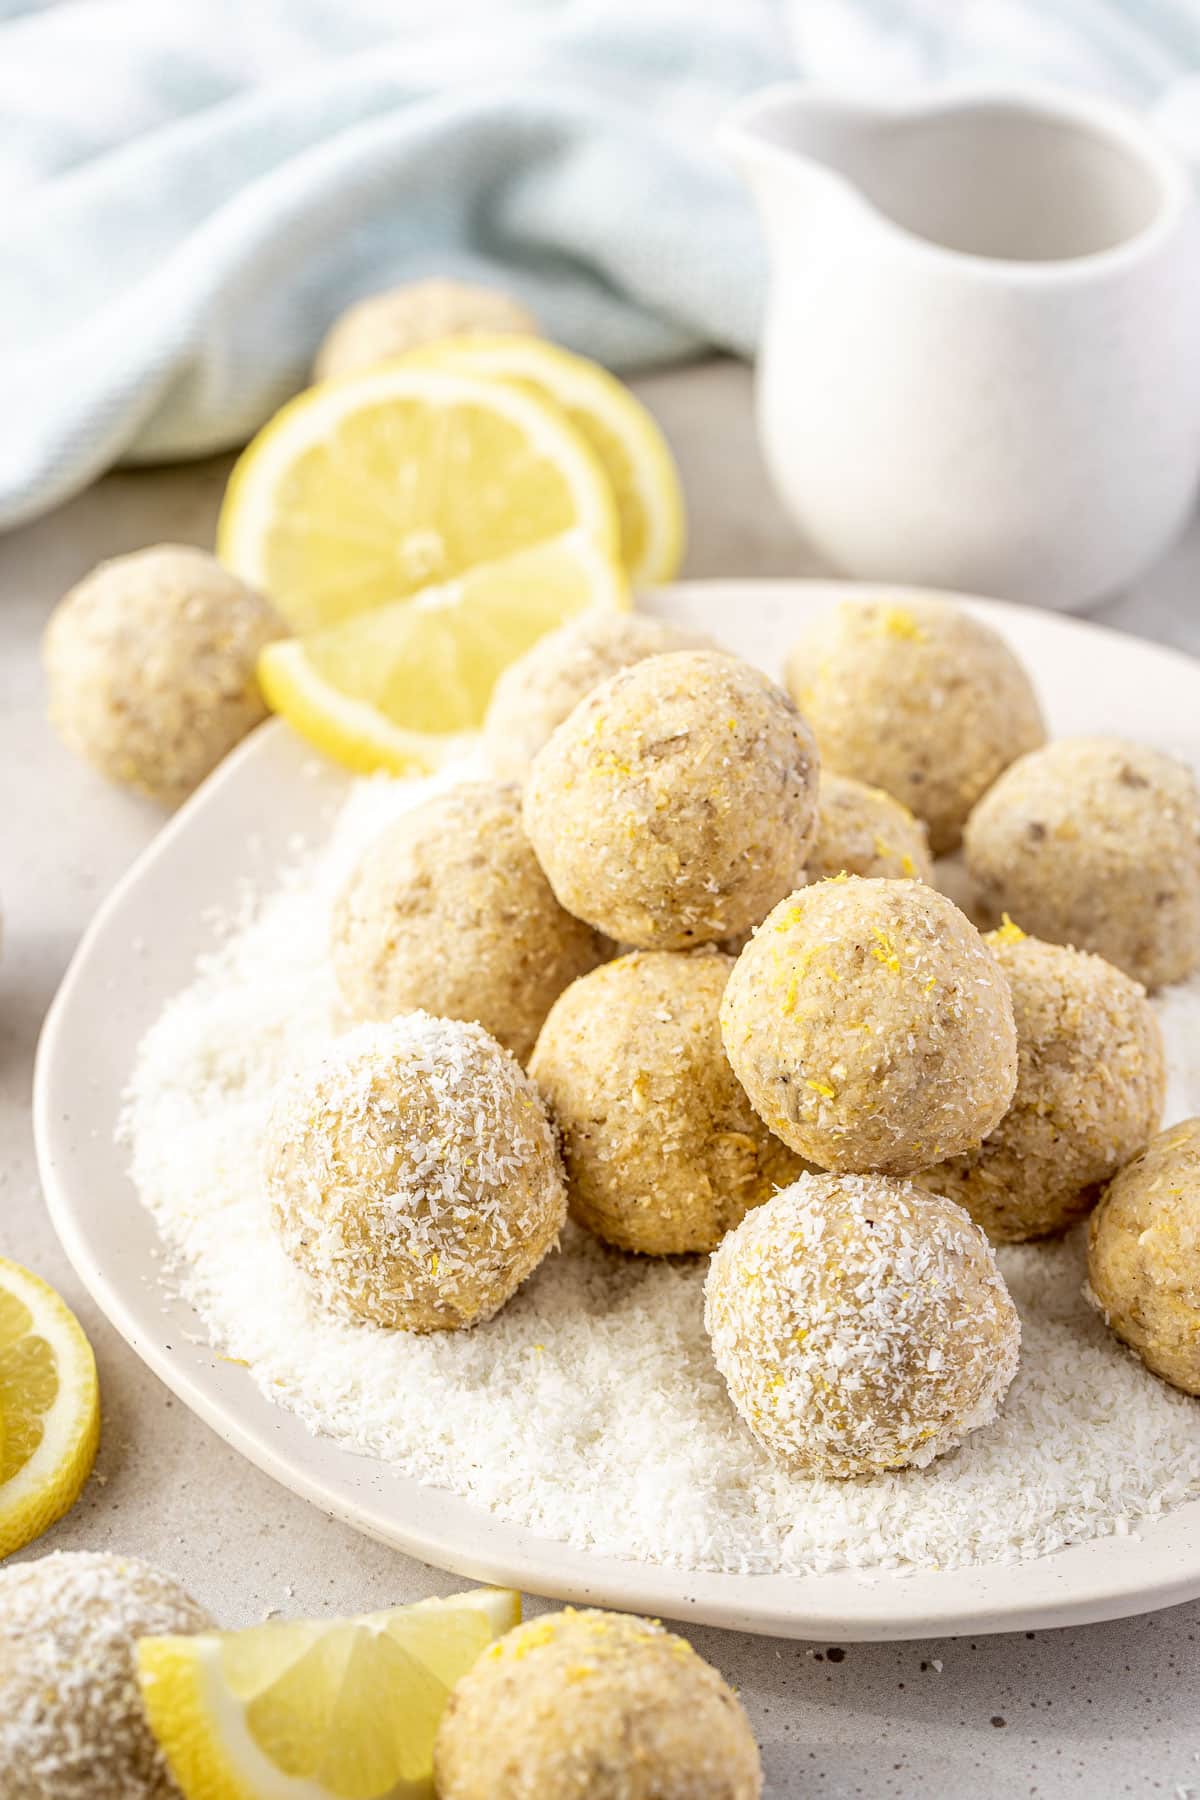
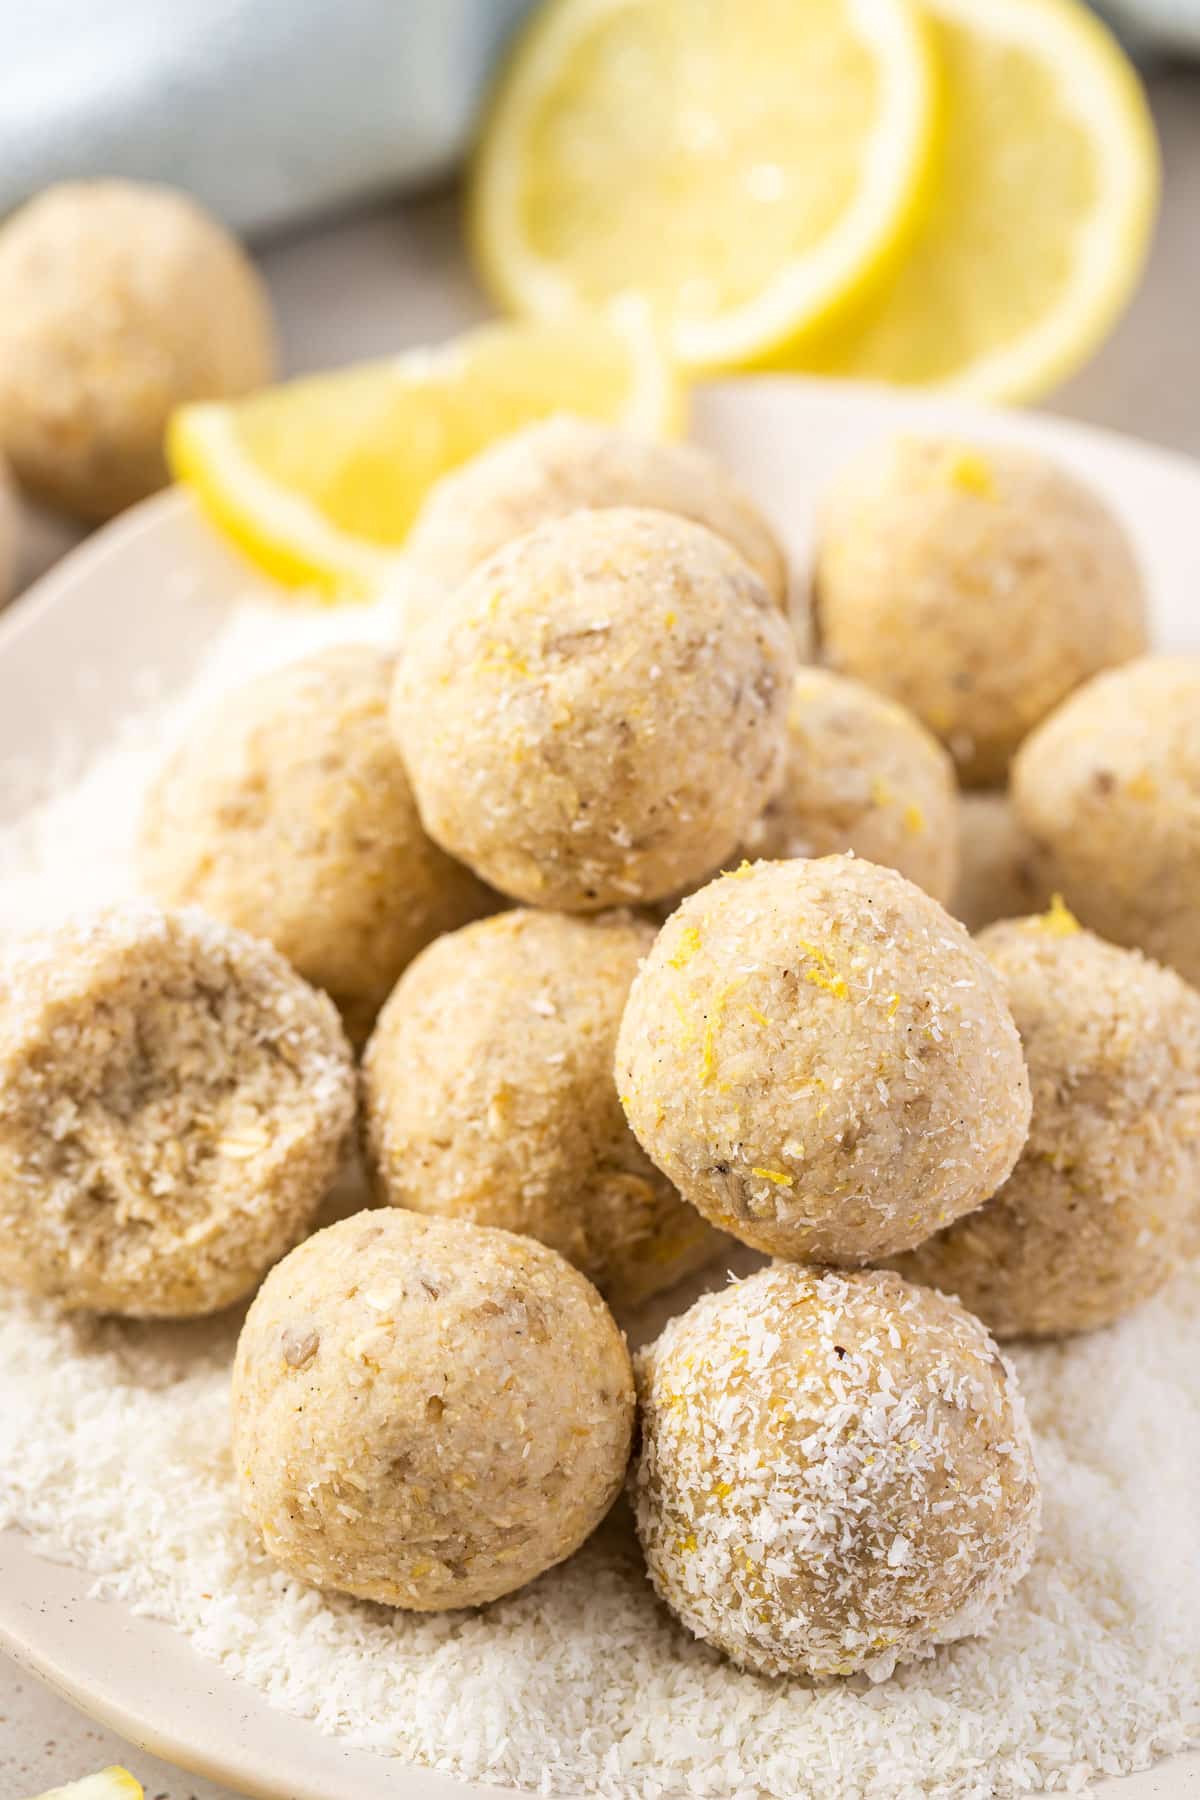
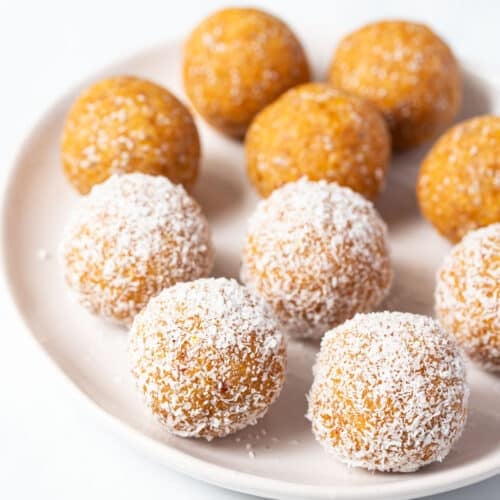
Looking for a healthy, no-bake treat? These creamy and zesty coconut lemon bliss balls make the perfect, healthy snack. Loaded with tangy lemon flavour and healthier ingredients like sunflower seeds, oats and coconut, they are a great afternoon pick-me-up or lunchbox filler. And you only need 5 minutes to make them!
Why you’ll love this recipe
- Quick and easy – 8 simple ingredients and 5 minutes of prep time is all you need.
- Freezer-friendly – they are the perfect snack to keep in the fridge or freezer for whenever you need something quick and easy to eat.
- Sure to satisfy your sweet tooth – full of delicious, tangy lemon flavour. They taste similar to lemon and coconut slice, but are much better for you!
- They keep for 7 days in the fridge. You can throw a batch together in around 5 minutes and then store them in the fridge for a grab-and-go snack all week long!
- Snack-sized – Portable, bite-sized balls that are perfect for an afternoon snack or lunchbox treat.
- Naturally dairy-free, nut-free and vegan. They are made with no cashews or almond meal, making them safe to pack for school lunches.
Ingredients you will need
** This post contains tips and instructions to achieve the best possible results. The photo above is a great guide for when you are in the supermarket, but for full ingredient quantities and methods, please scroll down to the detailed recipe card below!
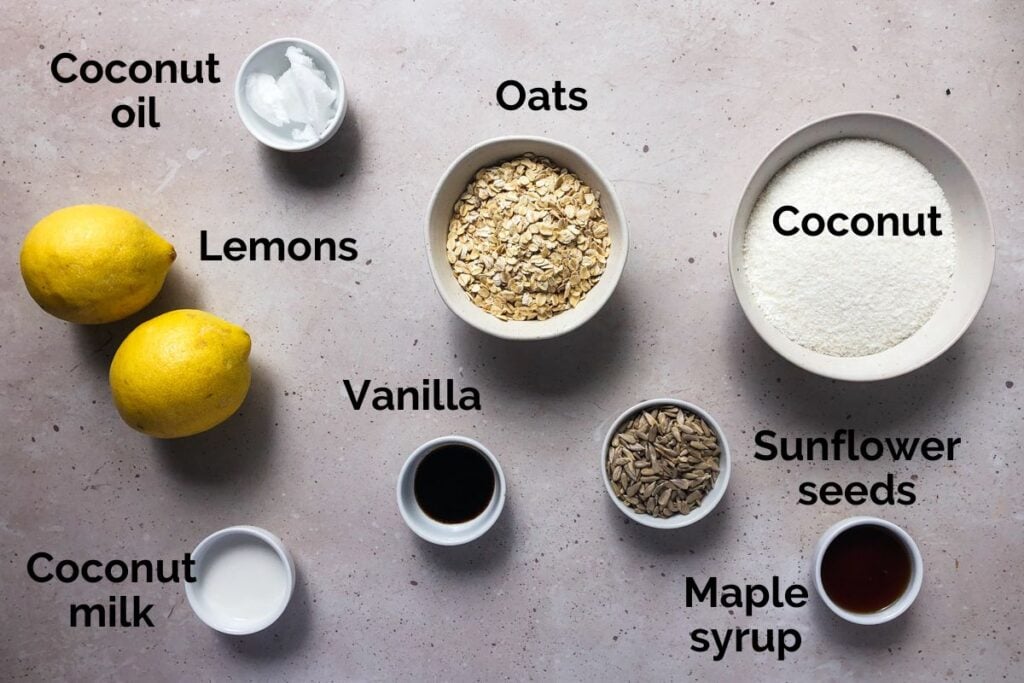
- Lemons – the star ingredient! Both the zest and juice are used, to pack in as much lemon flavour as possible. Try to buy (or pick) lemons that are soft and juicy. Fresh lemons will also have zestier skin, which will add to the tang and flavour of the bliss balls. I love to use Meyer lemons, for their sweet flavour and high juice content. Bottled juice will work in a pinch, but the flavour won’t be as intense.
- Oats – use regular, rolled oats or the more finely cut quick oats.
- Desiccated coconut – finely grated coconut will blend into the mixture better than shredded coconut. Shredded coconut will also make the balls more crumbly, so stick with fine, desiccated coconut where possible. If you prefer to keep it additive-free, you can try making your own at home!
- Sunflower seeds – for added vitamins, protein and healthy fats.
- Vanilla – a flavour enhancer that will balance the lemon and sweetness from the maple syrup for extra depth.
- Maple syrup – is used to naturally sweeten the balls. Only 4 tablespoons is used, so the balls are not overly sweet. You can sub for honey (if you don’t need them to be vegan) or rice malt syrup if preferred. The important thing is to use a liquid sweetener, as the syrup helps the balls stick together.
- Coconut milk – adds to the moisture and helps to hold everything together. I use canned coconut milk from the supermarket.
- Coconut oil – also adds moisture and flavour. Use extra virgin coconut oil. Solid or liquid is fine and solid coconut oil doesn’t have to be melted first.
Step by step instructions
**Full ingredient list and detailed step-by-step instructions can be found in the recipe card below.
Bliss balls are one of the simplest recipes you can make. Just blend, roll and enjoy!
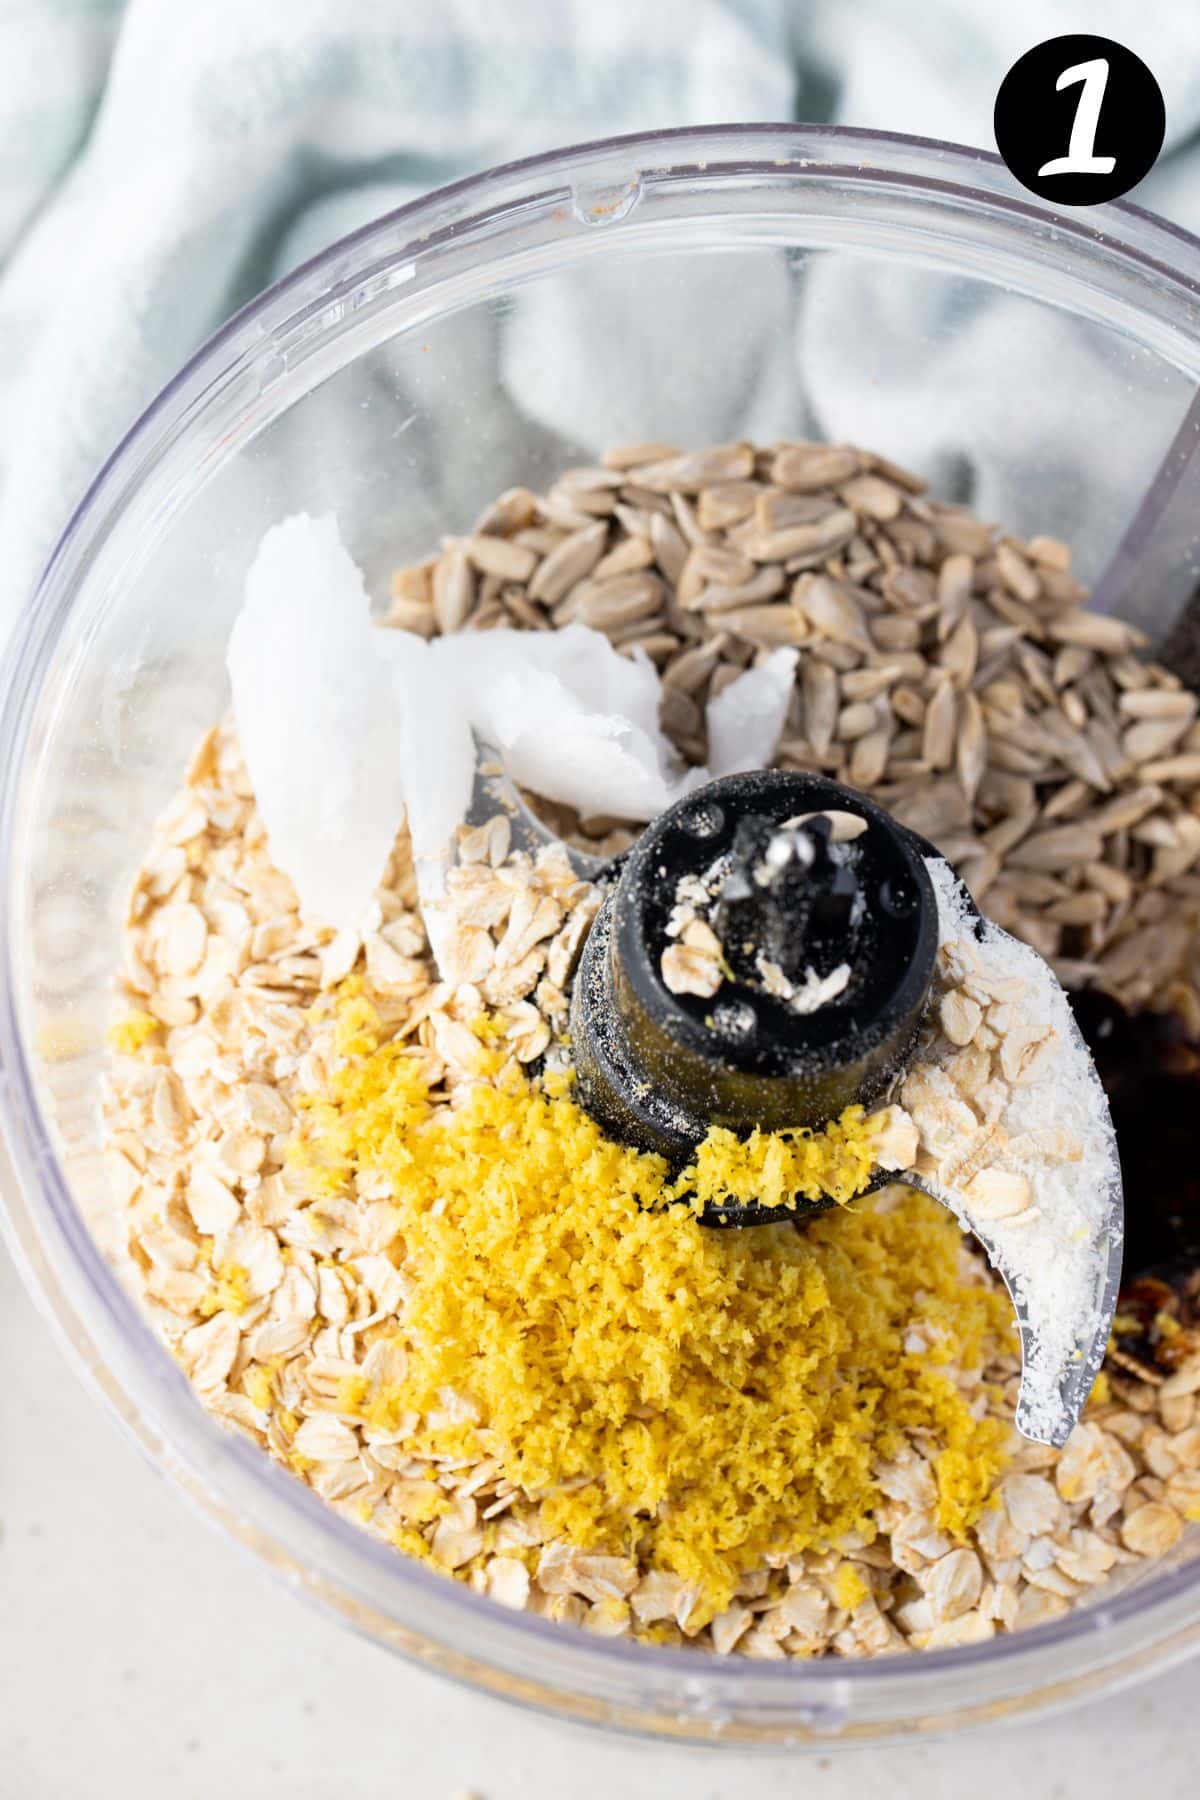
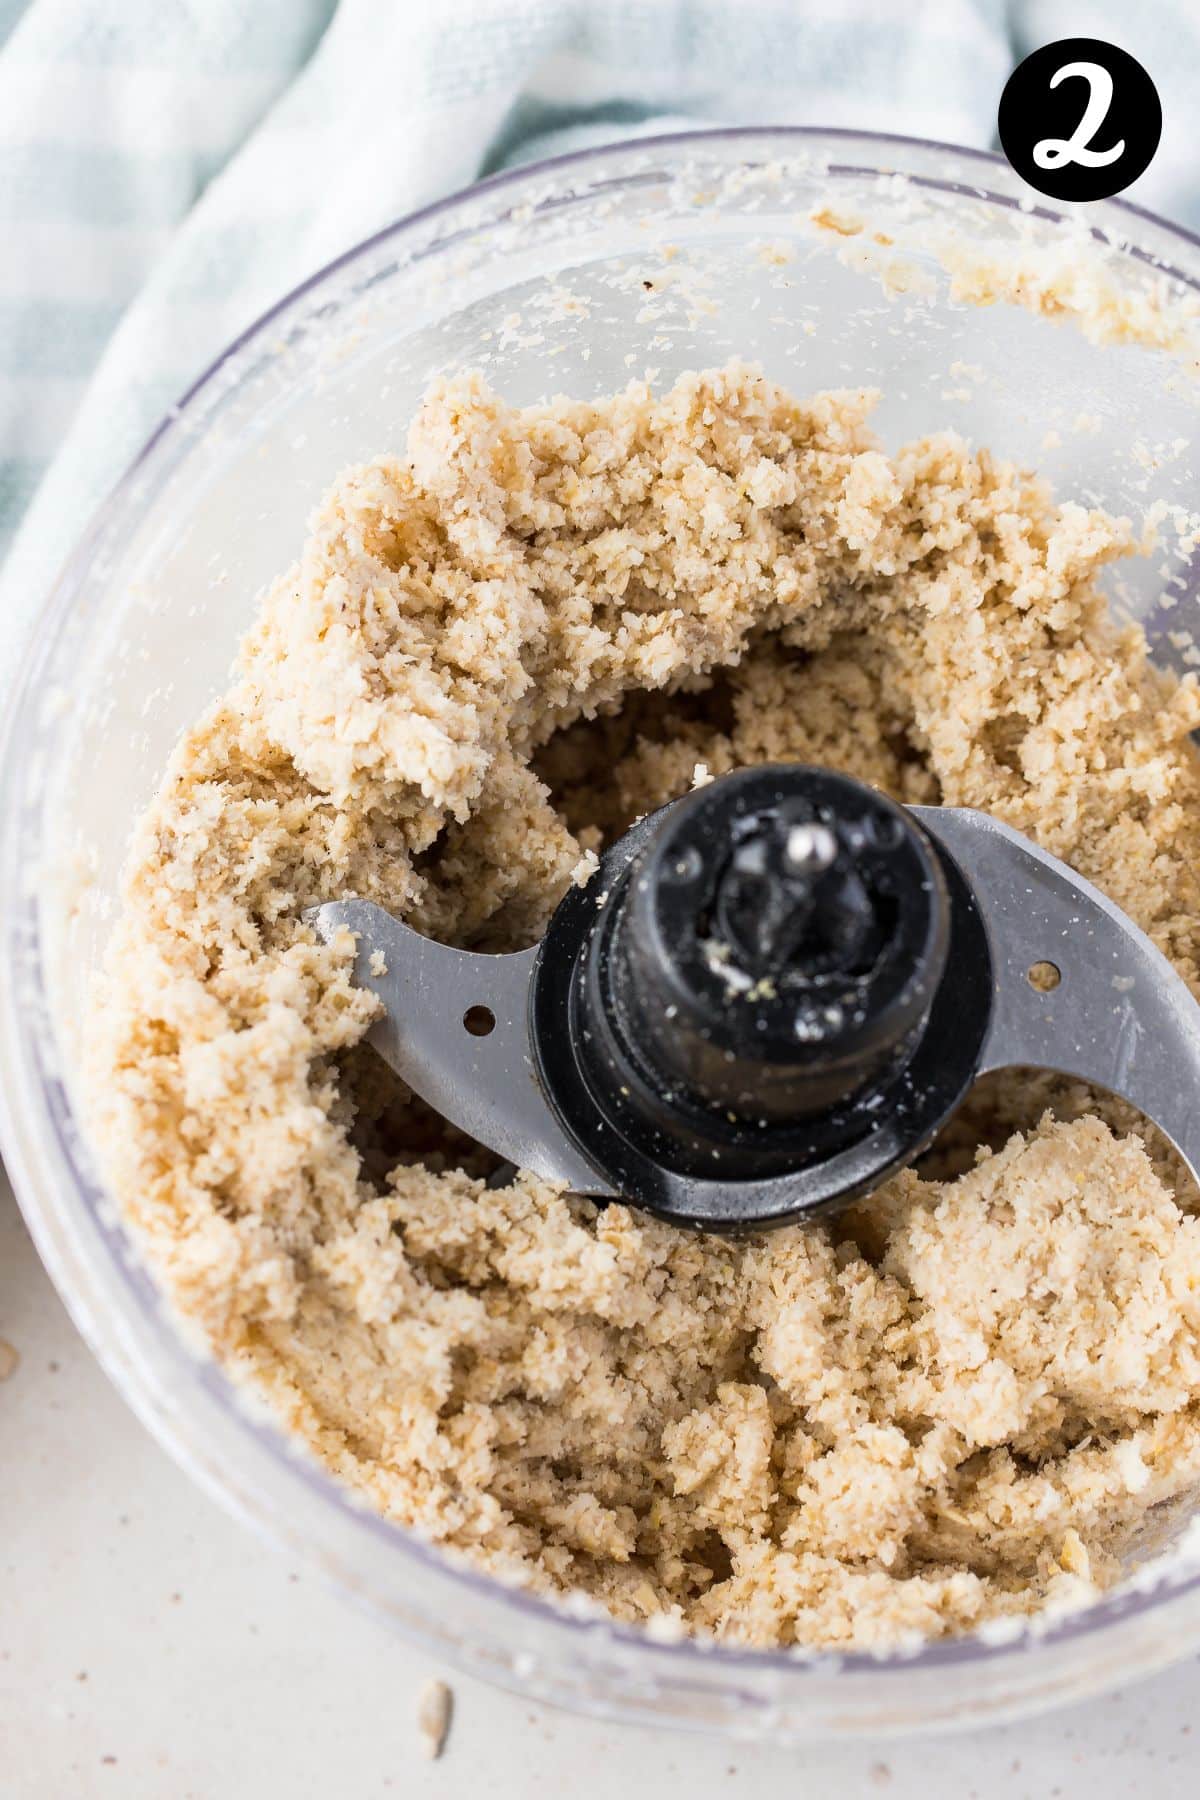
Step 1 – Blend until smooth;
Place all of the ingredients into a high-powered food processor or Thermomix and blend until everything has broken down and the mixture has started to come together.
This will take around 2 minutes. If you are finding that the mixture is not coming together, add another spoonful of coconut milk or lemon juice.
Step 2 – Roll;
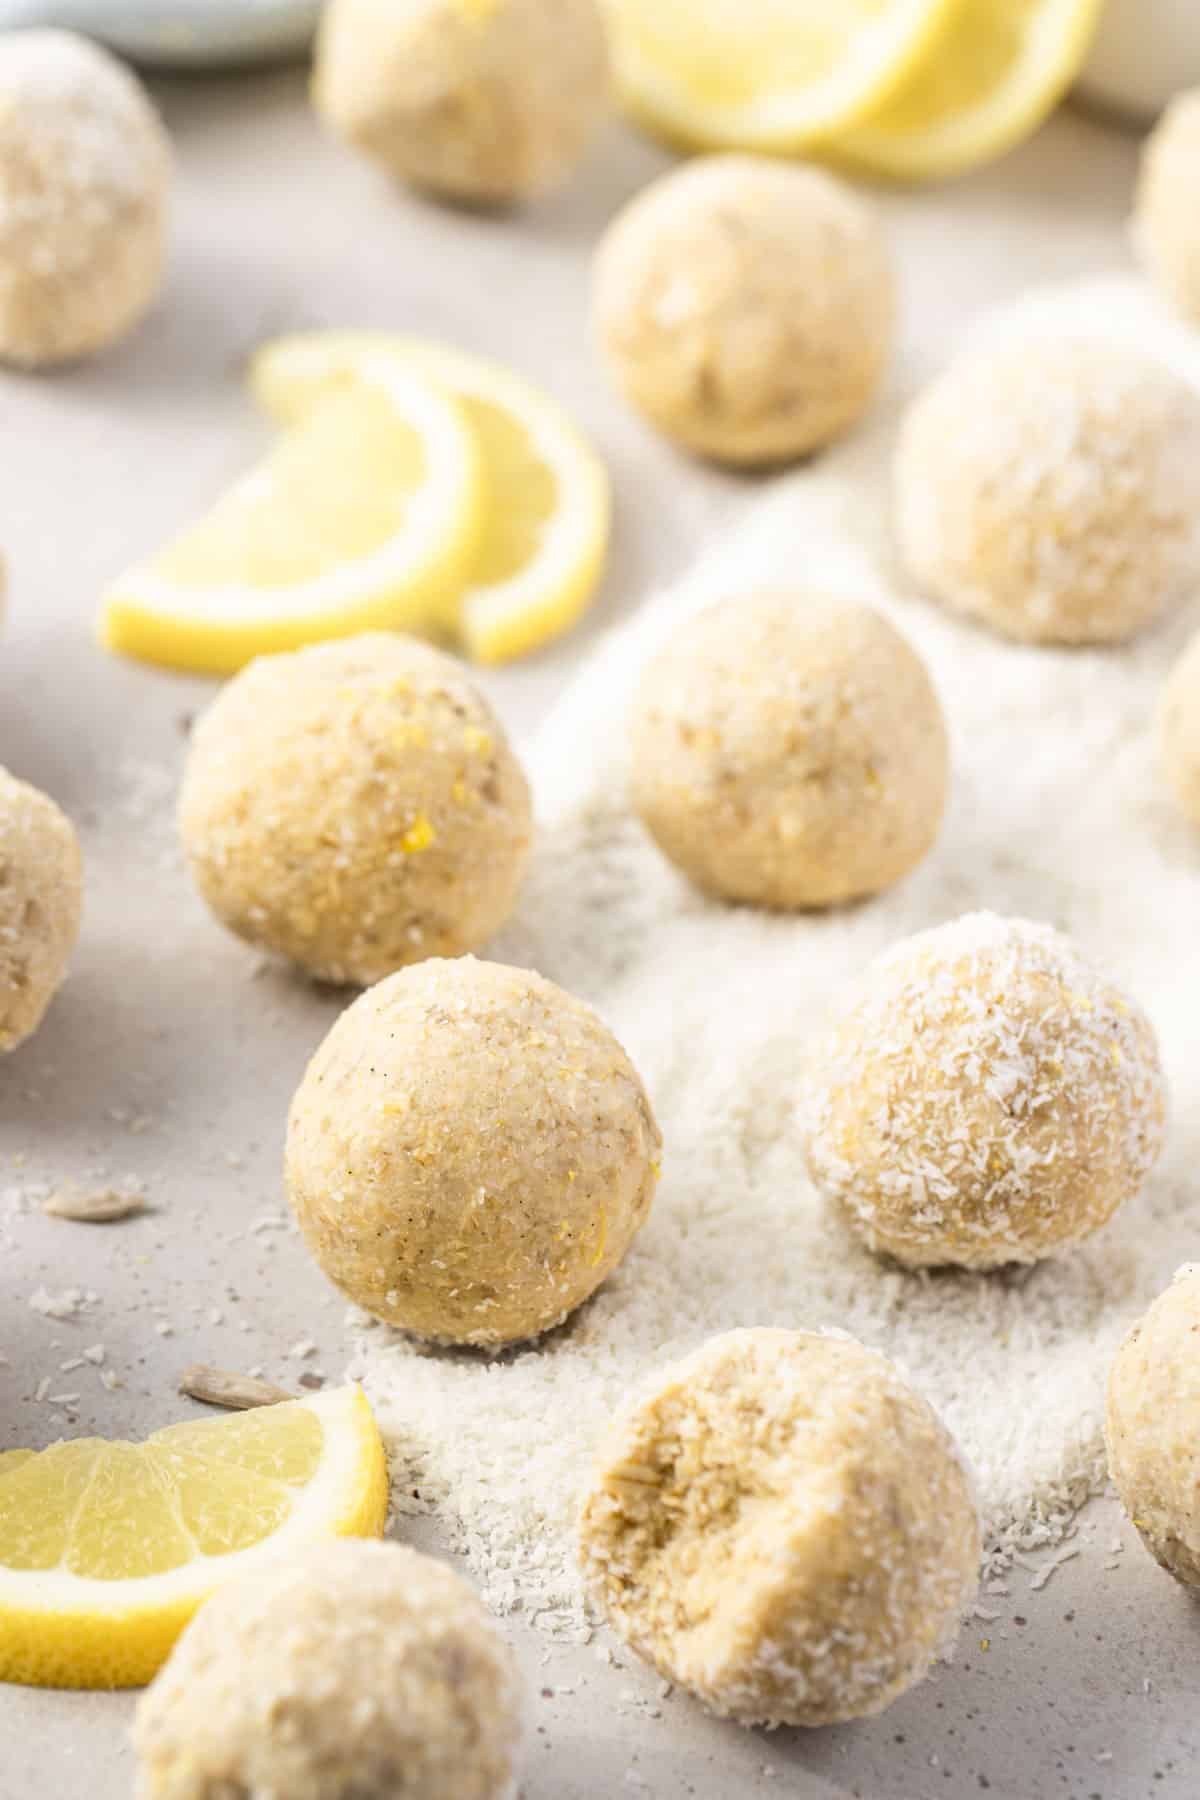
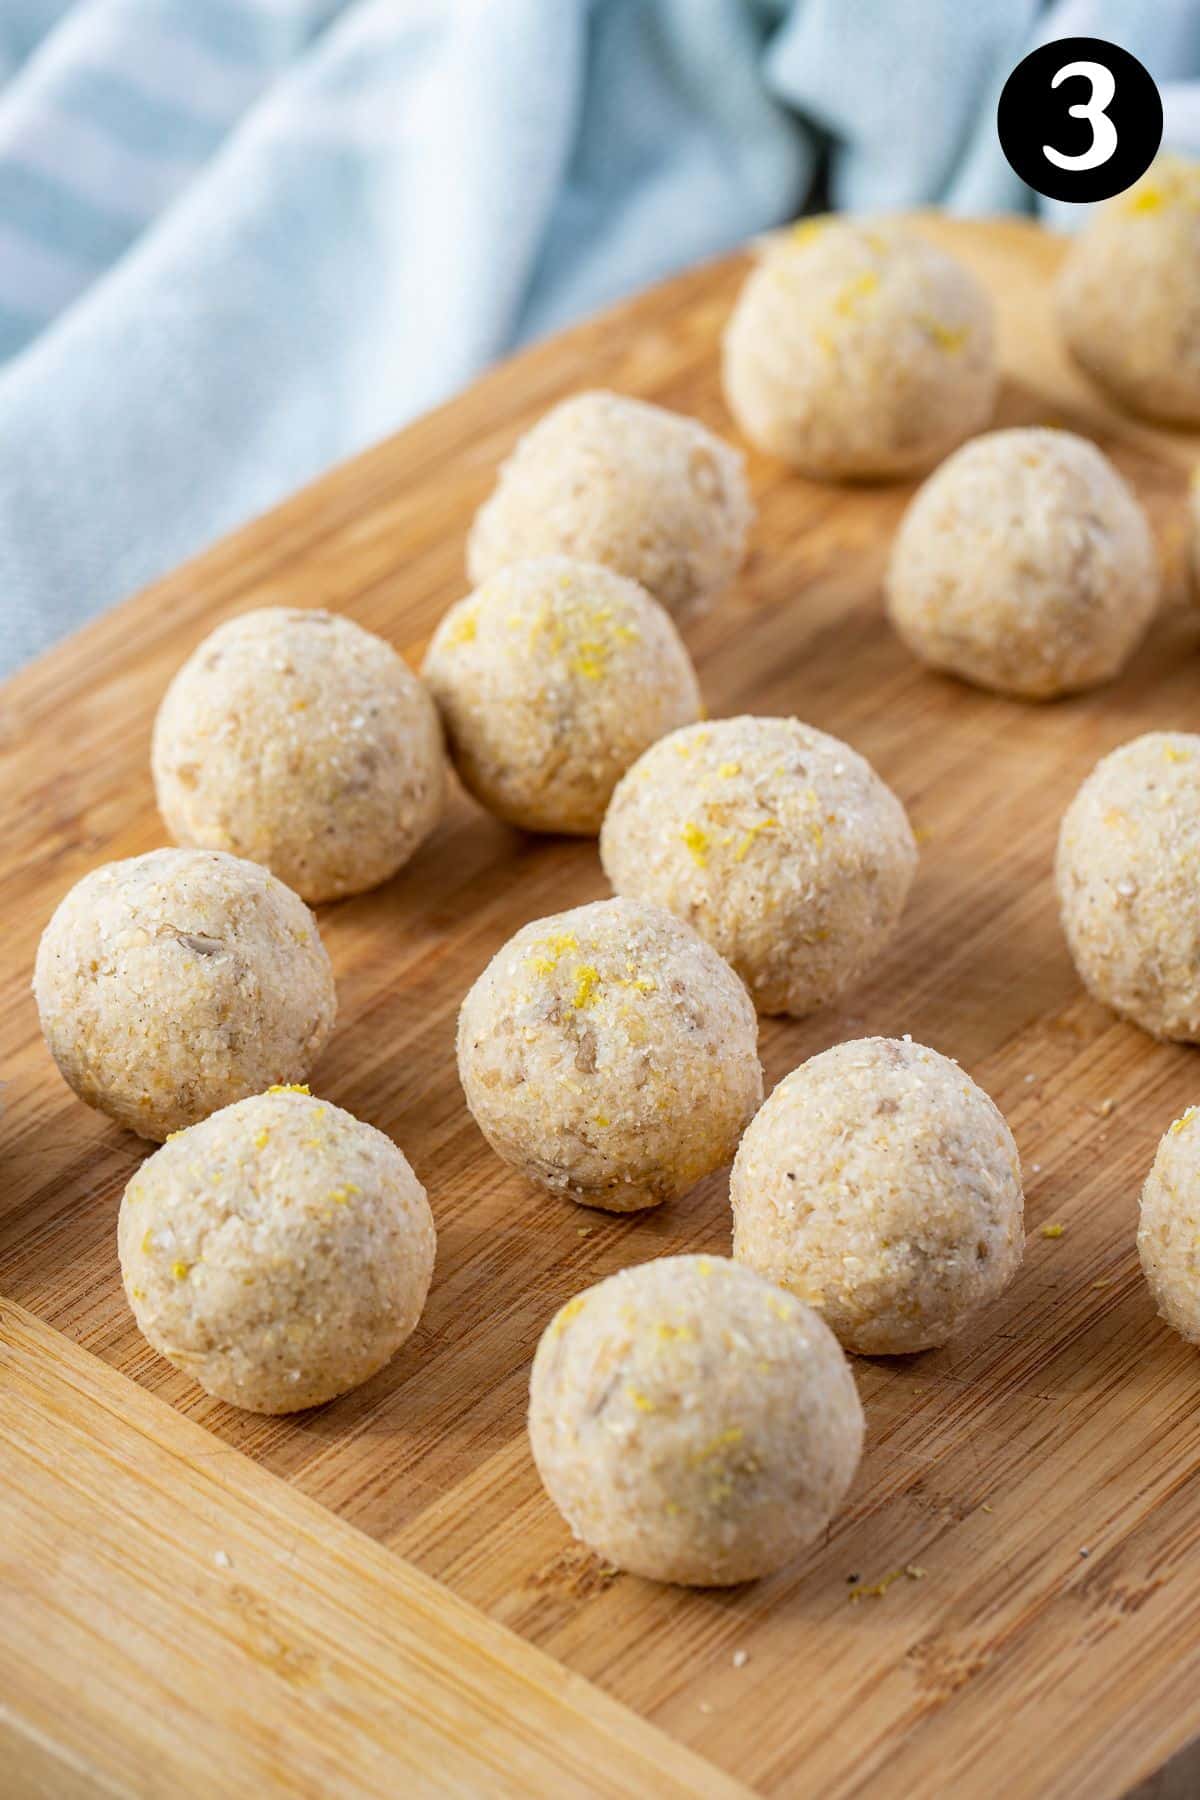
Roll the mixture into balls of your desired size and enjoy! The balls can be coated into a little extra coconut, if desired.
Expert tips
- A food processor, high-powered blender or Thermomix will blend the mixture more finely, but use what you have. Even a more coarsely blended mixture will still stick together.
- Scrape the sides of the food processor down a few times while blending to ensure everything is broken down and completely combined.
- The mixture should stick together, without being too sticky. If the mixture is too wet, you can add a few more oats. If it’s too dry, add more maple syrup, coconut milk or lemon juice until you reach the desired consistency.
- This recipe makes about 20 balls, but they can be easily made smaller or larger to suit your snacking preference.
- Can’t be bothered rolling balls? Press the mixture into a slice tin, set and cut into bars or bite-sized squares instead!
- This recipe can be easily multiplied for easy snacking. Make a double or even a triple batch and keep them in the freezer.
- Add a tablespoon of chia seeds, for extra fiber and good fats!
- You can control the intensity of the lemon by adding the zest of either one or two lemons depending on your preference. Or, omit it entirely if you prefer a more subtle lemon flavour. For a stronger lemon flavour, add some extra zest or a few drops of lemon essence.
FAQs
Bliss balls can be frozen in an airtight container for up to 3 months. They can even be eaten straight from the freezer. Due to their small size, they will thaw very quickly and can be placed directly into lunchboxes from the freezer to be thawed by snack time.
Store leftover bliss balls in an airtight container in the fridge for up to 7 days.
The ingredient-list of bliss balls (or energy balls) can vary from recipe to recipe, but most contain a mix of dried fruit, oats, nuts or dates that are blended together into bite-sized balls. These lemon bliss balls are a healthy snack that balance protein and fiber to help keep you full between meals. Rolled oats and coconut contain heart-healthy fiber and there are only 4 tablespoons of maple syrup in the entire batch. Sunflower seeds add healthy fats and vitamins and lemon juice is an excellent source of Vitamin C. Of course, it all depends on how many you eat. The nutrition breakdown per bliss ball is provided below, for more information.
Related recipes
Tried this recipe? Please leave a star ⭐⭐⭐⭐⭐ rating or leave a review below and let you know how you went!
Hungry for more? Subscribe to my newsletter and follow along on Facebook, Instagram and Pinterest for the latest recipes and news.
Lemon Bliss Balls
Ingredients
- 2 cups desiccated coconut
- 1 cup rolled oats or quick oats
- ⅓ cup sunflower seeds
- 2 teaspoons vanilla paste or extract
- ⅓ cup fresh lemon juice
- zest of two lemons
- 2 tablespoons coconut oil
- 3 tablespoons coconut milk
- 4 tablespoons maple syrup
Instructions
- Place all of the ingredients together in a food processor and blend until all of the ingredients come together. This may take 1-2 minutes and you may need to scrape down the sides once or twice.
- Roll the mixture into balls (the mixture makes around 20 balls) and roll them in extra coconut (optional).
- Chill in an airtight container in the fridge, or freeze in a container until required. Enjoy!
Notes
- A food processor, high-powered blender or Thermomix will blend the mixture more finely, but use what you have. Even coarsely blended mixture will still stick together.
- Scrape the sides of the food processor down a few times while blending to ensure everything is broken down and completely combined.
- The mixture should stick together, without being too sticky. If the mixture is too wet, you can add a few more oats. If it’s too dry, add more maple syrup or coconut milk until you reach the desired consistency.
- This recipe makes about 20 balls, but they can be easily made smaller or larger to suit your snacking preference.
- Can’t be bothered rolling balls? Press the mixture into a slice tin, set and cut into bars or bite-sized squares instead!
- This recipe can be easily multiplied for easy snacking. Make a double or even a triple batch and keep them in the freezer.
- Add a tablespoon of chia seeds, for extra fiber and good fats!
- You can control the intensity of the lemon by adding the zest of either one or two lemons depending on your preference. Or, omit it entirely if you prefer a more subtle lemon flavour. For a stronger lemon flavour, add some extra zest or a few drops of lemon essence.
- Store leftover bliss balls in an airtight container in the fridge for up to 7 days.
- Freezing; Bliss balls can be frozen in an airtight container for up to 3 months. They can even be eaten straight from the freezer. Due to their small size, they will thaw very quickly and can be placed directly into lunchboxes from the freezer to be thawed by snack time.
- Please note that the nutrition information is based on the mixture being rolled into 20 balls, with one ball being one serve. The nutritional information is an estimate only and does not take into account any additional toppings or sides served with the balls.
- This recipe is made using Australian cups and spoon measurements. Due to cup sizes varying from country to country, I advise adjusting if necessary.
Nutrition
Are you following us on Facebook, Instagram and Pinterest?
Update Notes: This recipe was originally published in August 2019, but was re-published with new information, helpful tips and photos in July 2022.




April says
So yum! I did add fresh lemon curd instead of the coconut milk as I had some oh hand, so lemony & delish! but can imagine would be just as good (& healthy) without the curd. Added some extra oats to help with wetness. Thank you for the recipe x