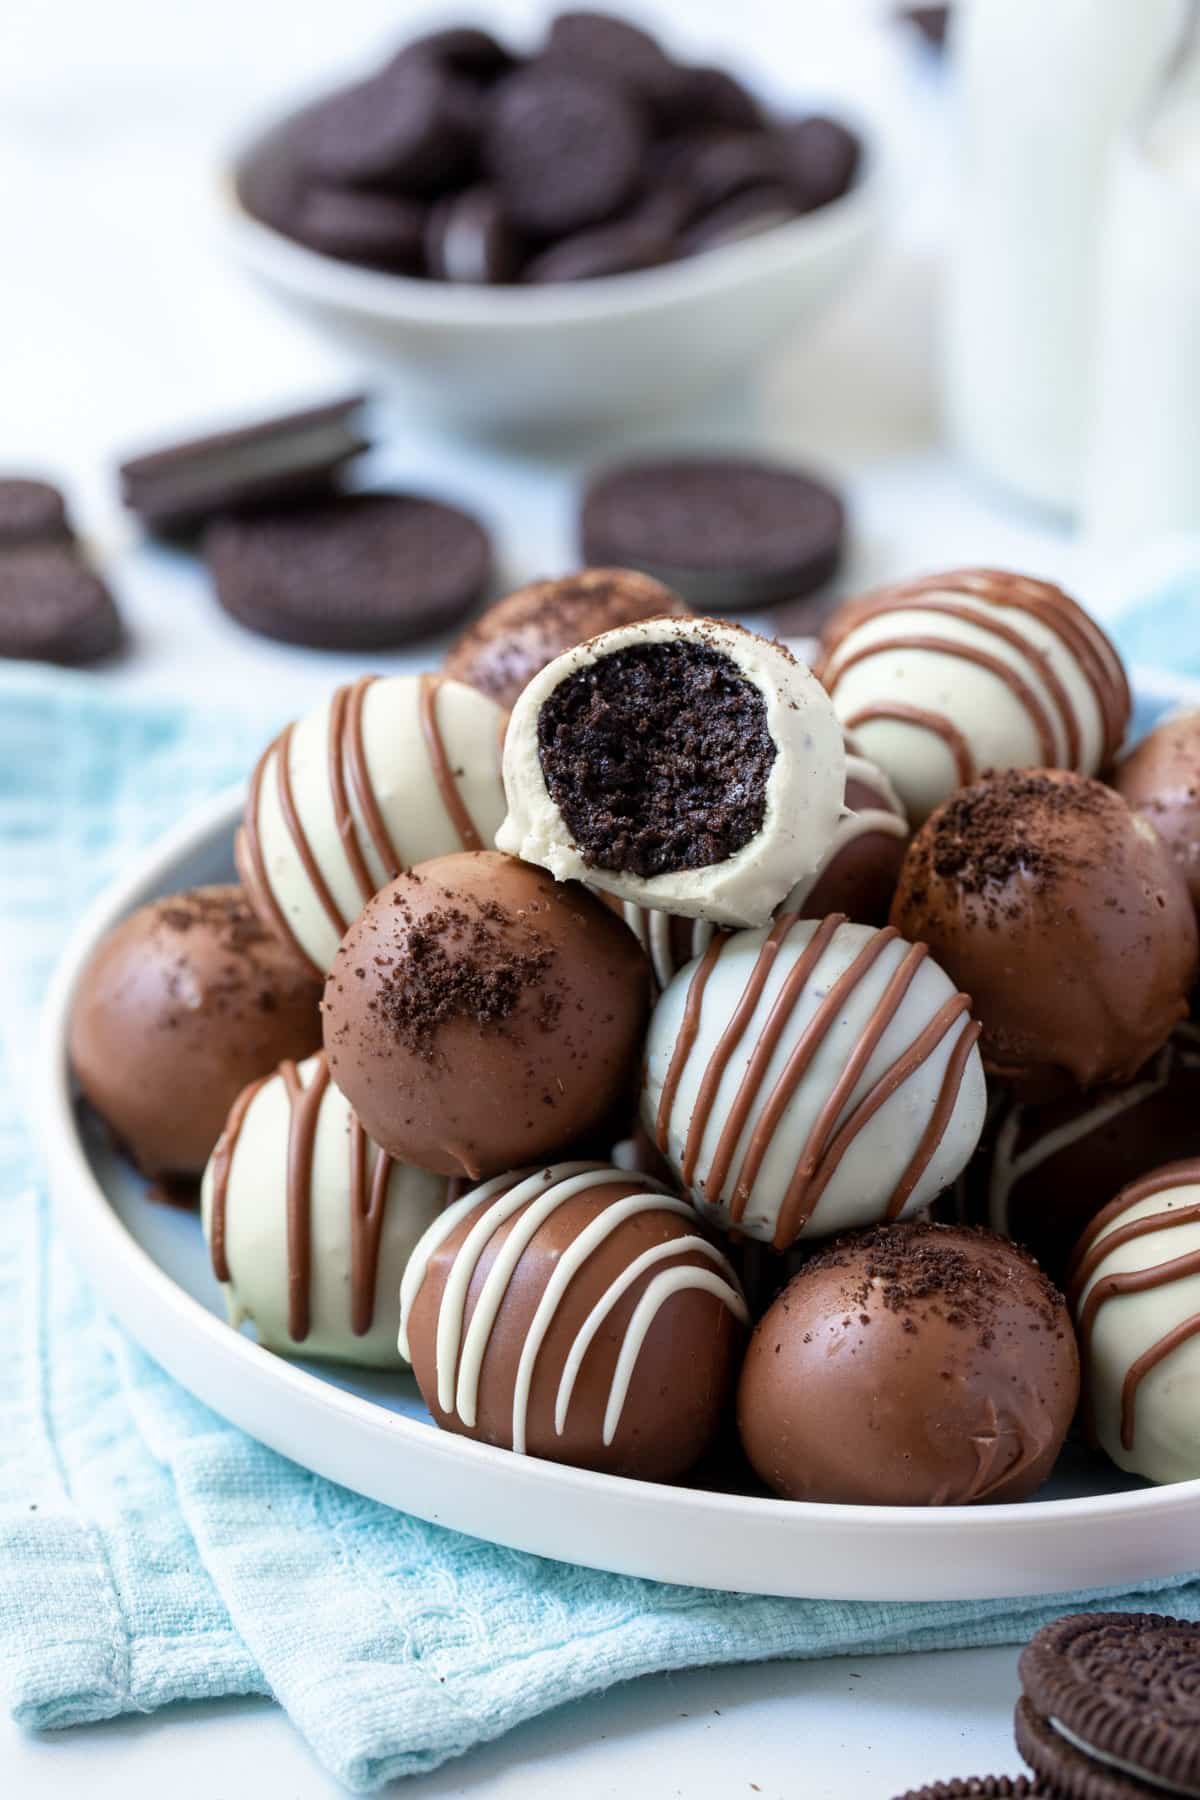
These no-bake Oreo balls are the ultimate bite-sized treat for cookies and cream lovers! Made with only 3 ingredients (crushed Oreos, cream cheese and smooth chocolate to coat them), they are perfect for Christmas gifting, special occasions or snacking any time.

Why you’ll love this recipe
- Easy to make – they are as no-fuss as a dessert can be. It only takes minutes to make them!
- Only 3 ingredients – Oreos, cream cheese and your favourite chocolate are all you need. Plus, a little vanilla and/or salt for flavour, if you like.
- No bake – no need to turn on the oven. These delicious balls set in the fridge, with no need for baking or fancy equipment.
- Make ahead – these truffles are so easy to make ahead of time and store in the fridge or freezer until ready to serve.
- Perfect for gifting – they make a great last-minute holiday dessert or homemade gift for friends and co-workers. They’re super quick and easy to make and the recipe can be doubled (or tripled) to make enough for everyone!
- Suitable for any occasion – perfect for serving at birthdays, Christmas, school fetes, bake sales or a cheeky afternoon treat.
Need some more delicious no-bake ideas for gifting over the holidays? Try my milk chocolate rocky road, Biscoff truffles or white chocolate rocky road.
Ingredients you will need
* This post contains tips and instructions to achieve the best possible results. The photo above is a great guide for when you are in the supermarket, but for full ingredient quantities and methods, please scroll down to the detailed recipe card below!
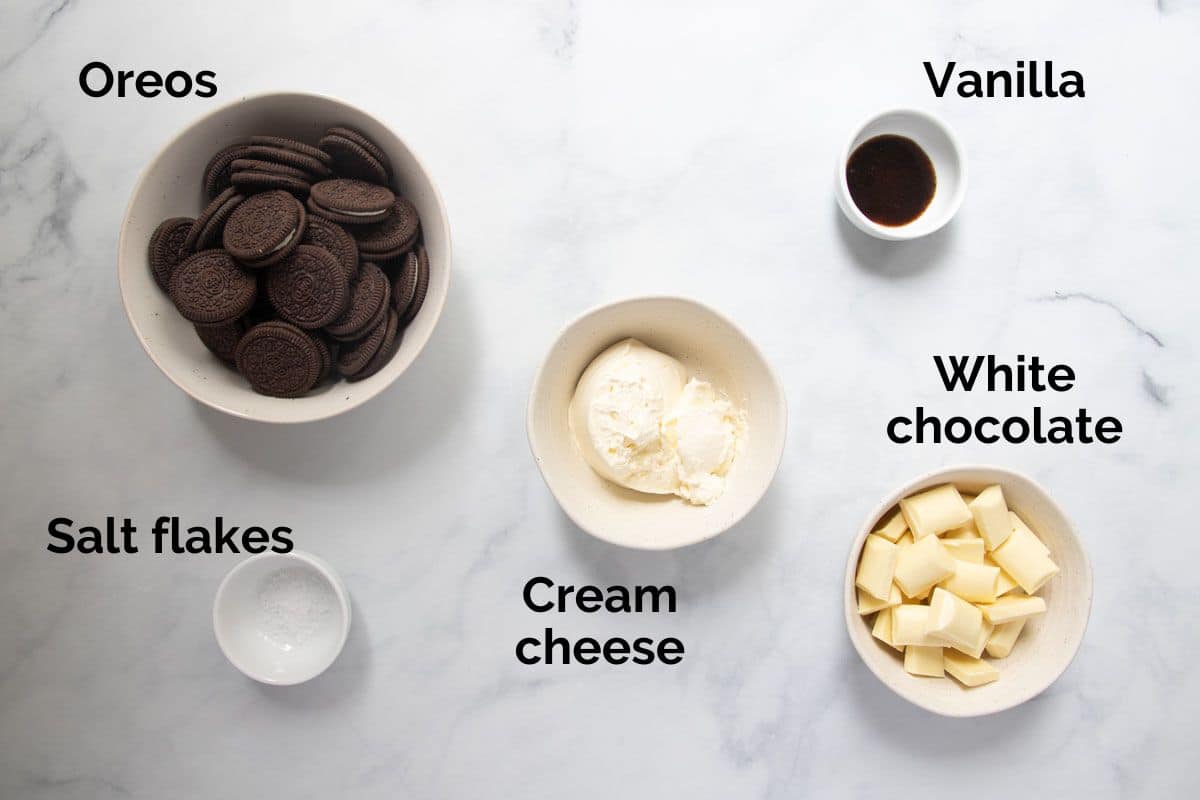
- Oreo cookies – regular Oreos are required, rather than double-stuffed or any other version. Use the whole cookie (the chocolate cookie plus the white filling). The Oreos need to be completely crushed into a fine, sand like crumb. Chunks of cookie pieces won’t blend as nicely into the mixture, so make sure all the lumps are gone.
- Cream cheese – I recommend using regular, full-fat cream cheese (the block, not the spreadable kind) for the best flavour and consistency. Make sure it is at room temperature first. If it is too cold, the mixture will be lumpy and harder to combine.
- Chocolate – white, milk or dark chocolate all work, so choose your favourite! And use a good quality chocolate brand that you know and love, it will make all the difference in the taste! I use Cadbury chocolate. Make sure you keep a little extra for drizzling over the top of the balls at the end.
Vanilla and salt can also be added to enhance the chocolate flavour, but are not essential. I do highly recommend them!
Step by step guide
Full recipe quantities and instructions can be found in the detailed recipe card below.
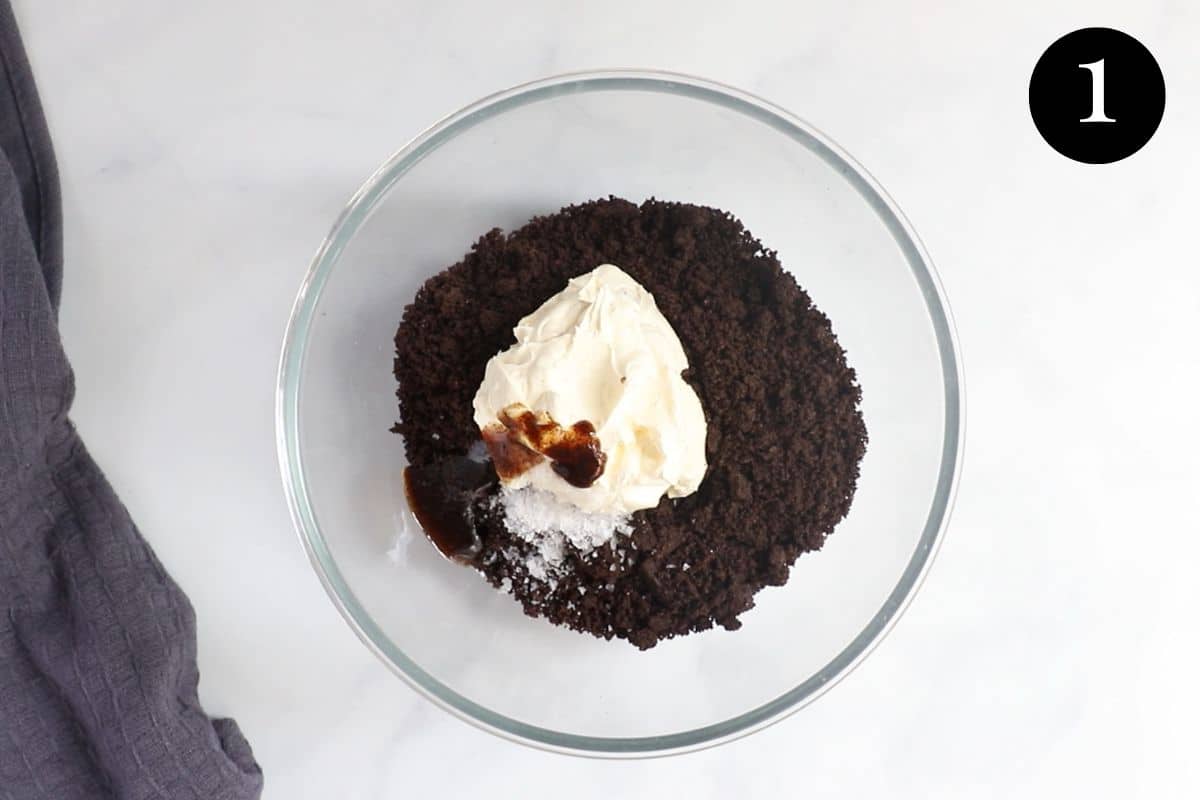
Step 1 – Make the filling;
- Crush the Oreos – add the Oreos to a food processor (the whole cookie, don’t remove the creamy filling!) and blend until the mixture is completely broken down and resembles fine, sand-like crumbs. If you don’t have a food processor, you can crush them with a rolling pin.
- Mix – stir together the crushed Oreos, cream cheese and a pinch of salt + vanilla (optional) until combined.
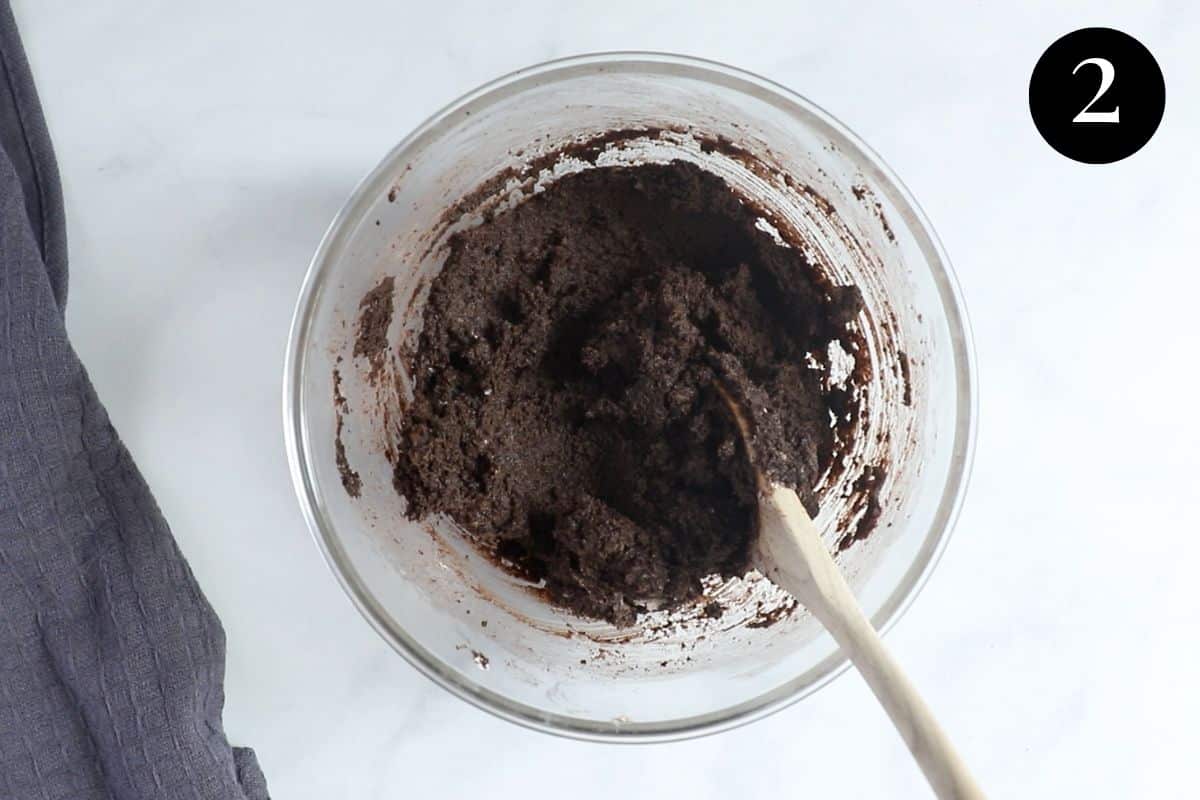
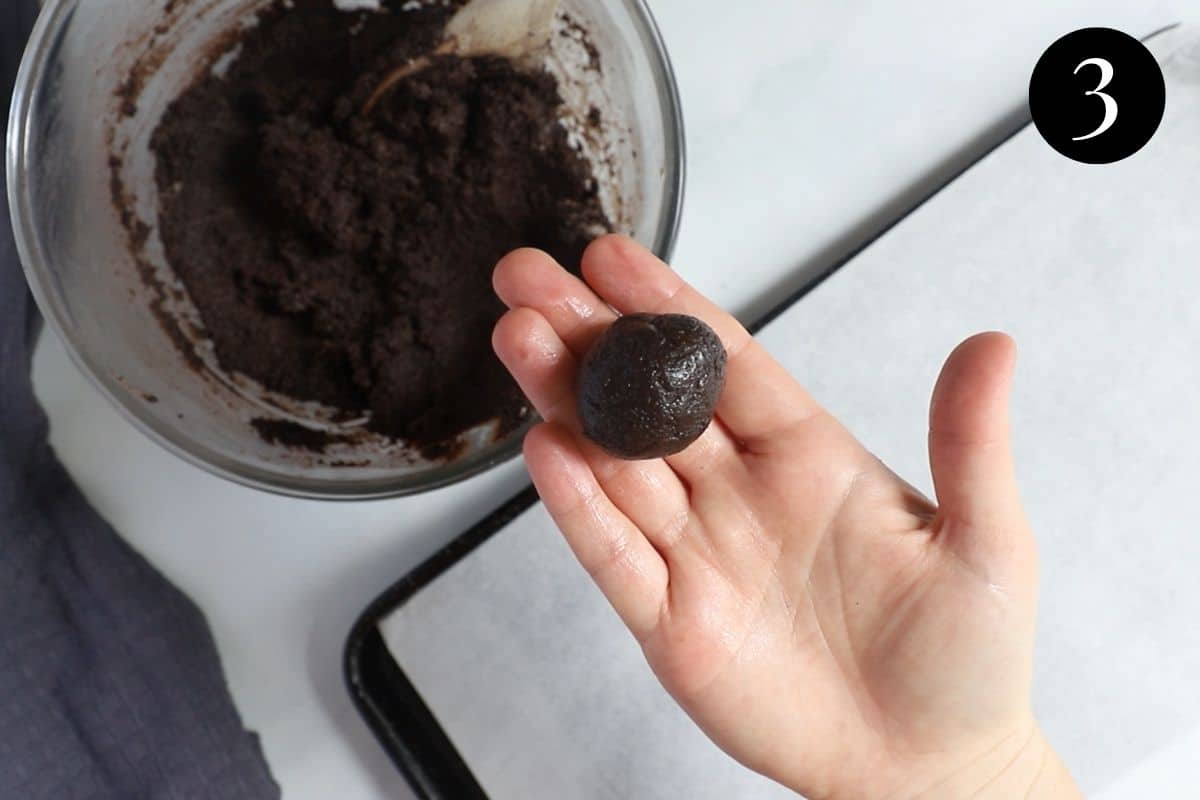
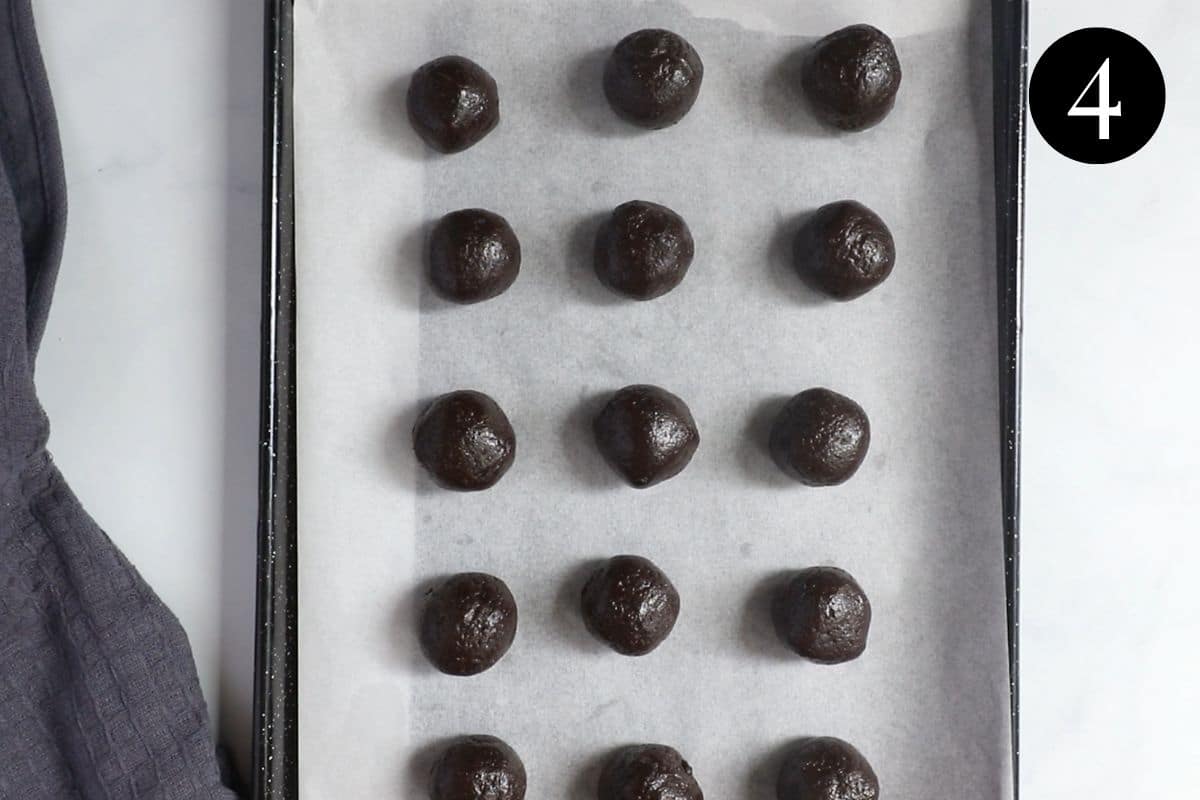
Step 2 – Roll;
- Roll – use a small cookie scoop or rounded spoon to scoop balls of the Oreo mixture and roll them with your hands to shape.
- Freeze – or refrigerate until firm (around 30 minutes).
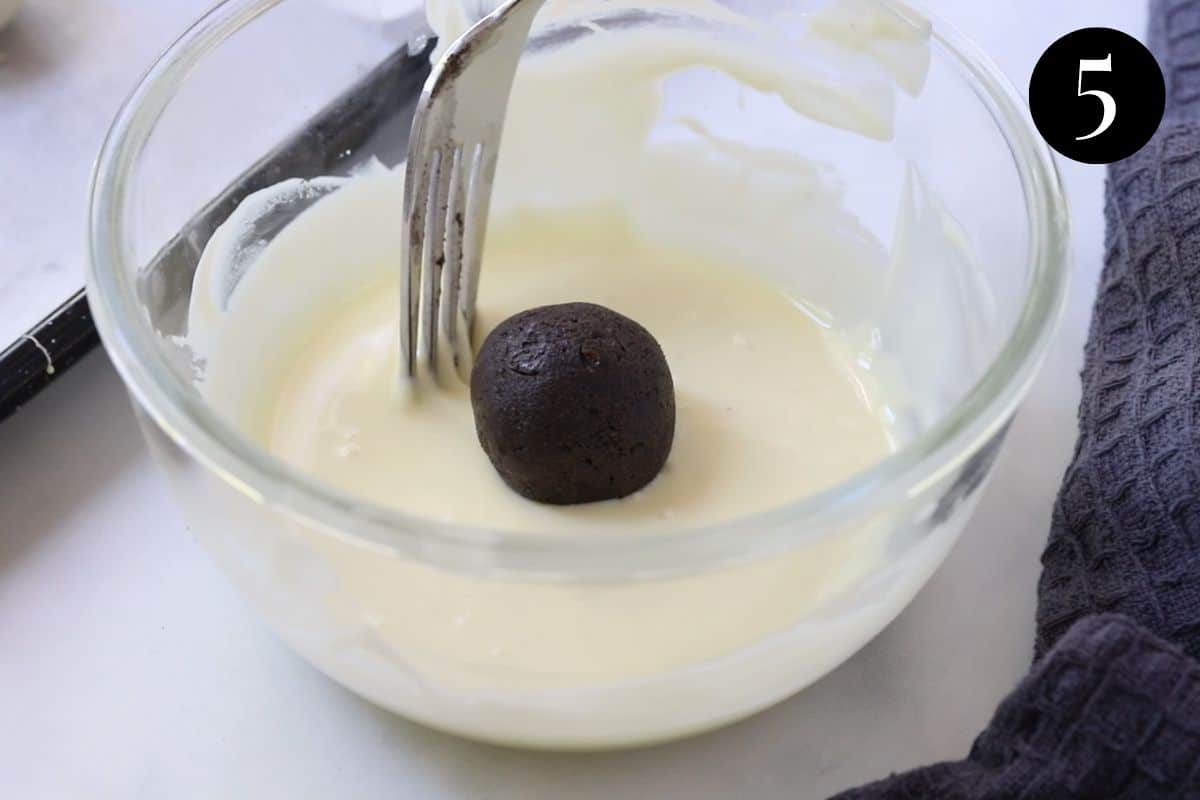
Step 3 – Decorate;
- Coat in chocolate – once the balls are chilled and firm, use a fork to dip them in melted chocolate. Then, decorate with your choice of toppings (crushed Oreos, sprinkles, whatever you like!). Let them set in the fridge and you are done!
Expert tips
- Storage; store them in an airtight container in the fridge for 1-2 weeks.
- Customise them to suit – try adding a splash (2-3 tablespoons) of Baileys or Kahlua to the mixture. Or sub the vanilla out for a few drops of peppermint essence for Peppermint Oreo balls.
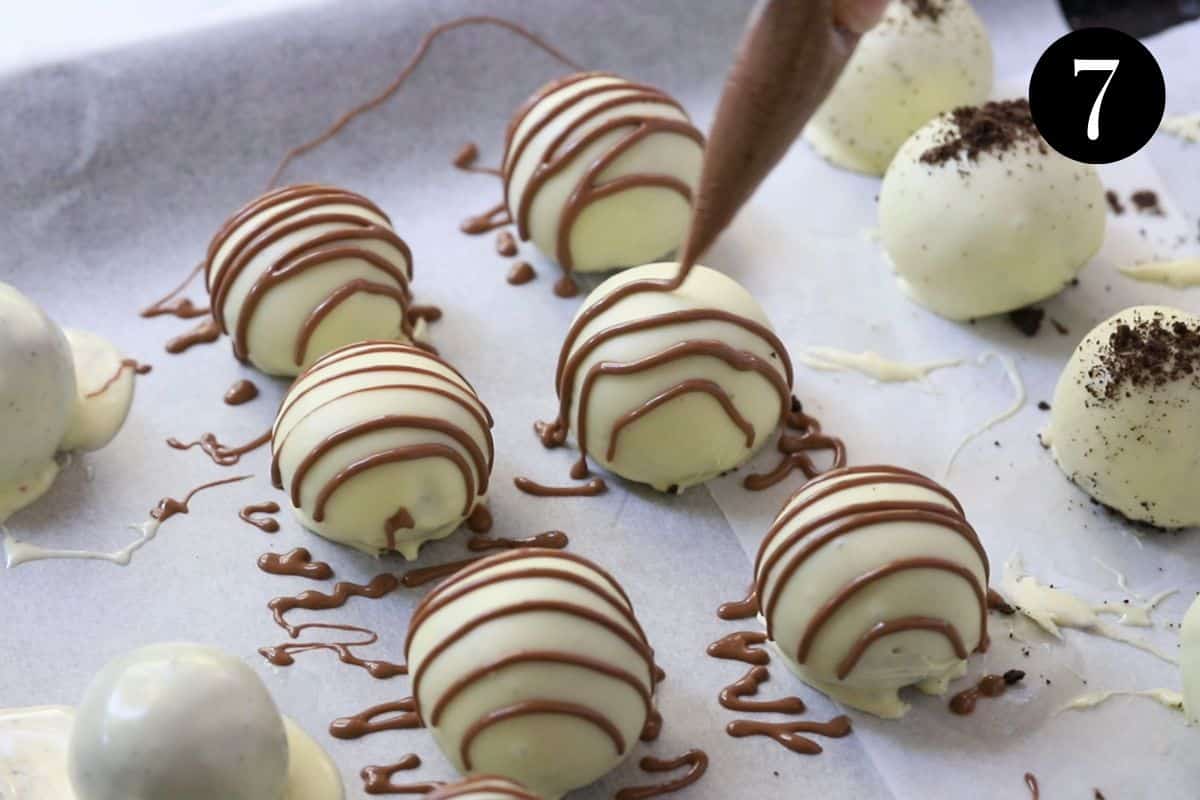
- Decorate them however you like! Top with some crushed candy canes for a minty hit, crushed Oreos, a drizzle of melted chocolate or some brightly coloured sprinkles (red and green are great for Christmas).
- Don’t skip the chilling time. Be sure to chill the Oreo balls before dipping them in the chocolate, as soft/room temperature balls are harder to handle and more fiddly to coat. Chilling the balls will also help the chocolate to set and drip less.
- If you don’t have a food processor, you can place the Oreos in a bowl or bag and crush them with the end of a rolling pin.
- If you are gifting these truffles, be sure to keep them chilled and store them in sealed bags or airtight containers.
FAQs
Yes! Freeze them in a good quality, airtight container for up to 3 months. Place them in the refrigerator overnight to thaw and consume within 1-2 days.
Because they contain cream cheese, Oreo balls are not safe to store at room temperature. Keep them chilled until you are ready to serve. Chilling also stops the chocolate from becoming soft.
Oreo balls (or Oreo truffles) taste like bite-sized pieces of Oreo cheesecake. They are chocolatey, creaminess from the cream cheese and a little hint of salt. Flavours can vary slightly, depending on the type of chocolate you use.
Related recipes
Tried this recipe? Please leave a star ⭐⭐⭐⭐⭐ rating or leave a review below and let you know how you went!
Hungry for more? Subscribe to my newsletter and follow along on Facebook, Instagram and Pinterest for the latest recipes and news.

Oreo Balls (No Bake)
Ingredients
- 330 grams Oreo cookies approx. 35 cookies.
- 150 grams cream cheese softened at room temperature
- 1 teaspoon vanilla bean paste optional
- 1 pinch salt flakes optional
To decorate
- 300 grams chocolate white, milk or dark chocolate, melted.
- extra crushed Oreos, sprinkles or chocolate to decorate.
Instructions
- Line a tray with baking paper.
- Place the Oreo cookies into a food processor and blend until the cookies are like fine crumbs. If you don't have a food processor, place the cookies in a bag or large bowl and crush them with a rolling pin.
- Add the cream cheese to the crushed cookies (plus the vanilla and salt if you are using them) and mix, until well combined.
- Using your hands, roll heaped teaspoons of the Oreo-cream cheese mixture into balls. Place the balls on the baking tray and refrigerate or freeze until cold and firm (at least 30 minutes).
- Break the chocolate into pieces and place in a microwave safe bowl. Microwave on medium (50%) power in 30 second bursts, stirring in between, until melted and smooth.
- Using a fork, dip the oreo balls into the melted chocolate until coated. Hold the fork above the bowl and allow any excess chocolate to drip back into the bowl.
- Gently place the balls on the lined baking tray. Decorate with additional crushed Oreos and/or a drizzle of melted chocolate and place into the fridge for at least 2 hours to fully set.
Video
Notes
- Customise them to suit – try adding a splash (2-3 tablespoons) of Baileys or Kahlua to the mixture. Or sub the vanilla out for a few drops of peppermint essence for Peppermint Oreo balls.
- Decorate them however you like! Top with some crushed candy canes for a minty hit, crushed Oreos, a drizzle of melted chocolate or some brightly coloured sprinkles (red and green are great for Christmas).
- Be sure to chill the Oreo balls before dipping them in the chocolate, as it will help the chocolate to set and drip less.
- If you don’t have a food processor, you can place the Oreos in a bowl or bag and crush them with the end of a rolling pin.
- If you are gifting these truffles, be sure to keep them chilled and store them in sealed bags or airtight containers.
- Freezing; Freeze them in a good quality, airtight container for up to 3 months. Place them in the refrigerator overnight to thaw and consume within 1-2 days
- Storage; Because they contain cream cheese, Oreo balls are not safe to store at room temperature. Store in an airtight container in the fridge for 1-2 days and keep them chilled until you are ready to serve.
- Please note that the nutrition information is based on the mixture and chocolate being divided into 22 balls, with one ball being one serve. The nutritional information is an estimate only and does not take into account any additional toppings or sides served with the balls.
- This recipe is made using Australian cups and spoon measurements. Any reference to cups or spoons in this recipe is in Australian metric. Due to cup sizes varying from country to country, I advise adjusting if necessary.
Nutrition
Are you following us on Facebook, Instagram and Pinterest?
Update Notes: This recipe was originally published in December 2019, but was re-published with new information, helpful tips and photos in December 2022.


Susan says
Has anyone tried this recipe using Oreo Golden cookies? I have a granddaughter who doesn’t like chocolate. I think these would be cute Halloween treats for her using Golden Oreos and white chocolate and sprinkling with Halloween sprinkles.
Andrea Geddes says
Hi Susan! I haven’t personally tried this recipe with Golden Oreos, but any type of Oreo can be substituted in equal quantities. I love this idea and would love to hear how you go! Andrea 🙂
Sylvie says
These look seriously addictive; the type of sweet treats you would not stop eating haha! I love how easy they are too; they would make the perfect edible gift for the holidays!
TheCookingCollective says
Hi Sylvie! My husband will confirm that they are very addictive 😀
They do make a great gift- if you can part with them!
Adrianne says
Oreo balls are one of my all time favourite things to make and yours look delicious Andrea!! Yup, I think my car needs to not start just so I can find to eat some of these!! Haha but true right.
TheCookingCollective says
Hi Adrianne! We love making them here too. So simple, so delicious! 😀
Robyn says
These sound absolutely amazing! Next year when my son is a little older I will have to make these with him!
TheCookingCollective says
Hi Robyn! I’m sure he would love that. I’d love to see some photos when you do! Andrea.