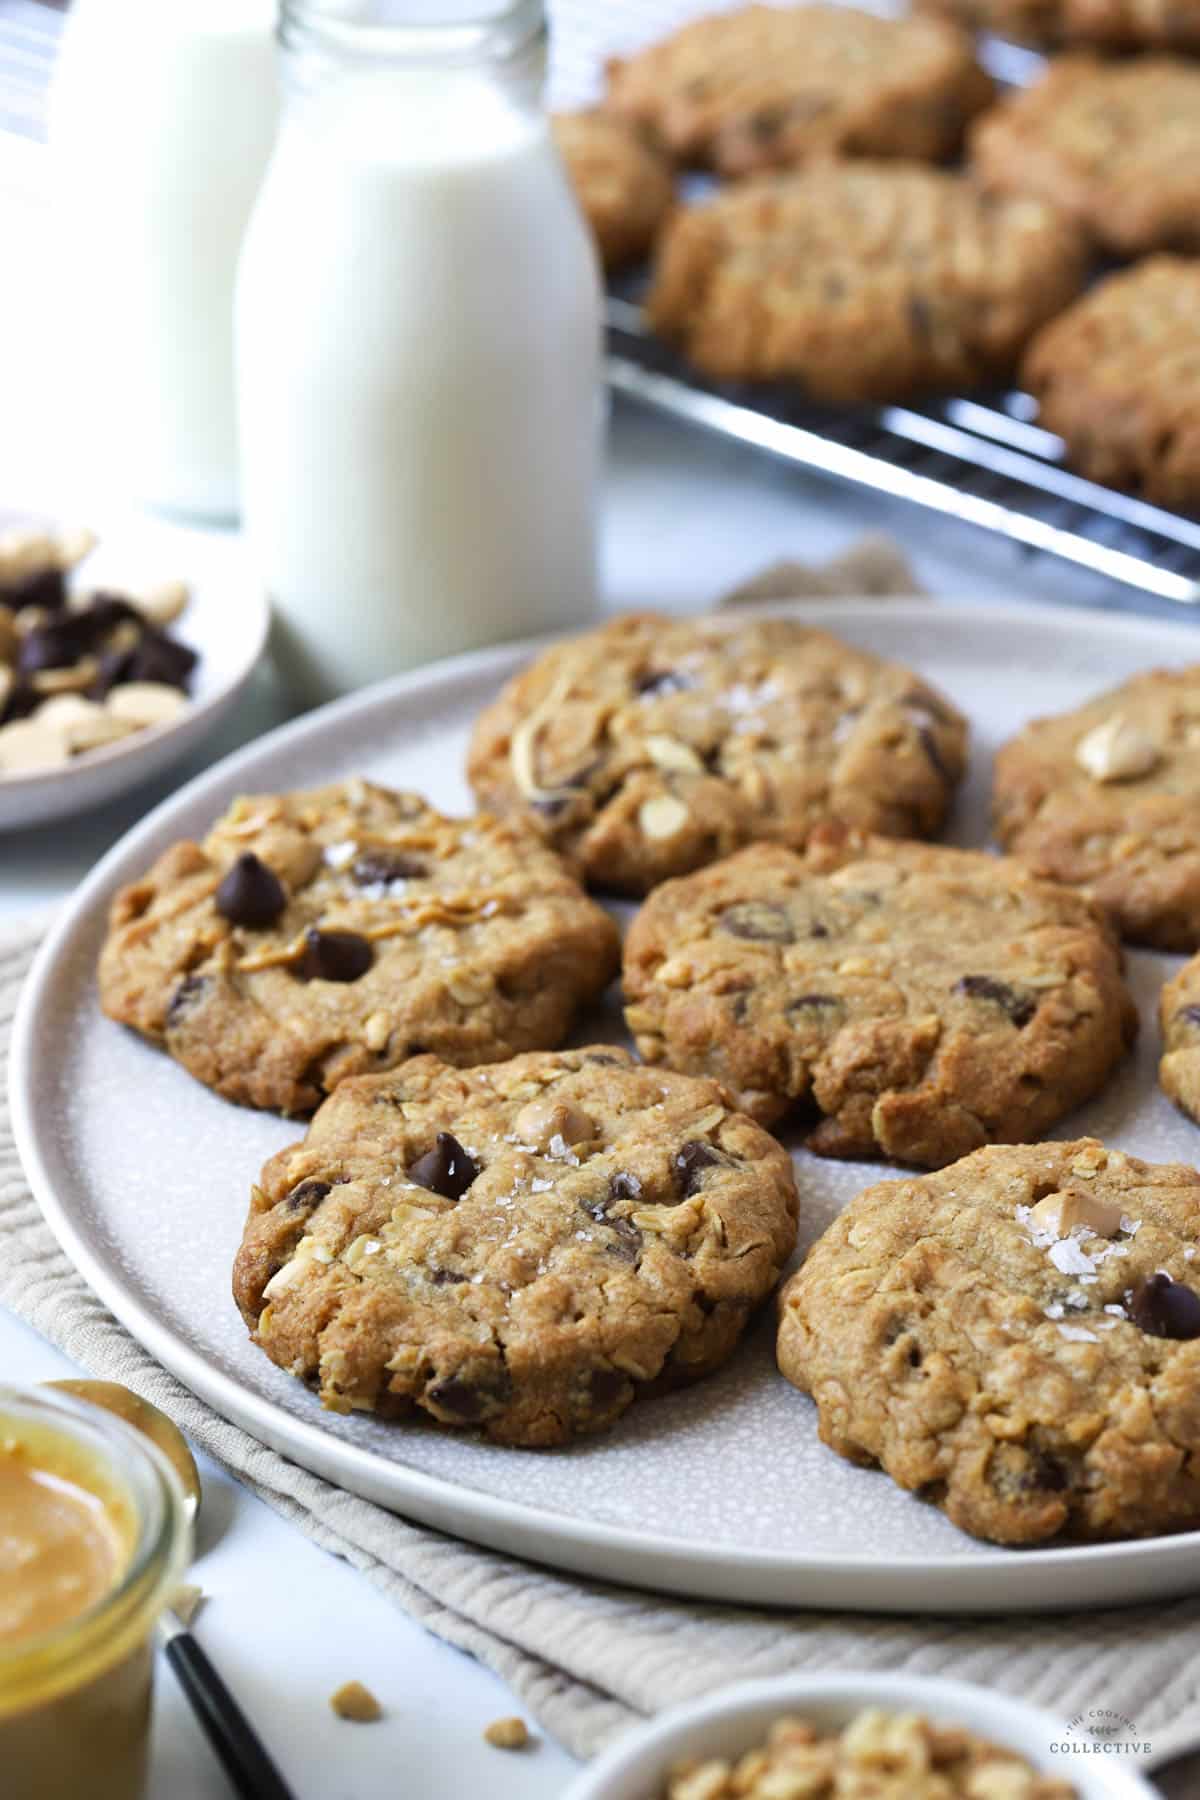
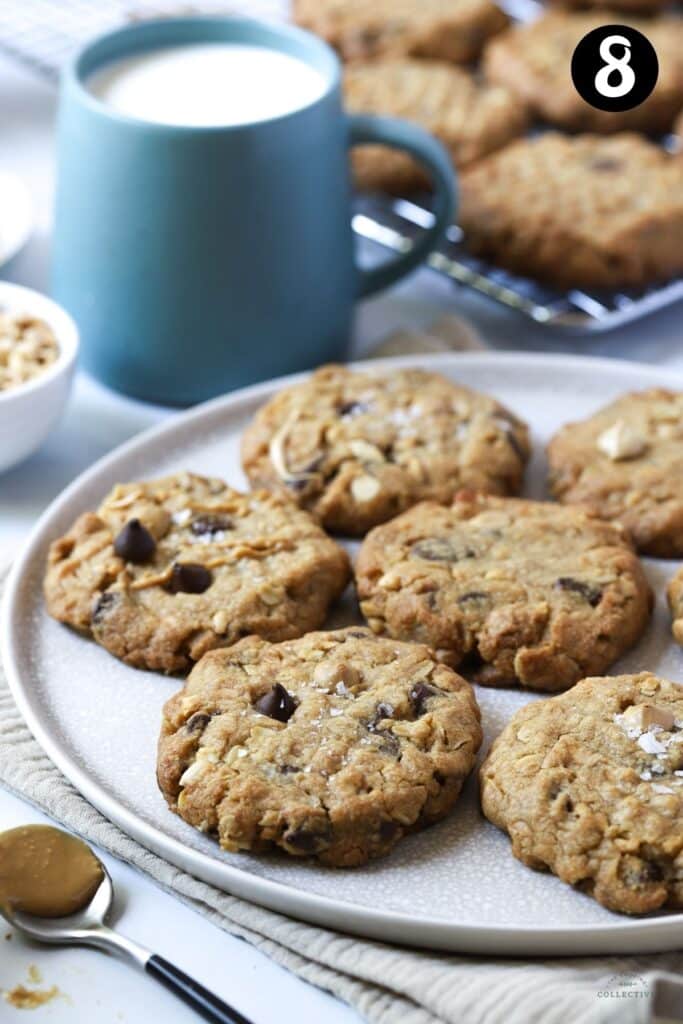
Calling all peanut butter lovers! These crunchy peanut butter cookies with chocolate chips are sure to become your new favourite cookie. They are chunky, indulgent and filled to the brim with peanut butter and chocolate. And they are impossible to resist straight from the oven with a glass of cold milk!
Why you’ll love this recipe
- Simple pantry ingredients – these cookies are a staple in our kitchen! There are no fancy ingredients required, so they are perfect for whipping up at the last minute.
- Quick and easy – ready in just 20 minutes with no chilling time. A total lifesaver when those sweet cravings hit!
- One-bowl recipe – everything comes together in one bowl. Minimal mess for maximum flavour.
- Perfect with a glass of cold milk – chewy in the middle with crunchy edges, they have a buttery crust and loads of chocolate chips. They make a great after-school or afternoon snack and are loved by all ages.
- Freezer-friendly – make a double batch so you can freeze half for later! You never know when there will be a cookie emergency and you will have some dough, ready to go!
If you love these cookies, try my raspberry jam drops and vanilla melting moments!
Ingredients you will need
** This post contains tips and instructions to achieve the best possible results. The photo above is a great guide for when you are in the supermarket, but for full ingredient quantities and methods, please scroll down to the detailed recipe card below!
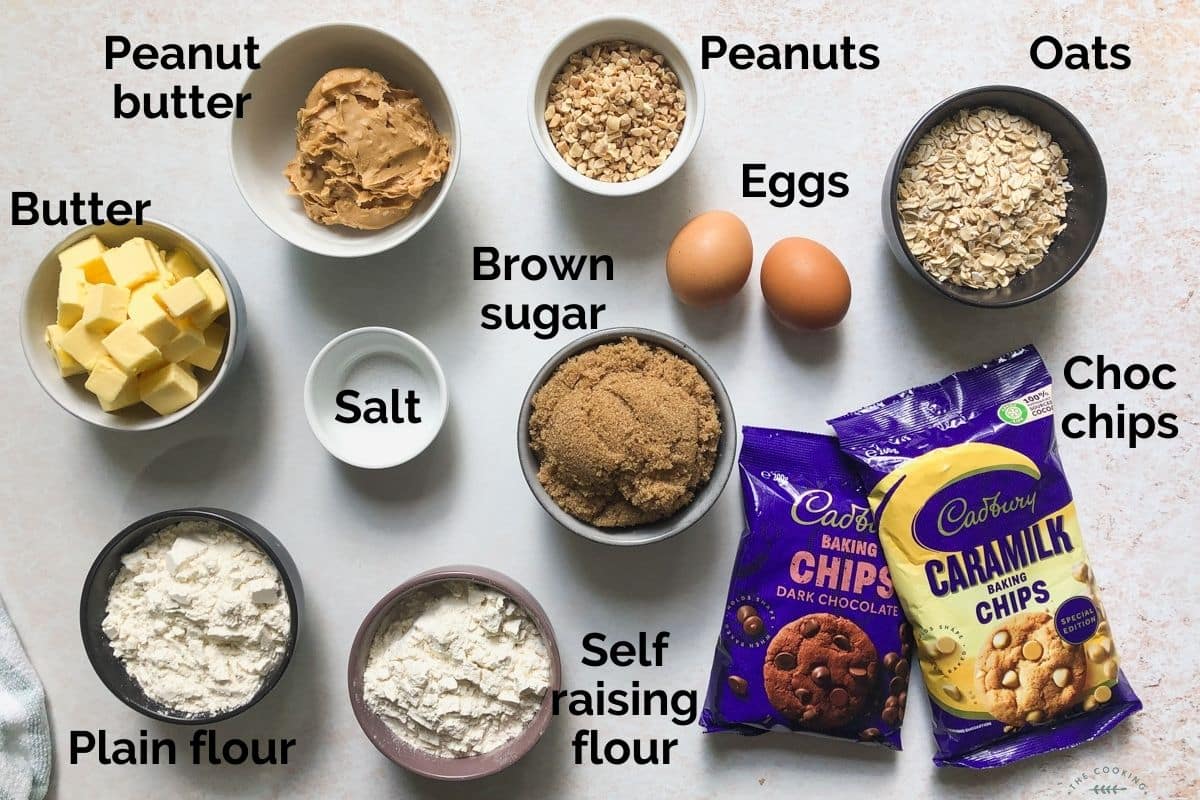
Along with pantry basics like flours, brown sugar, oats and salt, you also need the following;
- Peanut butter – these cookies are loaded with peanut butter flavour. And for best results, I recommend using store-bought, processed peanut butter. While natural peanut butter is healthier, it can dry the cookies out and make them oily. In Australia, I use Bega crunchy or smooth peanut butter. Elsewhere, try Jif or Skippy, or a good quality brand of processed peanut butter that you know and love.
- Butter – salted or unsalted is fine. Just be sure to use regular butter rather than margarine or butter substitutes for best results.
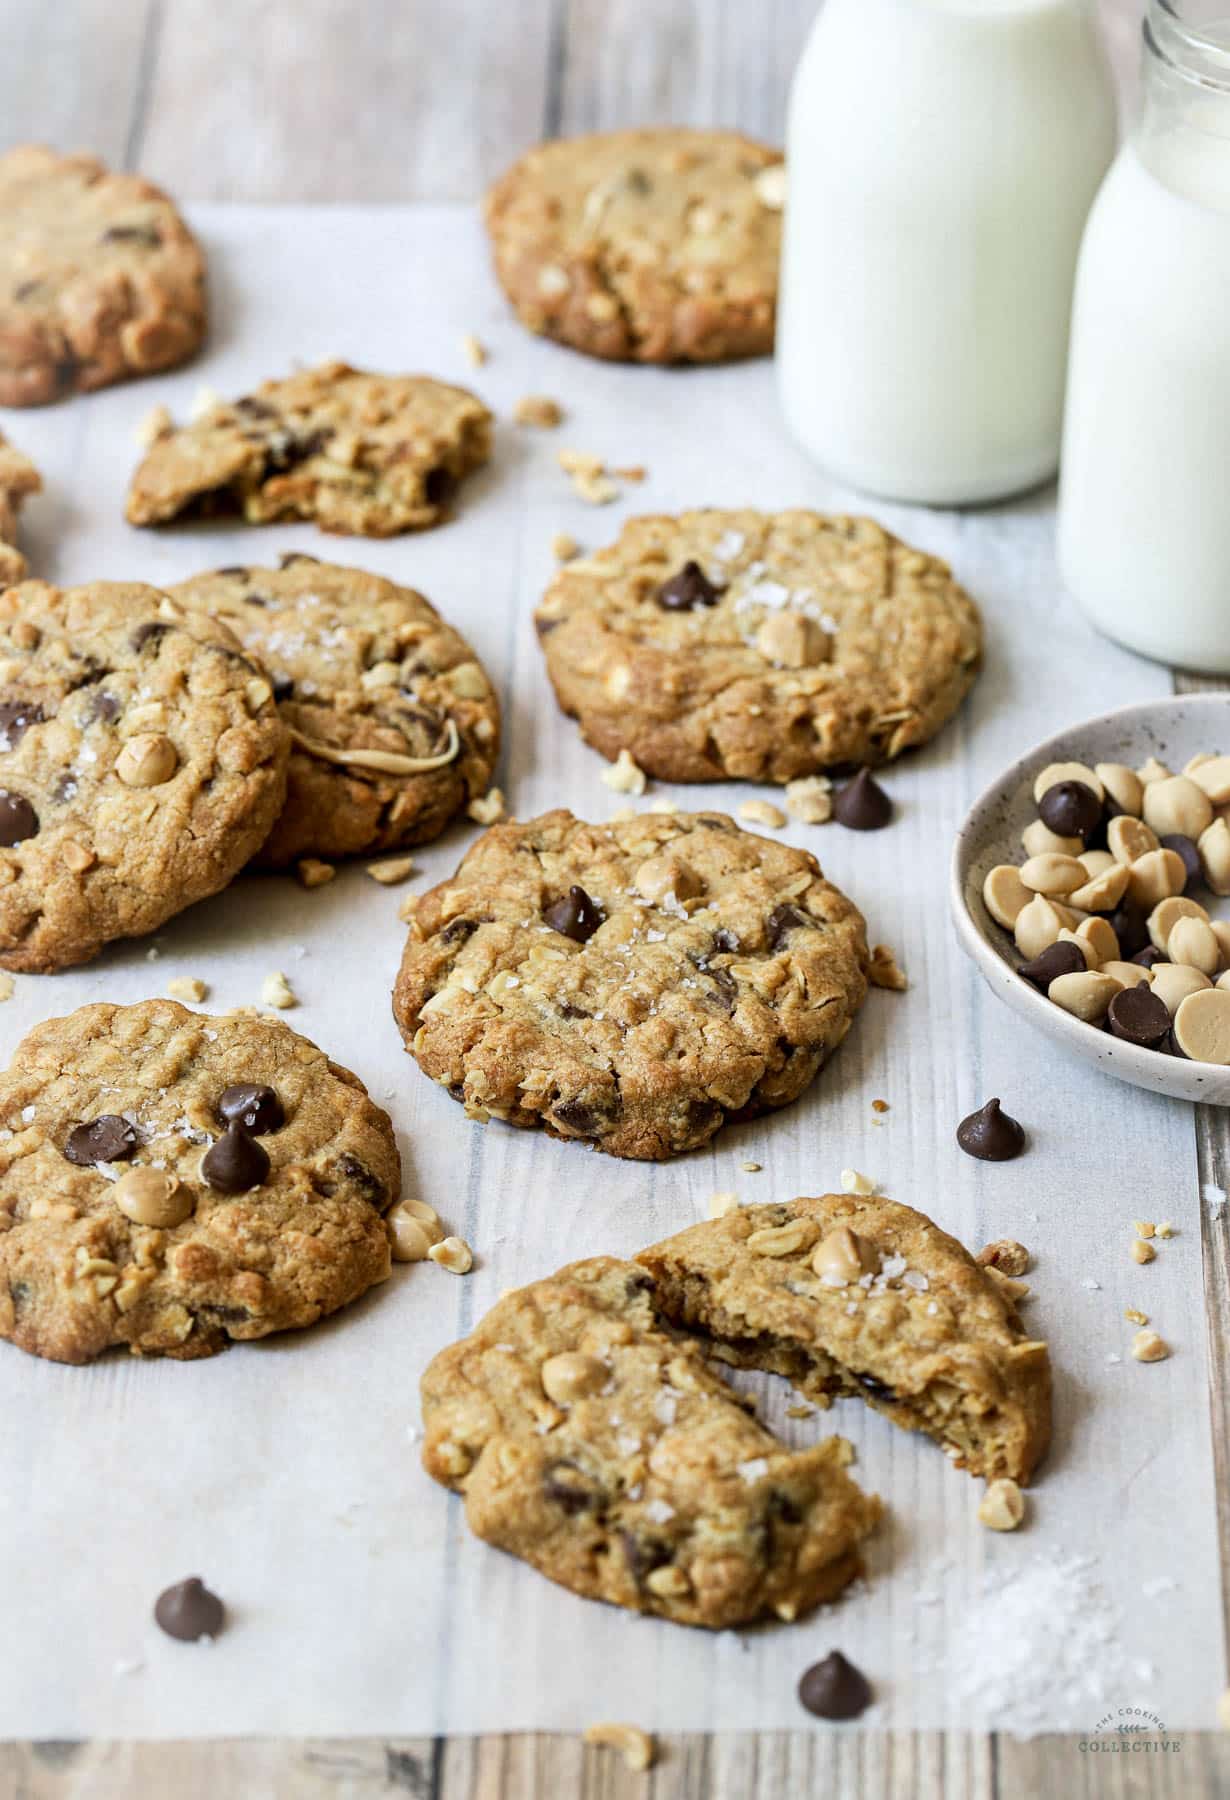
- Chocolate chips – I love to use a mix of Cadbury dark chocolate and Caramilk baking chips. But you can also use milk or white chocolate, depending on preference. Baking chocolate can also be used and cut into chunks.
- Crushed peanuts – are used for extra peanut flavour.

Step by step guide
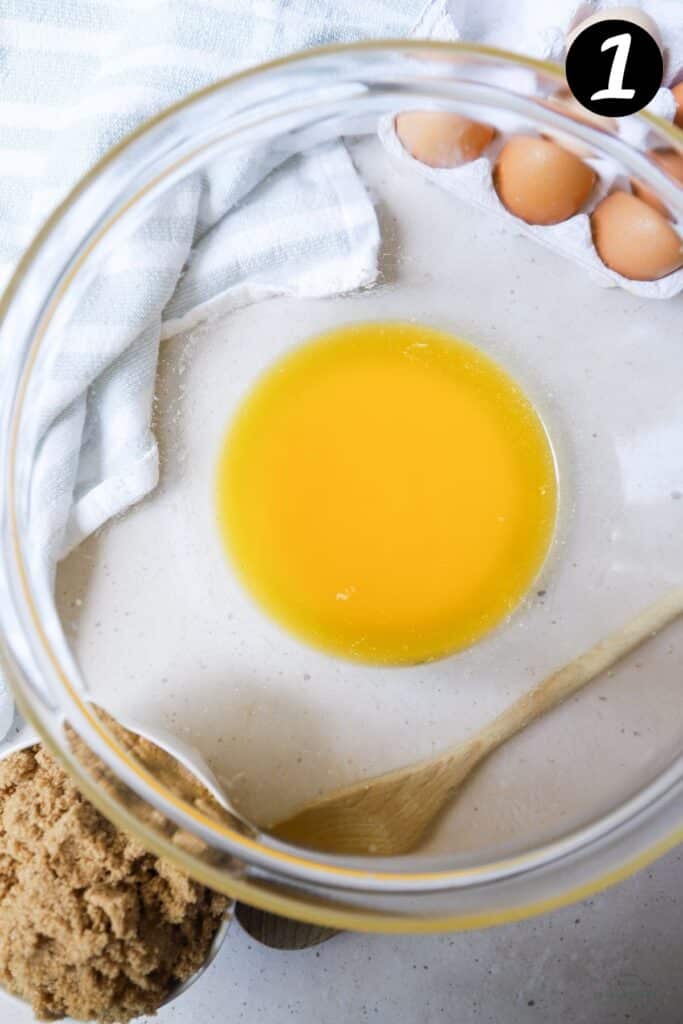
1. Melt the butter in the microwave and then stir through the peanut butter and salt until smooth.
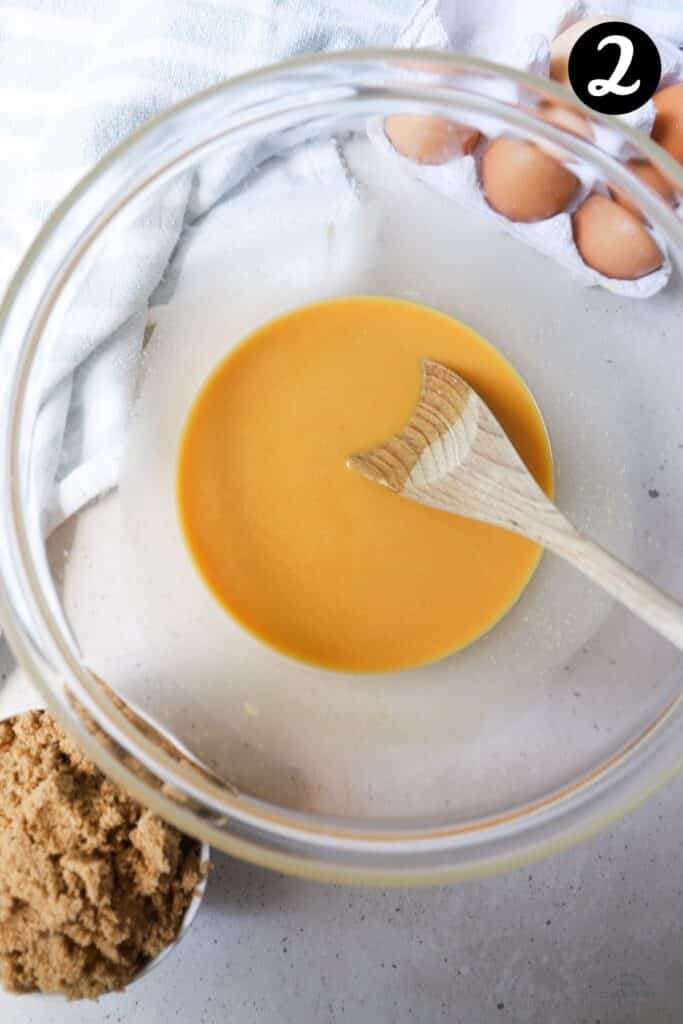
2. Add the sugar and beat.
3. Beat in the eggs and vanilla.
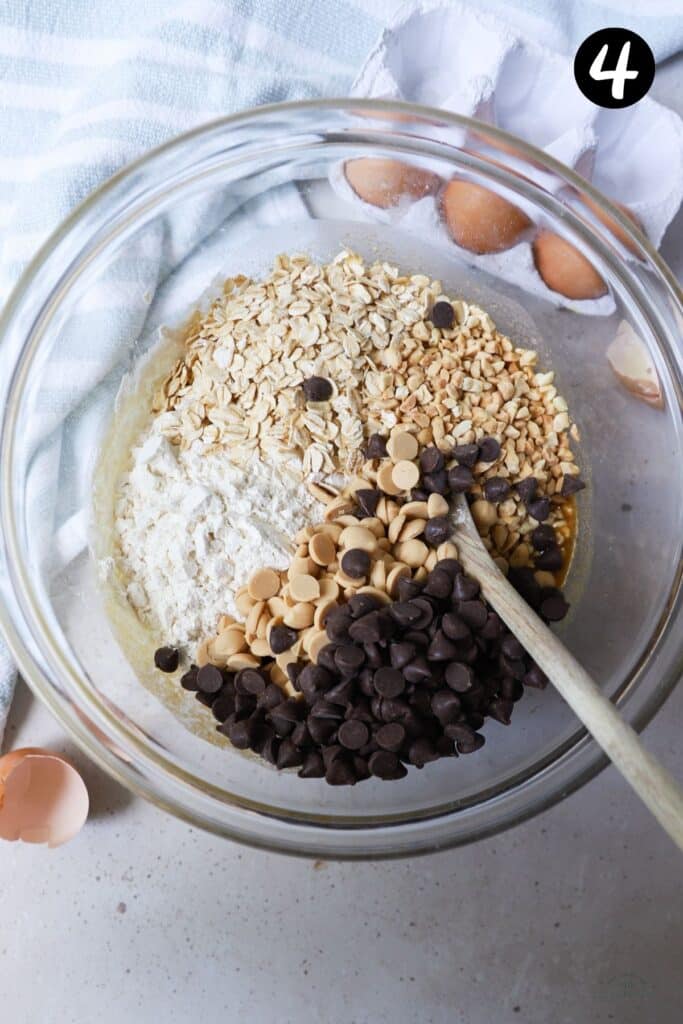
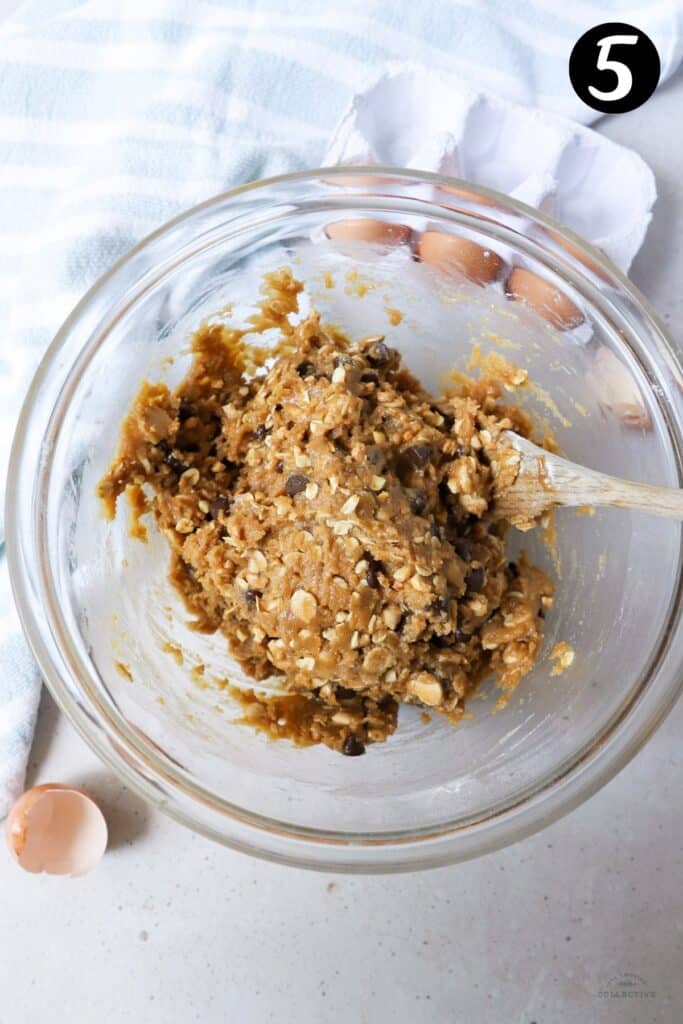
4. Add the flours, oats, nuts and choc chips and stir until combined. There is no need to chill this peanut butter cookie recipe, because the cookie dough is thick and only spreads slightly while baking.

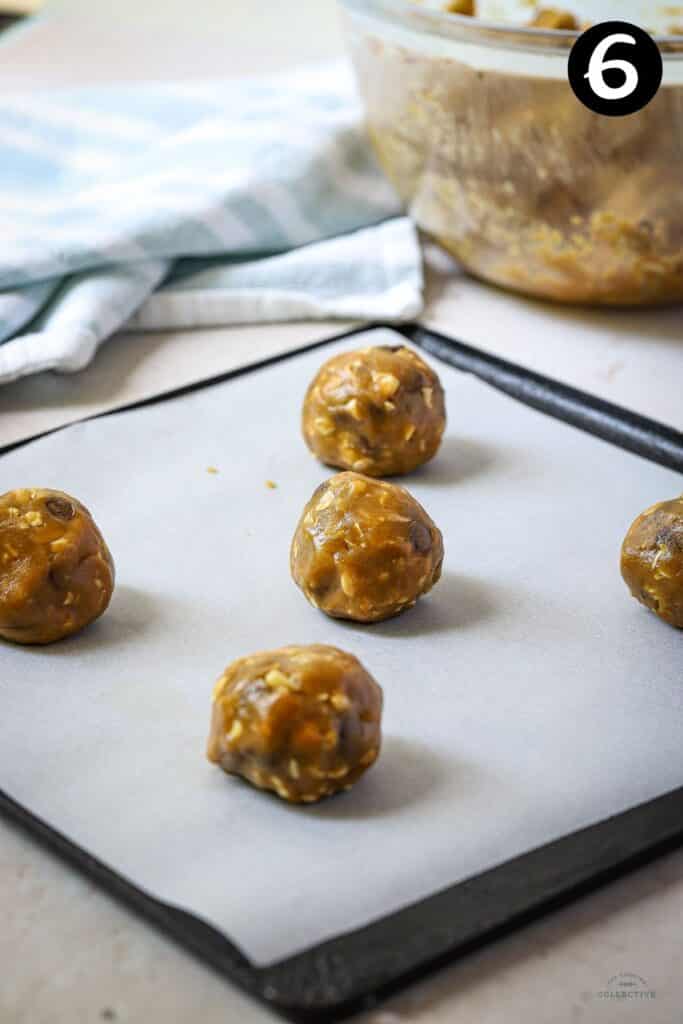
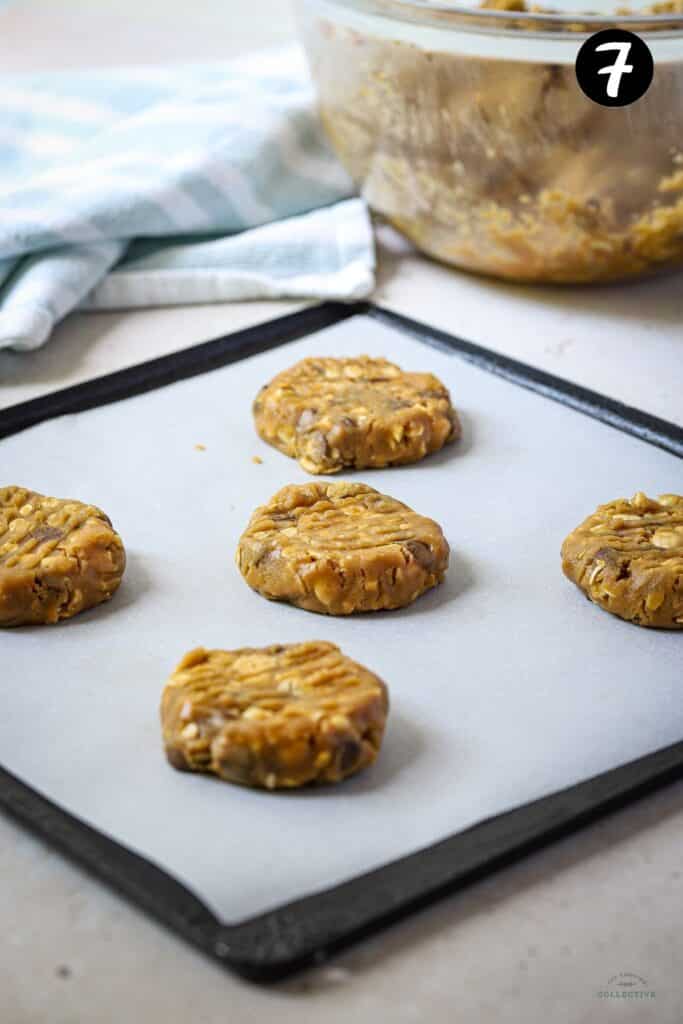
5. Roll into balls. Each cookie is about 2-3 tablespoons in size. Gently press the cookies flat (with fingers or a fork) onto a baking tray.
6. Bake for around 15 minutes, until the edges are set and golden and the centre is slightly puffy.
7. Enjoy! Serve warm (is there anything better than a warm cookie straight from the oven?!) or cool and store in an airtight container for up to 5 days.
Full ingredient quantities and method can be found in the recipe card below.
Extra filling ideas
Try adding some of these tasty extras!
- Caramel pieces
- Salty pretzels
- ¼ teaspoon of cinnamon
- Try replacing the chopped peanuts for walnuts, almonds, pecans or your favourites!
- Try large chunks of roughly chopped dark chocolate instead of choc chips
- Sprinkle the flattened cookies with sea salt immediately after baking.
Expert tips
- The cookie dough can be frozen for up to 3 months, perfect for instant cookies any time. Thaw in the fridge overnight or at room temperature (or bake from frozen and add a couple of minutes to the baking time).
- The cookie dough can also be made ahead and refrigerated for up to 3 days. Simply roll and bake when you’re ready to eat.
- Make sure that the cookie dough isn’t too warm before adding the chocolate chips. Otherwise, they will melt into the dough. If this happens, the cookies will still turn out great, but there won’t be any lovely chocolatey chunks.
- After baking, wait for a few minutes before transferring the cookies from the tray to a cooling rack. The cookies will be extremely soft and fragile straight from the oven, but will firm up after sitting for a few minutes.
FAQs
The cookies are done when they are a very light golden colour and feel firm around the edges. The middle will still feel a little soft when you press on them straight from the oven, but they will firm up as they cool. Leave them on the baking tray for a few minutes before transferring to a wire rack to cool completely.
If too much flour is added to the cookie dough, they will be crumbly and prone to falling apart. I recommend measuring the ingredients exactly, and weighing the flour for best results. Another cause of crumbly cookies is using margarine or a butter substitute instead of real butter, or cooking them for too long. I recommend using real butter and keeping an eye on the cookies in the oven. They should take around 12-15 minutes to cook.
These cookies are best eaten within 3 days, but will keep in an airtight container at room temperature for around 5 days.
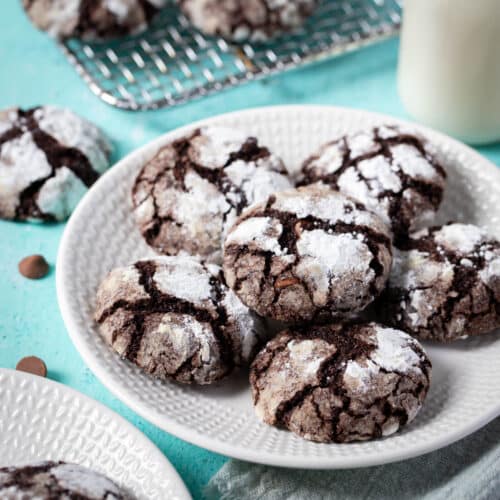
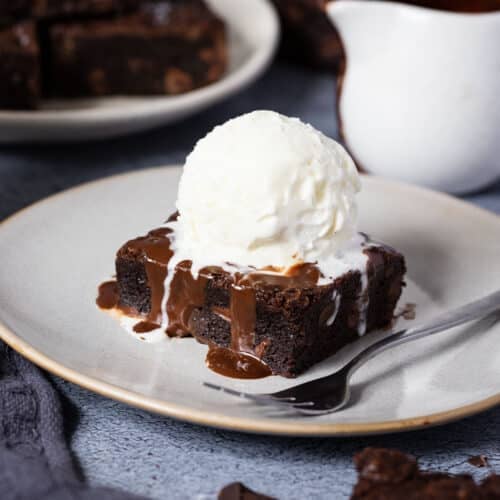
Related recipes
Tried this recipe? Please leave a star ⭐⭐⭐⭐⭐ rating or leave a review below and let you know how you went!
Hungry for more? Subscribe to my newsletter and follow along on Facebook, Instagram and Pinterest for the latest recipes and news.

Peanut Butter Cookies | Choc Chip
Ingredients
- ⅔ cup butter 150 grams
- ½ cup peanut butter
- ¼ teaspoon salt
- 1 ¼ cup brown sugar
- 1 egg
- 1 egg yolk extra
- ¾ cup plain flour 115 grams – also known as all purpose flour
- ¾ cup self raising flour 115 grams
- ½ cup oats
- ⅓ cup peanuts chopped or crushed
- 1 ½ cup choc chips dark, milk, or white (or try caramel baking chips!)
Instructions
- Pre-heat oven to 175C° (350F). Line a large baking tray (or two trays) with baking paper.
- Place the butter in a large, microwave safe bowl and microwave in 20 second intervals, stirring in between, until the butter has melted.
- Add the peanut butter and salt to the butter and stir until combined.
- Stir through the brown sugar and mix until combined and smooth.
- Add the egg and additional egg yolk and stir.
- Add all of the other ingredients into the bowl and mix until the cookie dough comes together.
- Take about 2-3 tablespoons of the dough at a time and roll into 20 balls. Place the balls onto the baking tray (at least 3 cm apart) and flatten the cookies slightly with a fork.
- Bake for around 12-15 minutes, until the edges are set and lightly golden and the centre is slightly puffy.
- Remove from the oven and leave the cookies on the tray for five minutes before using a spatula to transfer the cookies to a wire rack to cool completely. Eat them warm, or cool and store in an airtight container for up to five days (or freeze for up to three months). Enjoy!
Notes
- Peanut butter – these cookies have an intense peanut butter flavour. To achieve this, the best peanut butter to use is store-bought, processed peanut butter. While natural peanut butter is healthier, it can dry the cookies out and make them oily. In Australia, I use Bega crunchy or smooth peanut butter. Elsewhere, try Jif or Skippy, or a good quality brand of processed peanut butter.
- The cookie dough can be frozen for up to 3 months, perfect for instant cookies any time. Thaw in the fridge overnight or at room temperature (or bake from frozen and add a couple of minutes to the baking time).
- The cookie dough can also be made ahead and refrigerated for up to 3 days. Simply roll and bake when you’re ready to eat.
- Make sure that the cookie dough isn’t too warm before adding the chocolate chips. Otherwise, they will melt into the dough and there won’t be any lovely chocolatey chunks.
- The cookies are done when they are a very light golden colour and feel firm around the edges. The middle will still feel a little soft when you press on them straight from the oven, but they will firm up as they cool. Leave them on the baking tray for a few minutes before transferring to a wire rack to cool completely. The cookies will be extremely soft and fragile straight from the oven, but will firm up after sitting for a few minutes.
- The cooking times specified are for 20 cookies. You can make them smaller or larger depending on preference, but the cooking times will vary.
- Please note that the nutrition information is based on the dough being divided into 20 cookies, with one cookie being one serve. The nutritional information is an estimate only and does not take into account any additional toppings served with the slice.
- This recipe is made using Australian cups and spoon measurements. Due to cup sizes varying from country to country, I advise adjusting if necessary. I have included weights for the shortbread crust, to help with the exact measurements.
Nutrition
Are you following us on Facebook, Instagram and Pinterest?
Update Notes: This recipe was originally published in March 2020, but was re-published with new information, helpful tips and photos in February 2022.


Sylvie says
I love peanut butter and chocolate together, they always work so well! LOVE the addition of crunchy peanuts in the cookies, I can only image how good the they taste!
TheCookingCollective says
Thanks Sylvie! Chocolate and peanut butter is never a bad idea!