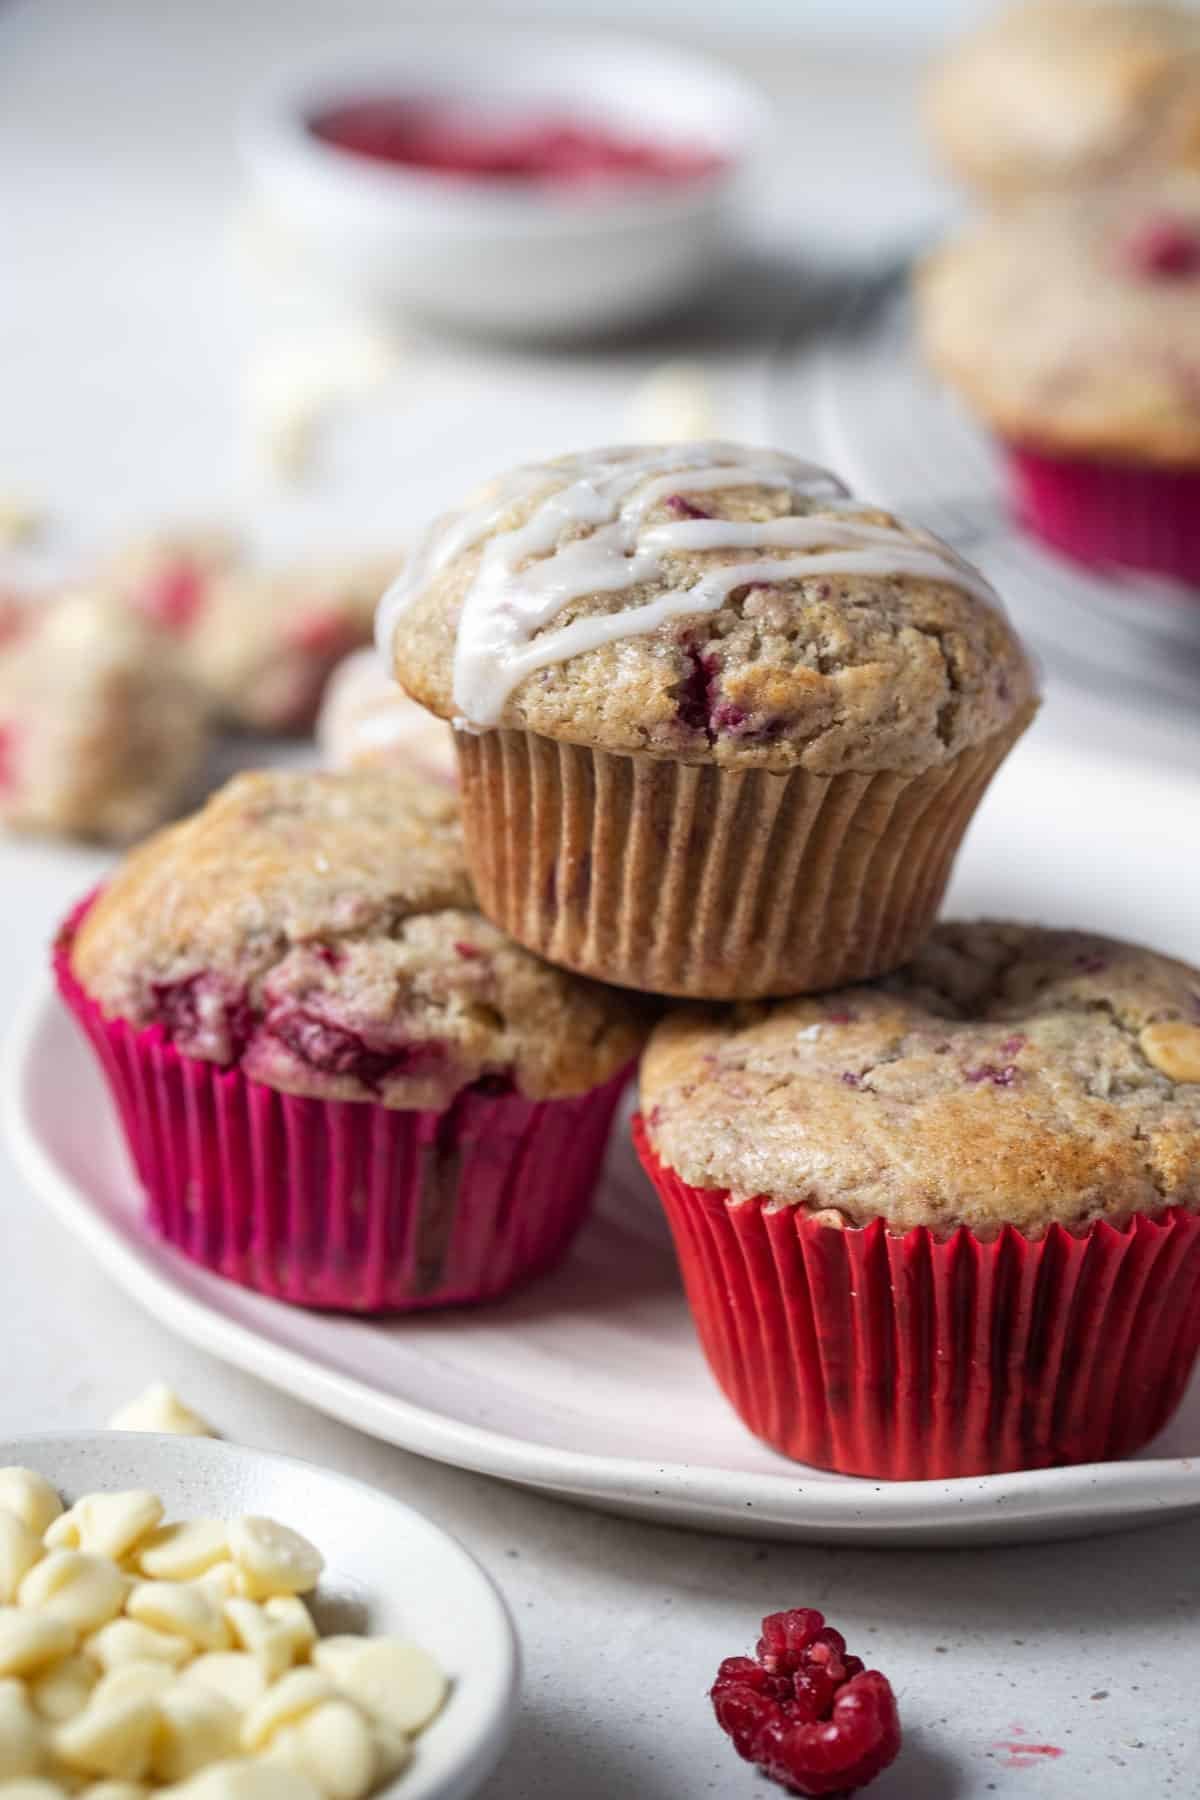
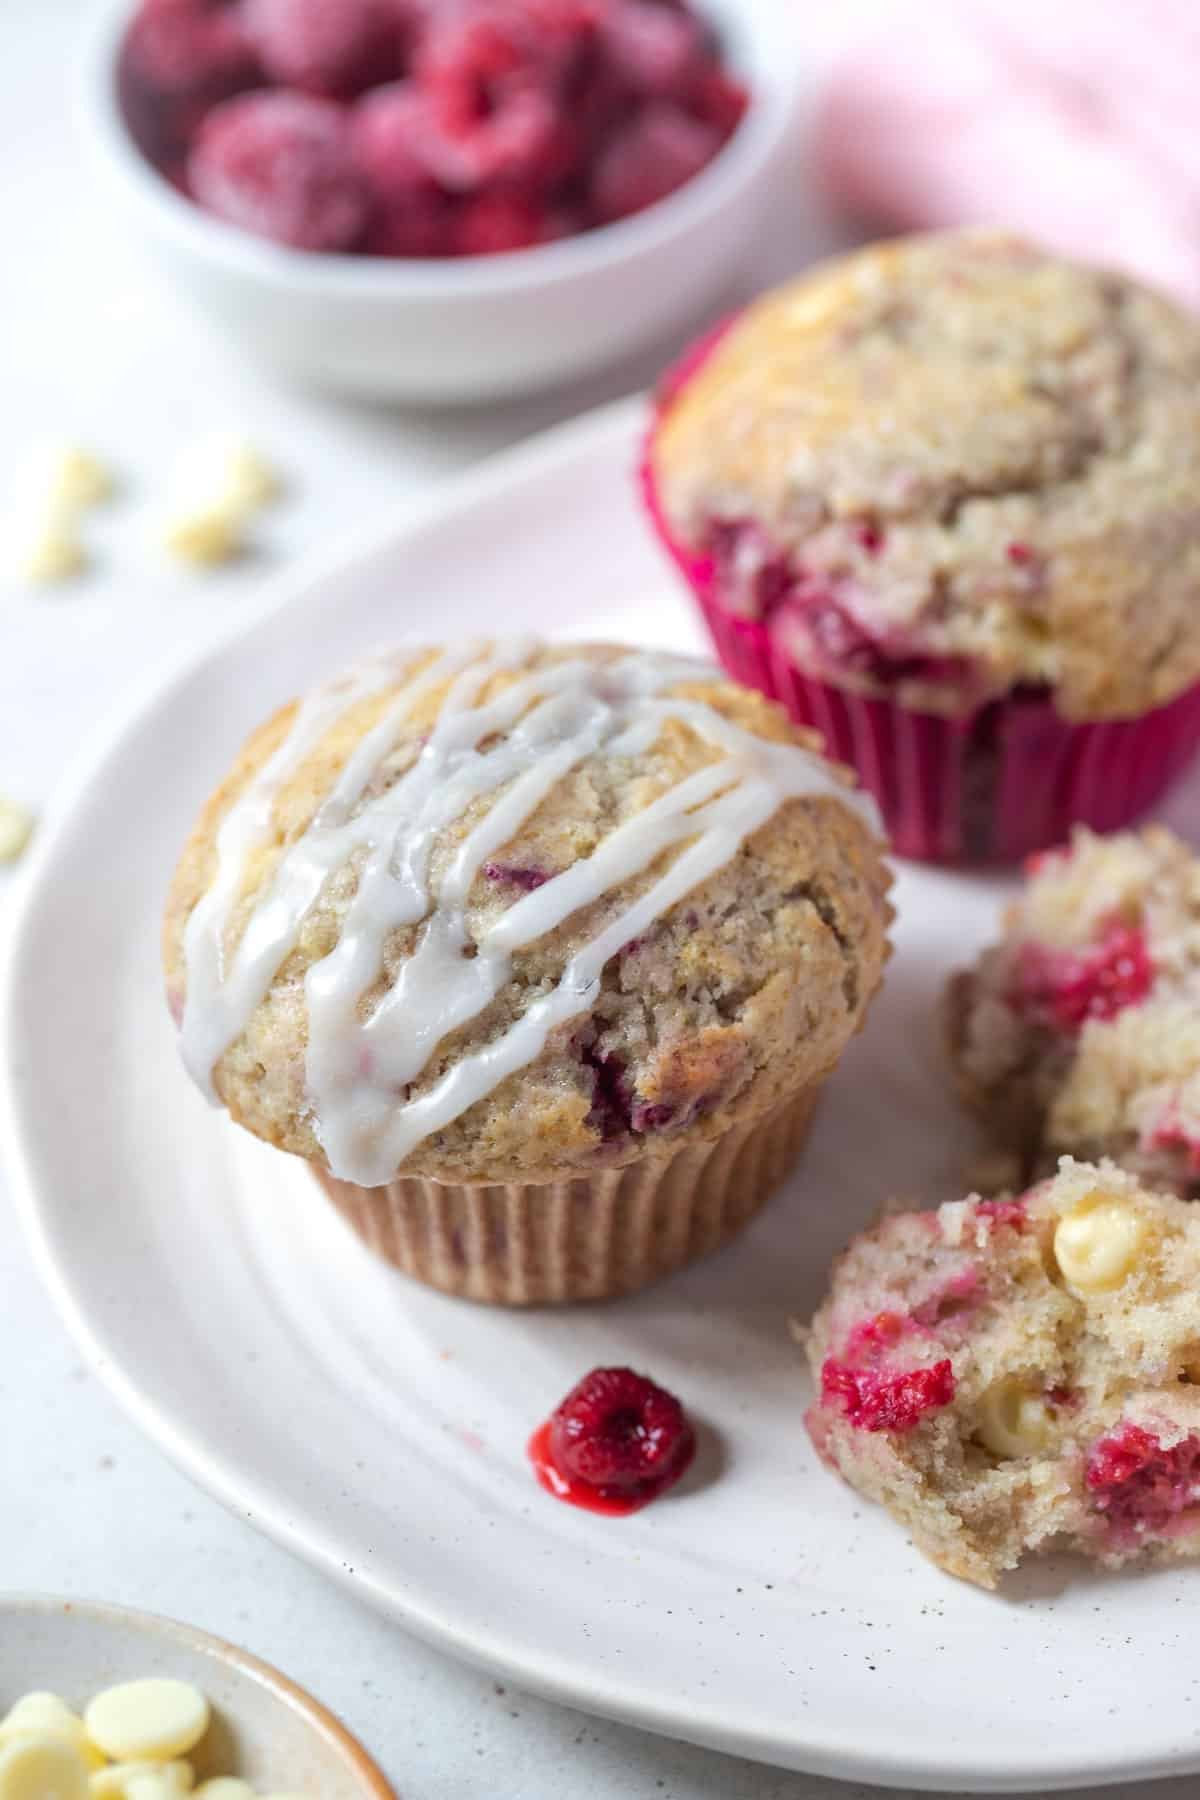
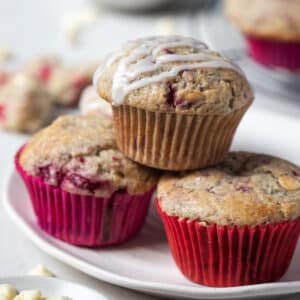
Homemade raspberry and white chocolate muffins, made from scratch. They are buttery and moist, with puffy high tops and a crunchy sugar topping. Bursting with juicy raspberries in every single bite, they are easy to make and ready in just 30 minutes.
Why you’ll love this recipe
- Quick and easy – basic pantry ingredients and 10 minutes of prep time are all you need. No mixers required! Follow my tips below for soft and fluffy muffins with lovely, crunchy domed tops.
- So delicious – tall, fluffy and delicious. The combination of tart raspberries and sweet chocolate is always a winner.
- Freezer friendly – keep them in the freezer for easy snacking, any time.
- Customisable – I love baking with fresh raspberries when they are in season. But you can also make this recipe with frozen raspberries, so you can enjoy them all year round. Raspberries can also be swapped for any kind of berry.
Ingredients you will need
** This post contains tips and instructions to achieve the best possible results. This photo is a great guide for when you are in the supermarket, but for full ingredient quantities and methods, please scroll down to the detailed recipe card below!
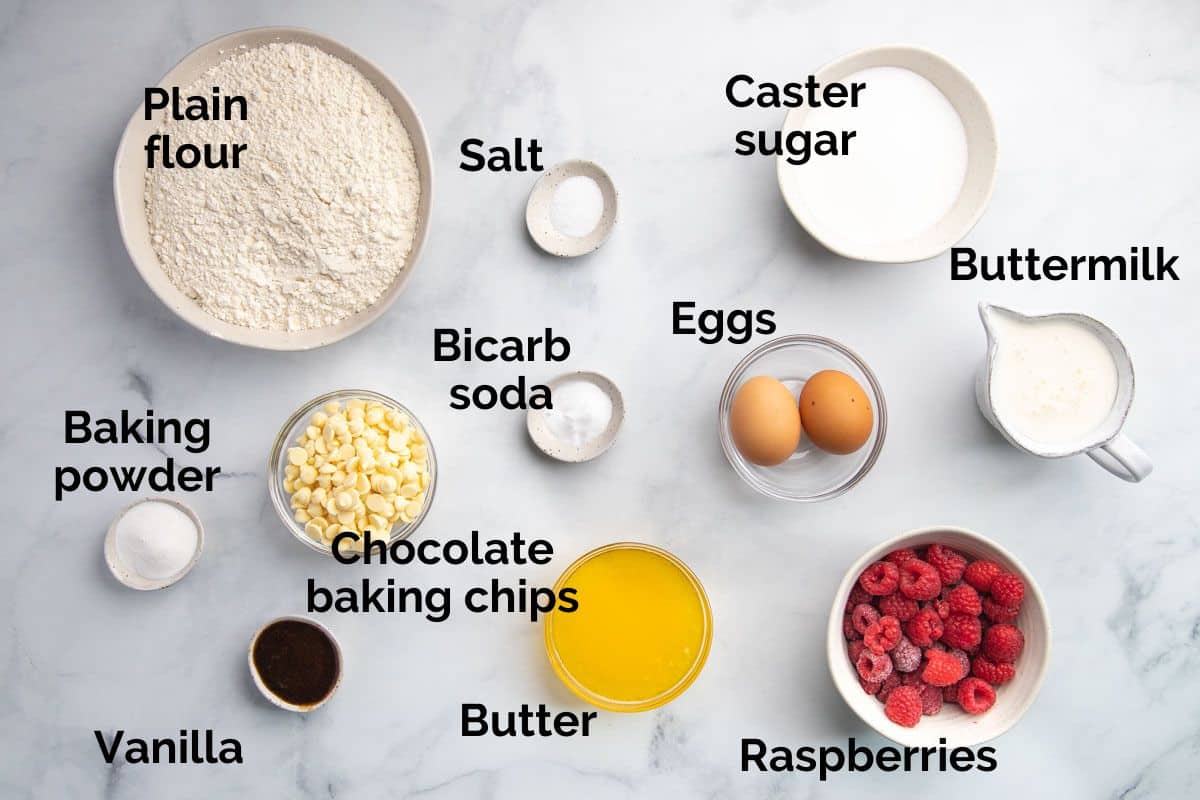
- Raspberries – fresh or frozen raspberries will work in this recipe. If using frozen berries, don’t thaw them first. Raspberries can be swapped for strawberries, blueberries or blackberries.
- Plain flour – also called all-purpose flour, plain flour gives the muffins their structure and texture. Weigh the flour for accuracy, or fluff it with a spoon and level it with a knife to prevent too much flour being added. For a finer crumb, you can use cake flour.
- Caster sugar – superfine sugar, for sweetness. Raw caster sugar or white can be used.
- Baking powder and baking soda – both raising agents are used to help the muffins rise. Be sure to check the use-by date or they won’t be effective.
- Eggs – add moisture and bind the muffins. Use large, free-range eggs and make sure they’re at room temperature before starting.
- Butter – regular, unsalted butter (not margarine or butter substitutes) adds richness and flavour. Instead of butter, equal quantities (just over ½ cup) of vegetable or canola oil can be used in its place.
- Vanilla and salt – to enhance the flavour.
- Buttermilk – the ingredient that makes the muffins super moist and fluffy, with a gorgeously soft crumb. If you don’t have buttermilk, make your own by mixing 1 tablespoon of lemon juice or vinegar into 1 cup of whole milk. Stir and set aside for 5-10 minutes, to curdle.
- White chocolate chips – use proper baking chips, as they will hold their shape in the batter. Chocolate melts will disappear into the muffins. Alternatively, add roughly chopped white chocolate pieces.
- Raw sugar – this ingredient is optional, but a sprinkle of raw sugar over the tops of the muffins before baking makes them lovely and crunchy on top.
You will also need a 12-hole muffin tin, cupcake liners, a mixing bowl and measuring cups, a cookie or ice cream scoop to divide the batter and a wire cooling rack.
Step by step guide
Full ingredient notes and quantities can be found in the detailed recipe card below. But here is a brief overview of what you can expect;
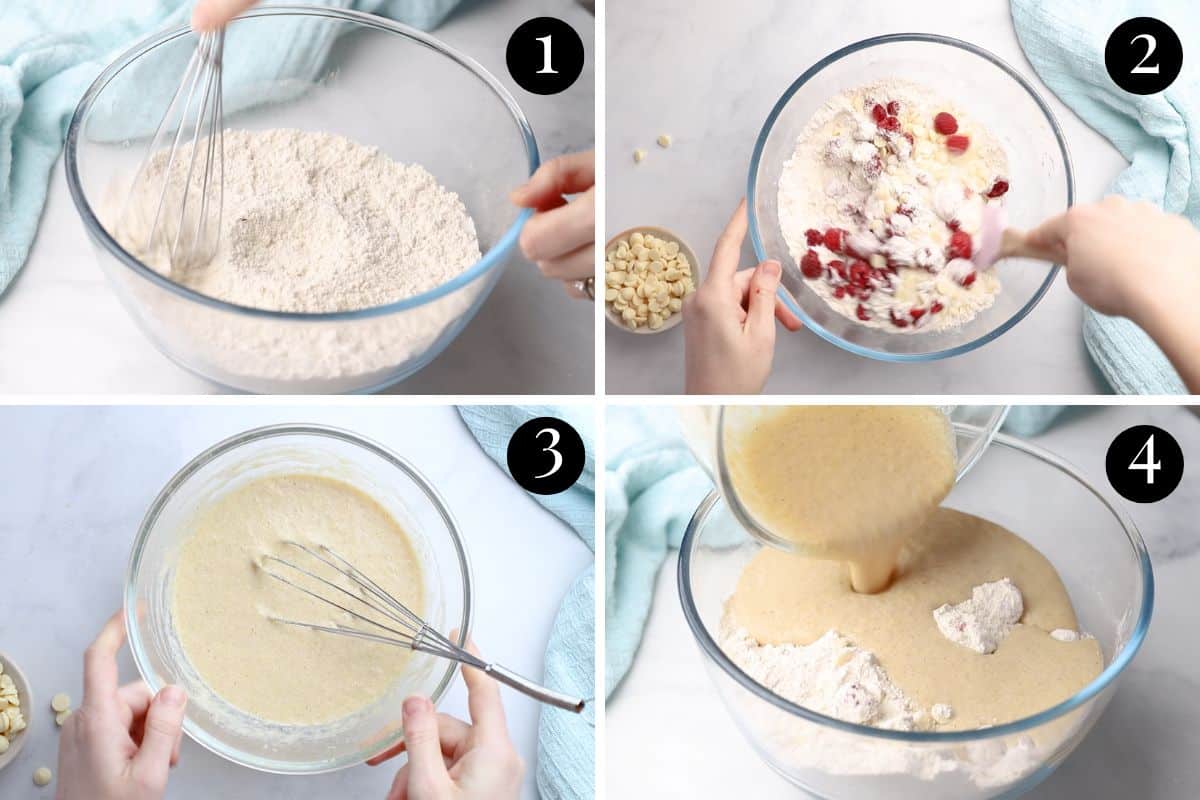
Step 1 – Combine the dry ingredients;
Whisk the flour, sugar, baking powder, bicarb/baking soda and salt together and set aside.
Step 2 – Fold in the raspberries and white chocolate;
Gently fold the white chocolate chips and raspberries into the dry mixture until just combined.
Step 3 – Combine the wet ingredients;
In a separate bowl, whisk the eggs, buttermilk, vanilla and butter together until smooth and combined.
Step 4 – Make the batter;
Carefully pour the wet ingredients into the dry ingredients and fold the mixture until everything is just combined.
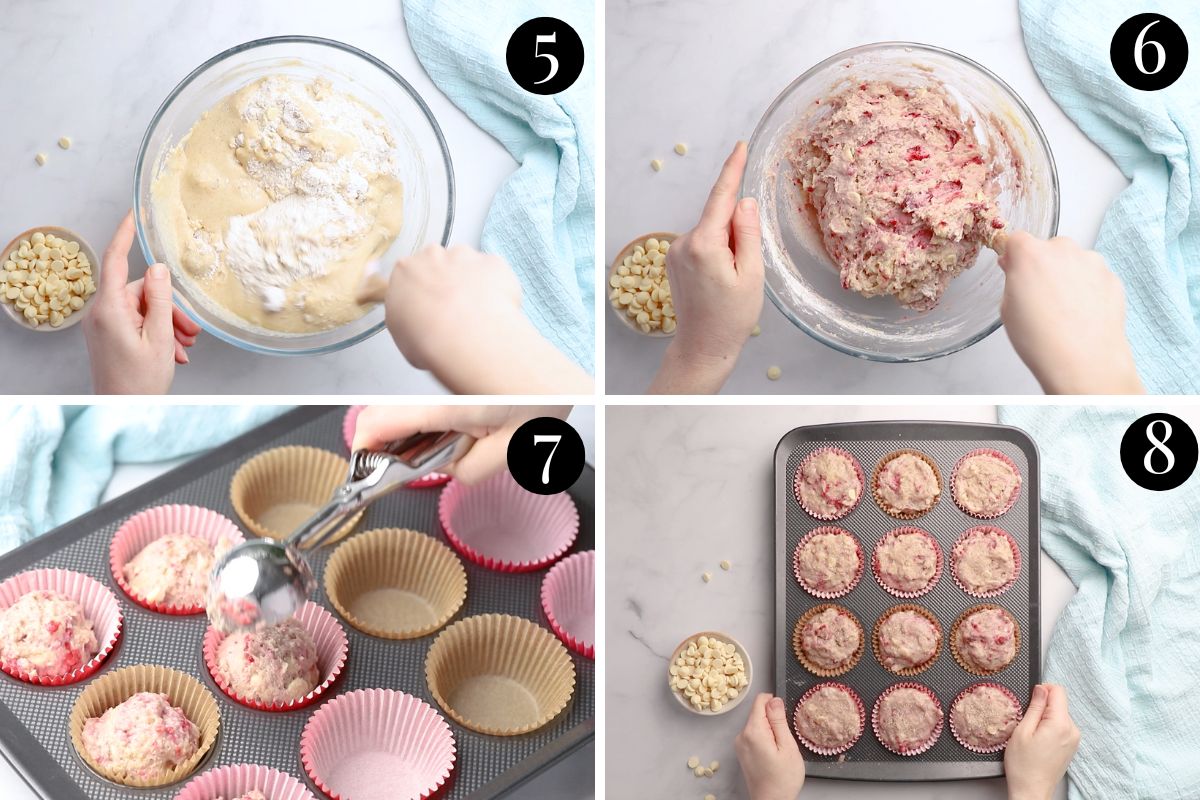
Step 5 – Bake;
Using a large cookie scoop or ice cream scoop, divide the batter evenly into a lined 12-hole muffin tin, filling them all the way to the top.
Sprinkle a little raw sugar over the tops.
Bake* until the tops are golden brown and a toothpick inserted into the middle comes out clean. Allow the muffins to cool in the pan for a few minutes before transferring them to a wire rack to finish cooling.
*The oven will start at a higher temperature to help the tops of the muffins rise up. After 5 minutes, the temperature is turned down to allow for even cooking. Full ingredient method and cooking times are detailed in the recipe card below.
Expert tips
- Room temperature ingredients make the best muffins. If you want your muffins to rise and become ultra-fluffy, room temperature ingredients are essential. Allow the milk and eggs to sit at room temperature before baking.
- This recipe makes 12 muffins in a regular, ⅓ cup capacity muffin tin. The muffins can be made larger or smaller, but the cooking times will vary.
- Don’t overmix the batter. Overmixing will lead to dry, dense muffins. Only mix until the ingredients are just combined.
- Fill the muffin tray holes/paper cases right to the top. This ensures that the batter will rise enough to get a nice, domed top.
- Start at a higher temperature (220C (200C fan forced)) for 5 minutes, and then reduce the temperature to 180C (160C fan-forced) to finish. Starting at a higher temperature will cause the batter to rise quickly at the beginning, for the domed tops and will prevent them spreading too much. Leave the oven door closed at all times. Lowering the temperature after the initial high start will ensure that they bake evenly.
- All ovens vary, so check your muffins for ‘doneness’ after 12 minutes at 180C and keep baking until completely cooked through.
- Weigh your ingredients, for accuracy. Measuring the flour will ensure consistent results. Too much flour will cause dry, tough muffins.
- Warm muffins will stick to the paper case. But once cooled, the paper will easily pull away.
FAQs
These muffins are best eaten fresh, on the day that they are made. They taste just as good on day two, but if you want to enjoy them like they’ve just come out of the oven, a quick 20 seconds in the microwave will revive back them to their original freshness.
Store them at room temperature in an airtight container for 2 days, or in the fridge for 3-4 days. If storing them in the fridge, the muffins will harden and should be brought back to room temperature or microwaved before eating.
When well covered, these muffins can be frozen for up to 3 months. First, allow them to cool completely. Wrap them in baking paper or plastic wrap before placing them in an airtight container in the freezer. To thaw, leave them covered in the fridge overnight, or sit them at room temperature for 1-2 hours. Placing them in the microwave for 10 seconds once thawed will make them super soft and moist again.
First, make sure your rising/leavening agents are fresh and in-date. Out of date baking powder and baking soda won’t be effective. Make sure your ingredients are at room temperature before starting and make sure your oven is the correct temperature. Starting the muffins at a higher temperature and then reducing it after five minutes helps the muffins to rise up instead of spread out and gives them a nice, crackly top.
Either fresh or frozen berries can be used, depending on what you have available. You can also swap for blueberries or strawberries, if you have some that you need to use up.
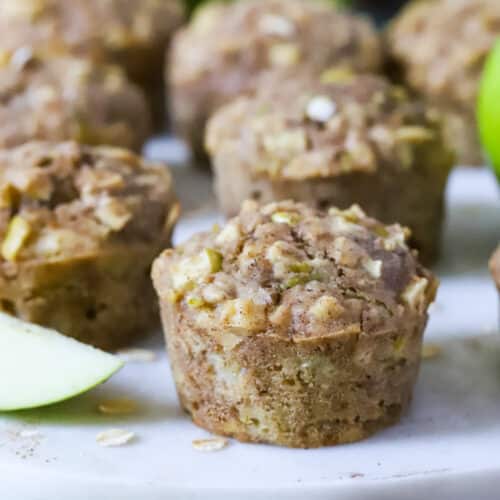
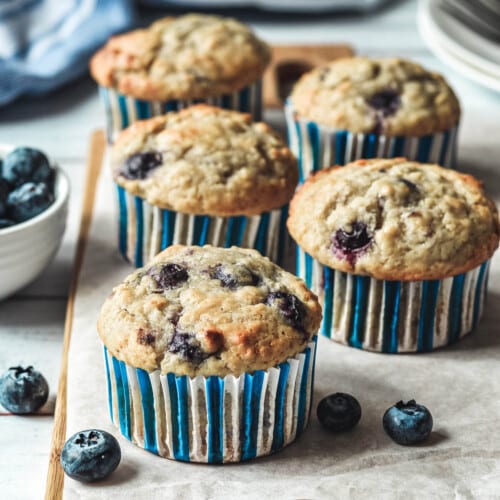
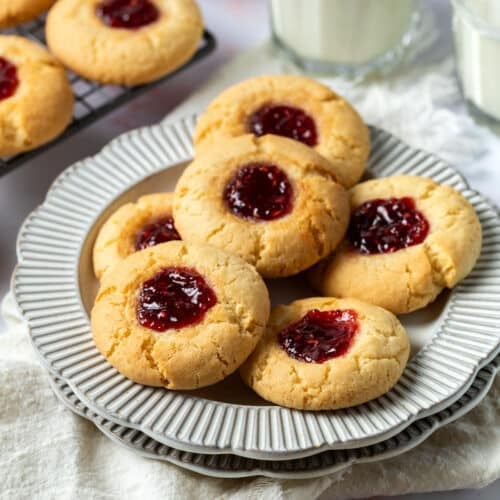
Related recipes
Tried this recipe? Please leave a star ⭐⭐⭐⭐⭐ rating or leave a review below and let you know how you went!
Hungry for more? Subscribe to my newsletter and follow along on Facebook, Instagram and Pinterest for the latest recipes and news.
Raspberry and White Chocolate Muffins
Ingredients
- 375 grams plain flour 2 ½ cups
- 3 teaspoons baking powder
- ½ teaspoon bicarb soda baking soda
- ½ teaspoon salt
- 215 grams caster sugar (1 cup) raw or white caster sugar
- ¾ cup white chocolate baking chips
- 1 ¼ cup raspberries fresh or frozen
- 2 large eggs room temperature
- 1 ¼ cup buttermilk
- 2 teaspoons vanilla bean paste or extract
- 130 grams melted butter a little over ½ cup
For topping
- raw sugar, to sprinkle over the top
Instructions
- Pre-heat oven to 220°C (200°C fan-forced)/428 F. Line a 12-hole muffin tray with paper cases.
- Place the dry ingredients (plain flour, baking powder, bicarb soda, salt and caster sugar) in a large bowl and stir to combine.
- Add the chocolate chips and raspberries and gently fold them into the dry mixture using a spatula or wooden spoon.
- In a separate bowl, add the wet ingredients (eggs, buttermilk, vanilla and melted butter) and whisk until combined.
- Add the wet mixture to the dry mixture and fold very gently until just combined. Be careful not to overmix the batter.
- Using a cookie scoop or ice cream scoop, divide the mixture evenly between the lined paper cases and sprinkle the tops with a little raw sugar. Place the tray into the oven.
- Bake for 5 minutes at 220°C and then, keeping the oven door closed, reduce the temperature to 180°C (160°C fan-forced)/356 F and bake for a further 12-15 minutes, or until the muffins are golden and cooked through. Start to check them for "doneness" at the 12-minute mark, as all ovens vary.
- Remove the muffins from the oven and sit in the tray for a few minutes before transferring to a wire rack to cool completely.
Video
Notes
- Room temperature ingredients make the best muffins. If you want your muffins to rise and become ultra-fluffy, room temperature ingredients are essential. Allow the milk and eggs to sit at room temperature before baking.
- This recipe makes 12 muffins in a regular, ⅓ cup capacity muffin tin. The muffins can be made larger or smaller, but the cooking times will vary.
- Don’t overmix the batter. Overmixing will lead to dry, dense muffins. Only mix until the ingredients are just combined.
- Fill the muffin tray holes/paper cases right to the top. This ensures that the batter will rise enough to get a nice, domed top.
- Start at a higher temperature (220C (200C fan forced) for 5 minutes, and then reduce the temperature to 180C (160C fan-forced) to finish. This will cause the batter to rise quickly at the beginning, for the domed tops and will prevent them spreading too much. Leave the oven door closed at all times. Lowering the temperature after the initial high start will ensure that they bake evenly.
- All ovens vary, so check your muffins for ‘doneness’ after 12 minutes at 180C and keep baking until completely cooked through.
- Weigh your ingredients, for accuracy. Measuring the flour will ensure consistent results.
- Storage; Store them at room temperature in an airtight container for 2 days, or in the fridge for 3-4 days. If storing them in the fridge, the muffins will harden and should be brought back to room temperature before eating.
- Freezing; allow them to cool completely and then wrap them in baking paper before placing them in an airtight container in the freezer for up to 3 months. To thaw, place them in the fridge (in a container) overnight, or sit them at room temperature for 1-2 hours before eating. Placing them in the microwave for 10 seconds once thawed will make them super soft again.
- Either fresh or frozen berries can be used, depending on what you have available. You can also swap for blueberries or strawberries, if you have some that you need to use up.
- No buttermilk? Make your own by mixing 1 tablespoon of lemon juice or vinegar into 1 cup of whole milk. Stir and set aside for 5-10 minutes, to curdle.
- Please note that the nutrition information is based on the batter being divided into 12 muffins, with one muffin being one serve. The nutritional information is an estimate only and does not take into account any additional toppings or sides served with the muffins.
- This recipe is made using Australian cups and spoon measurements. Any reference to cups or spoons in this recipe is in Australian metric. Due to cup sizes varying from country to country, I advise adjusting if necessary.
Nutrition
Are you following us on Facebook, Instagram and Pinterest?
Update Notes: This recipe was originally published in February 2022, but was re-published with new information and photos in May 2023.


Leave a Reply