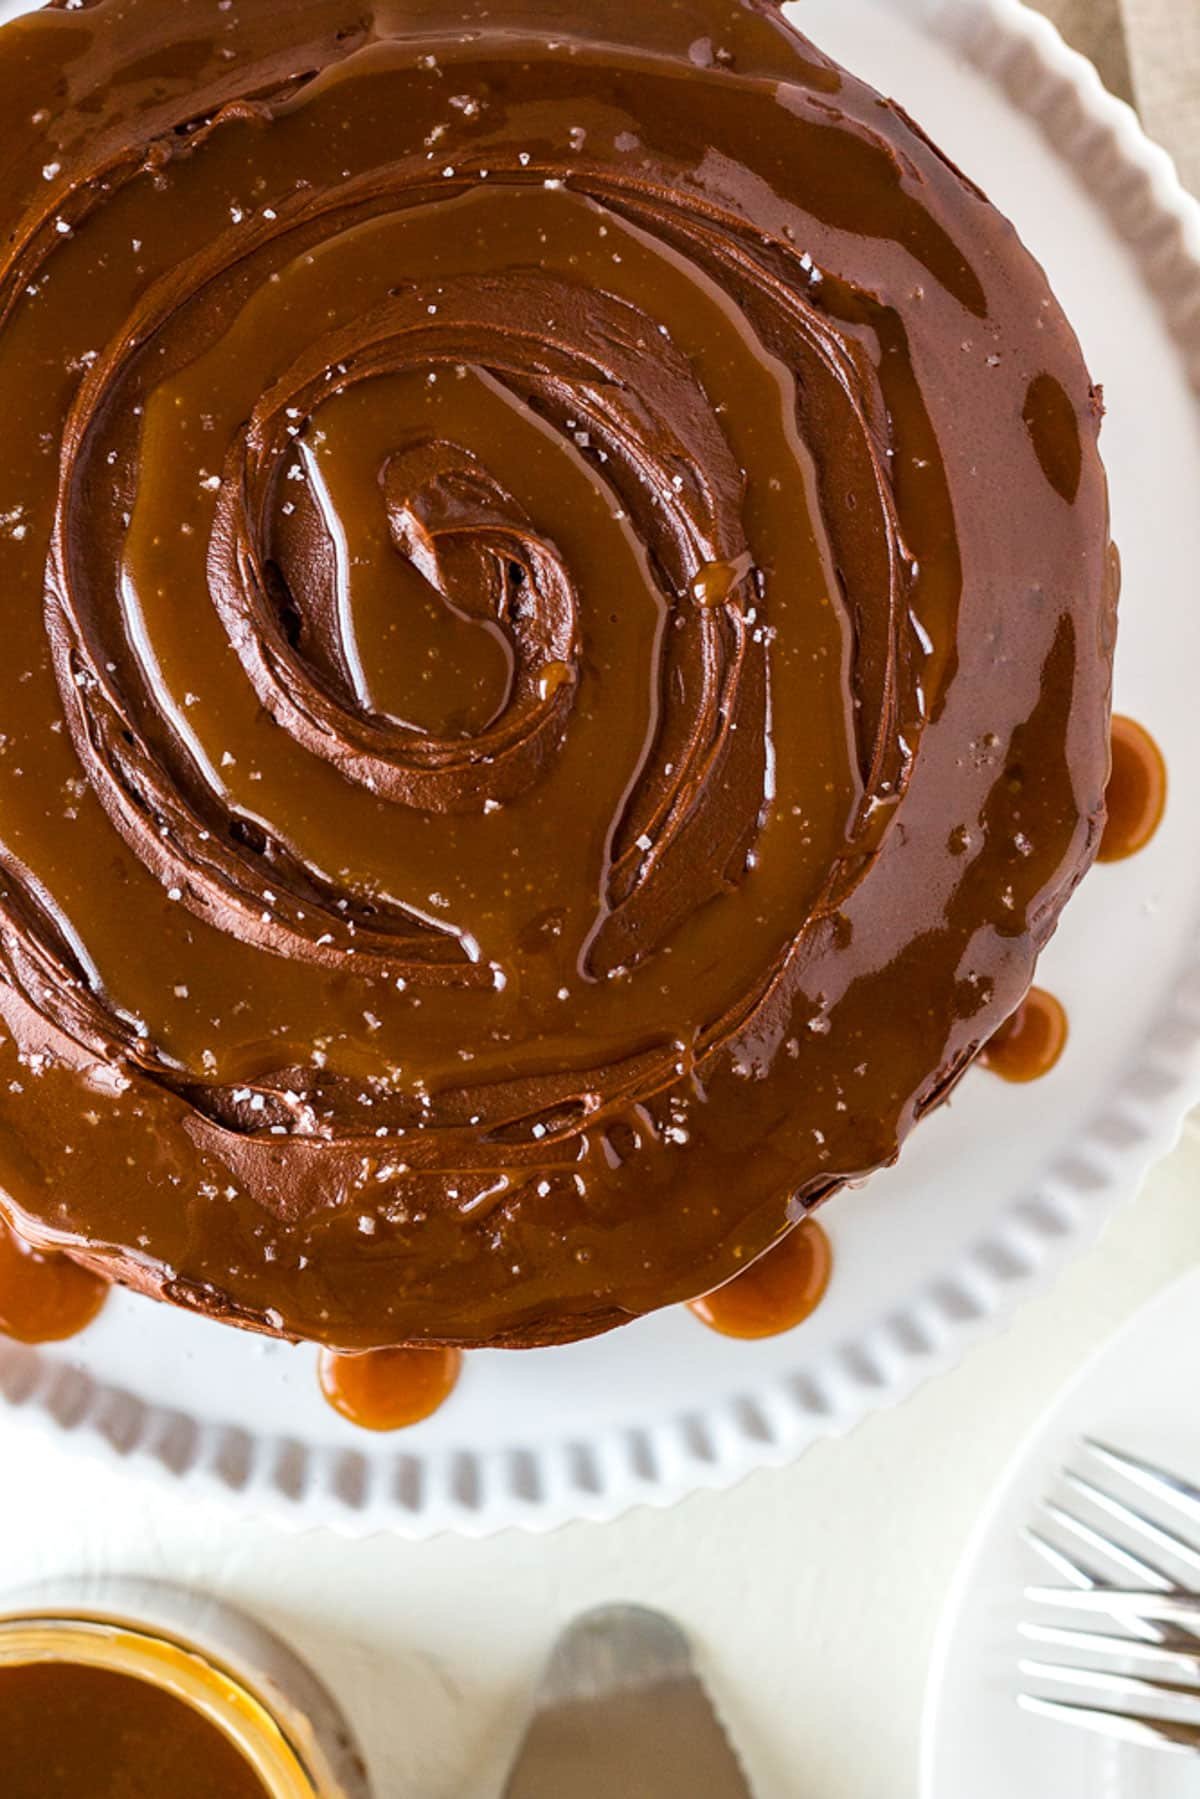
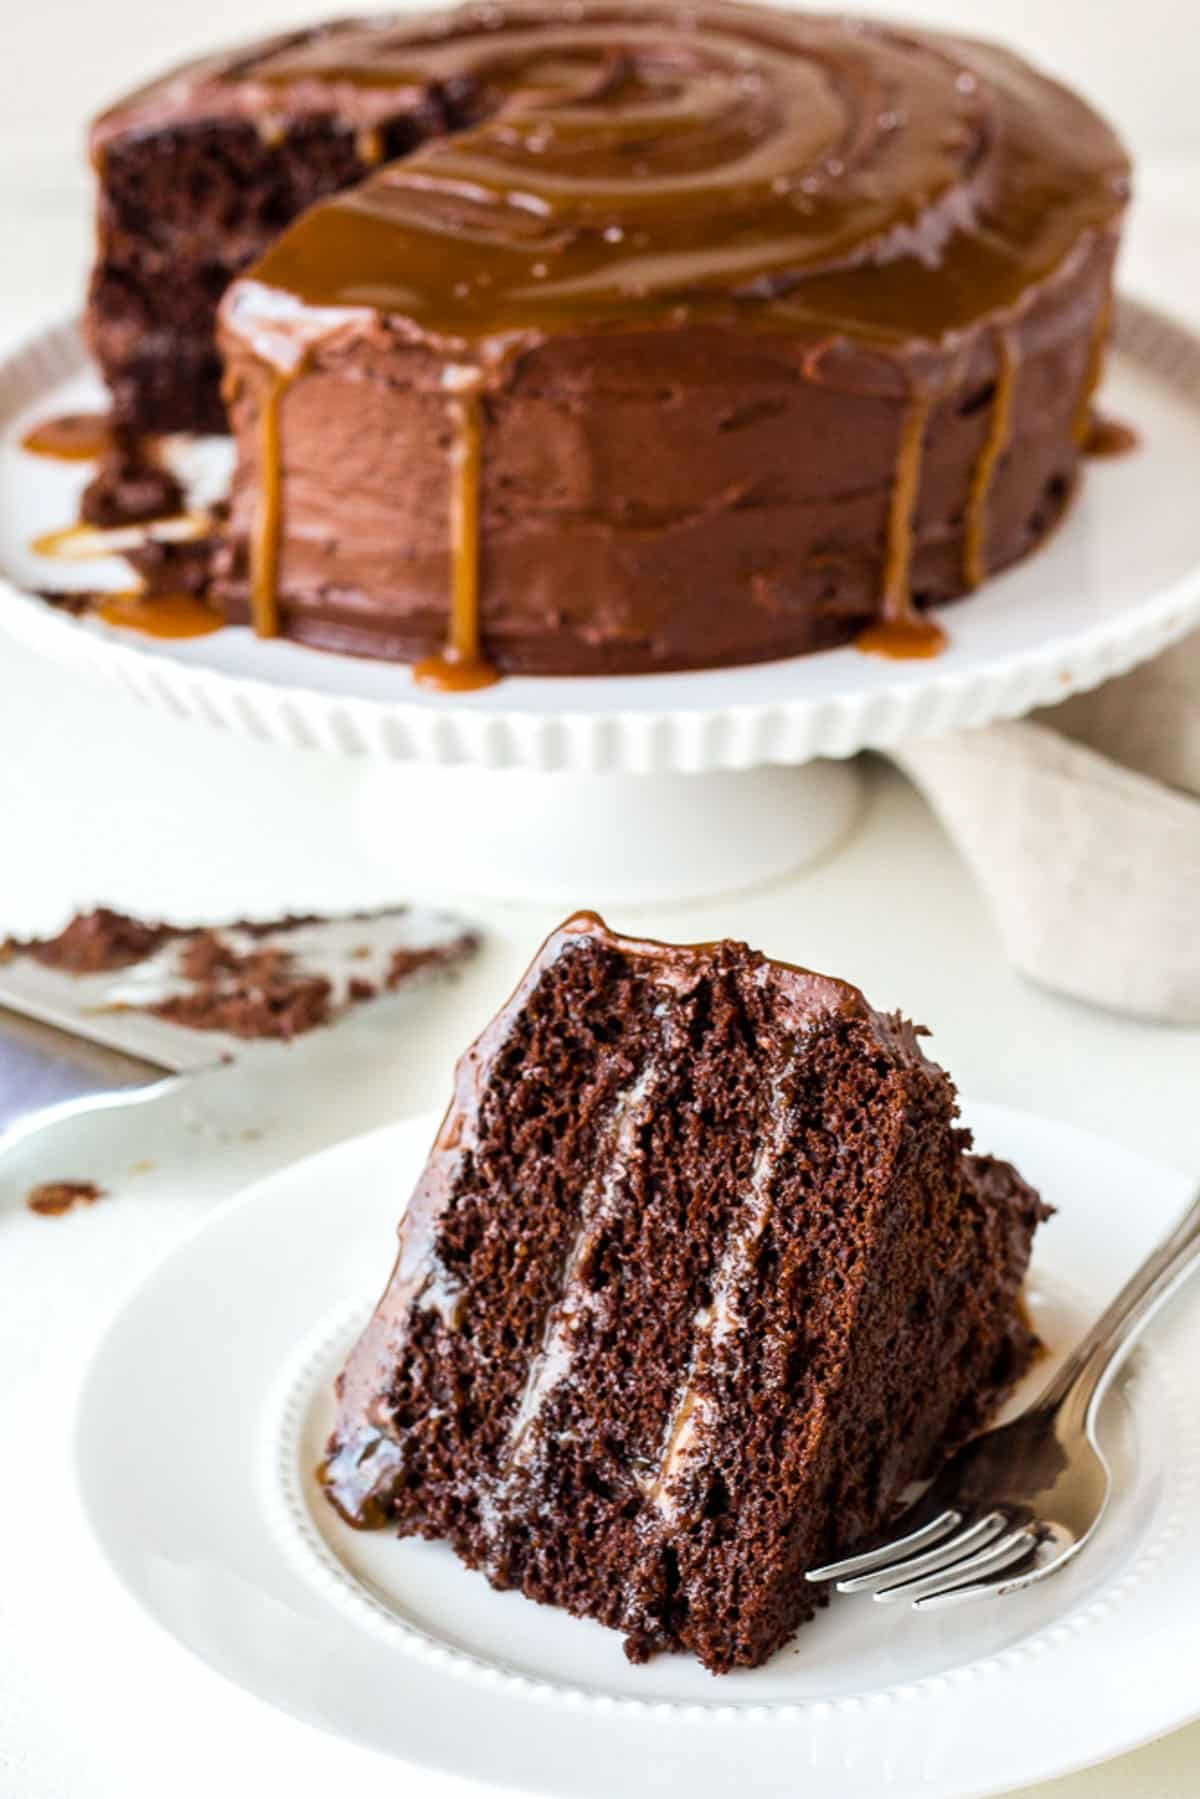
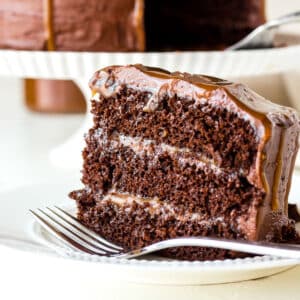
The ultimate chocolate caramel cake, made from scratch. Three layers of amazingly moist chocolate cake are slathered in a creamy chocolate-caramel frosting and topped with extra salted caramel sauce – heaven! Everything is super easy to make and can be prepared ahead if desired. Spoil your family and friends by making this for your next special occasion or party cake.

Why you’ll love this recipe
- Quick and easy – if you want a cake that will impress a crowd but is actually easy to make, this is it!
- Make ahead – all of the elements can be made in advance and stored in the fridge or freezer, to be assembled later.
- Ultra-moist – the chocolate cake has a super-moist and tender crumb that will melt in your mouth!
- 3 layers – make it into a spectacular 3-layer cake, or adapt for two layers or just a single cake, if preferred.
- The cake is made in one bowl and is quick, easy and delicious.
- Perfect for any occasion – it can be dressed up with additional toppings for a party or special occasion, or simply coated in frosting and caramel for a lovely afternoon tea with a cuppa.
Ingredients you will need
** This post contains tips and instructions to achieve the best possible results. The photo above is a great guide for when you are in the supermarket, but for full ingredient quantities and methods, please scroll down to the detailed recipe card below!
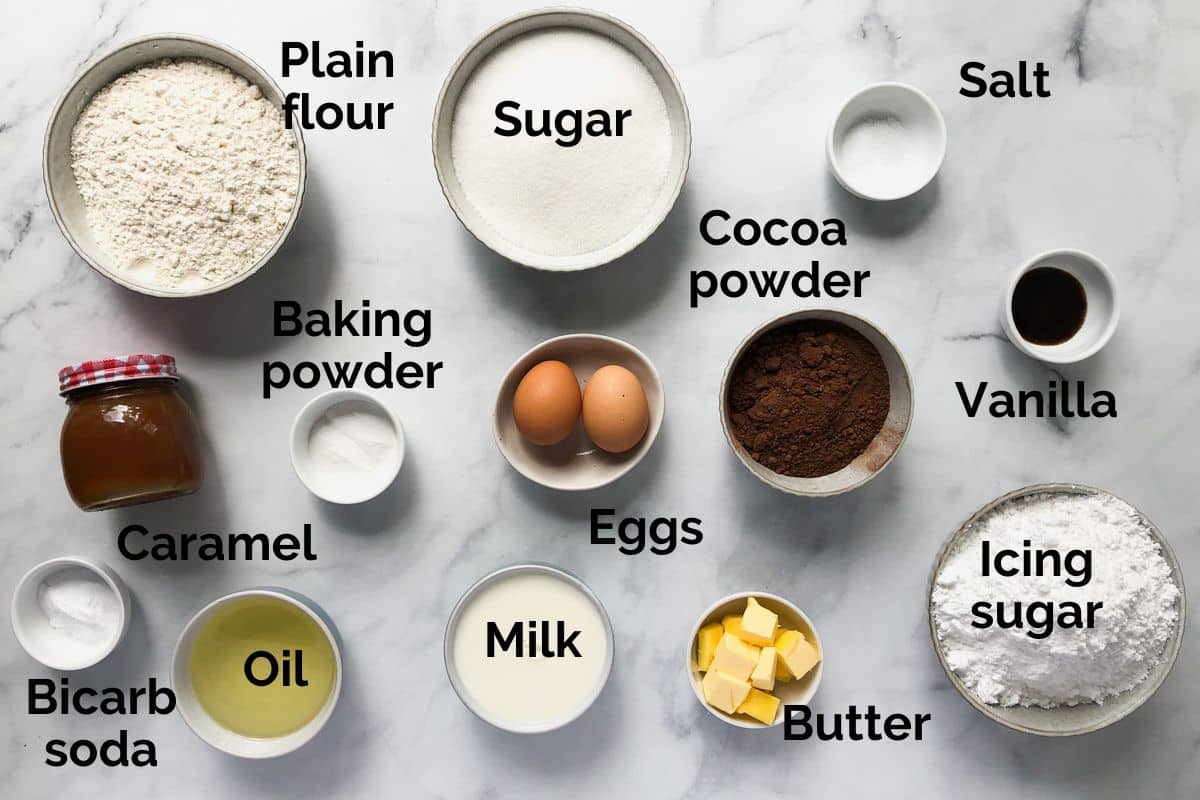
- Plain flour – also called all-purpose flour. The structure of the cake.
- Cocoa powder – use unsweetened, natural cocoa powder rather than Dutch process. Natural cocoa powder will react with the bicarb/baking soda, helping the cake to rise.
- Sugar – regular, white granulated sugar, for sweetness.
- Baking soda and baking powder – both are used here, for lift.
- Salt – balances the flavour. Regular table salt is fine.
- Eggs – two large eggs are used to bind the cake and add moisture. Use free-range where possible, at room temperature.
- Milk – use regular, full-fat milk for best results.
- Oil – is used to add loads of moisture to the cake. Cocoa powder is a drying ingredient, so oil (rather than butter) is required for the batter. I recommend using a neutral tasting oil like vegetable or canola oil.
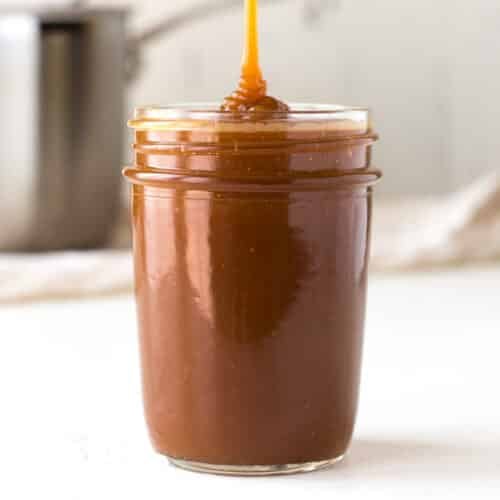
- Caramel sauce – is used in both the frosting and to top the cake. Homemade caramel sauce is best and can be made ahead of time and stored in the fridge ready to use. Or, you can buy your own from the shops to save time. If using store-bought caramel sauce, choose a nice, good quality sauce that is thick. Dulce de leche can also be used. The caramel sauce should be at room temperature to mix into the frosting and drizzle over the cake easily.
- Boiling water – hot water enhances the chocolate flavour in the cake by helping the cocoa powder to bloom. It also helps to dissolve any lumps.
- Icing sugar – also called powdered sugar or confectioner’s sugar, is used for the butter frosting. I recommend sifting it first, to prevent lumps.
- Butter – melted butter is used for the frosting. Use regular, salted or unsalted butter for best results.
- Vanilla – enhances the chocolate flavour in the cake.
Step by step instructions
**Full ingredient list and detailed step-by-step instructions can be found in the recipe card below.
The caramel sauce should be prepared ahead of time, to allow it to cool. You can read more tips on making your own caramel sauce here, or use store-bought.
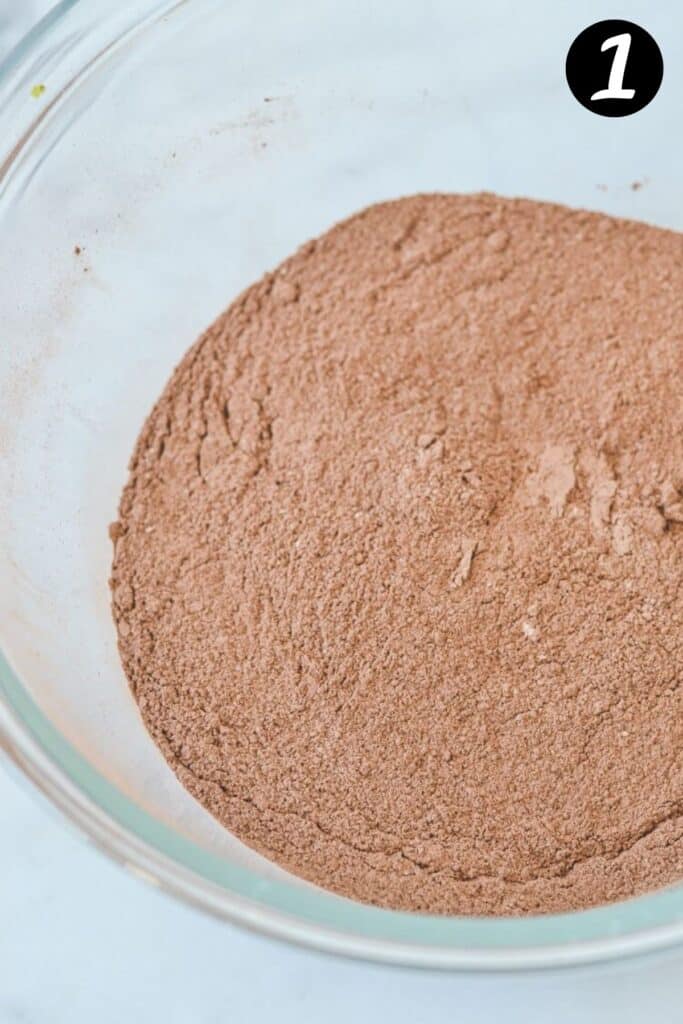
Step 1 – Make the chocolate cake;
Mix the dry cake ingredients in a bowl, until combined.
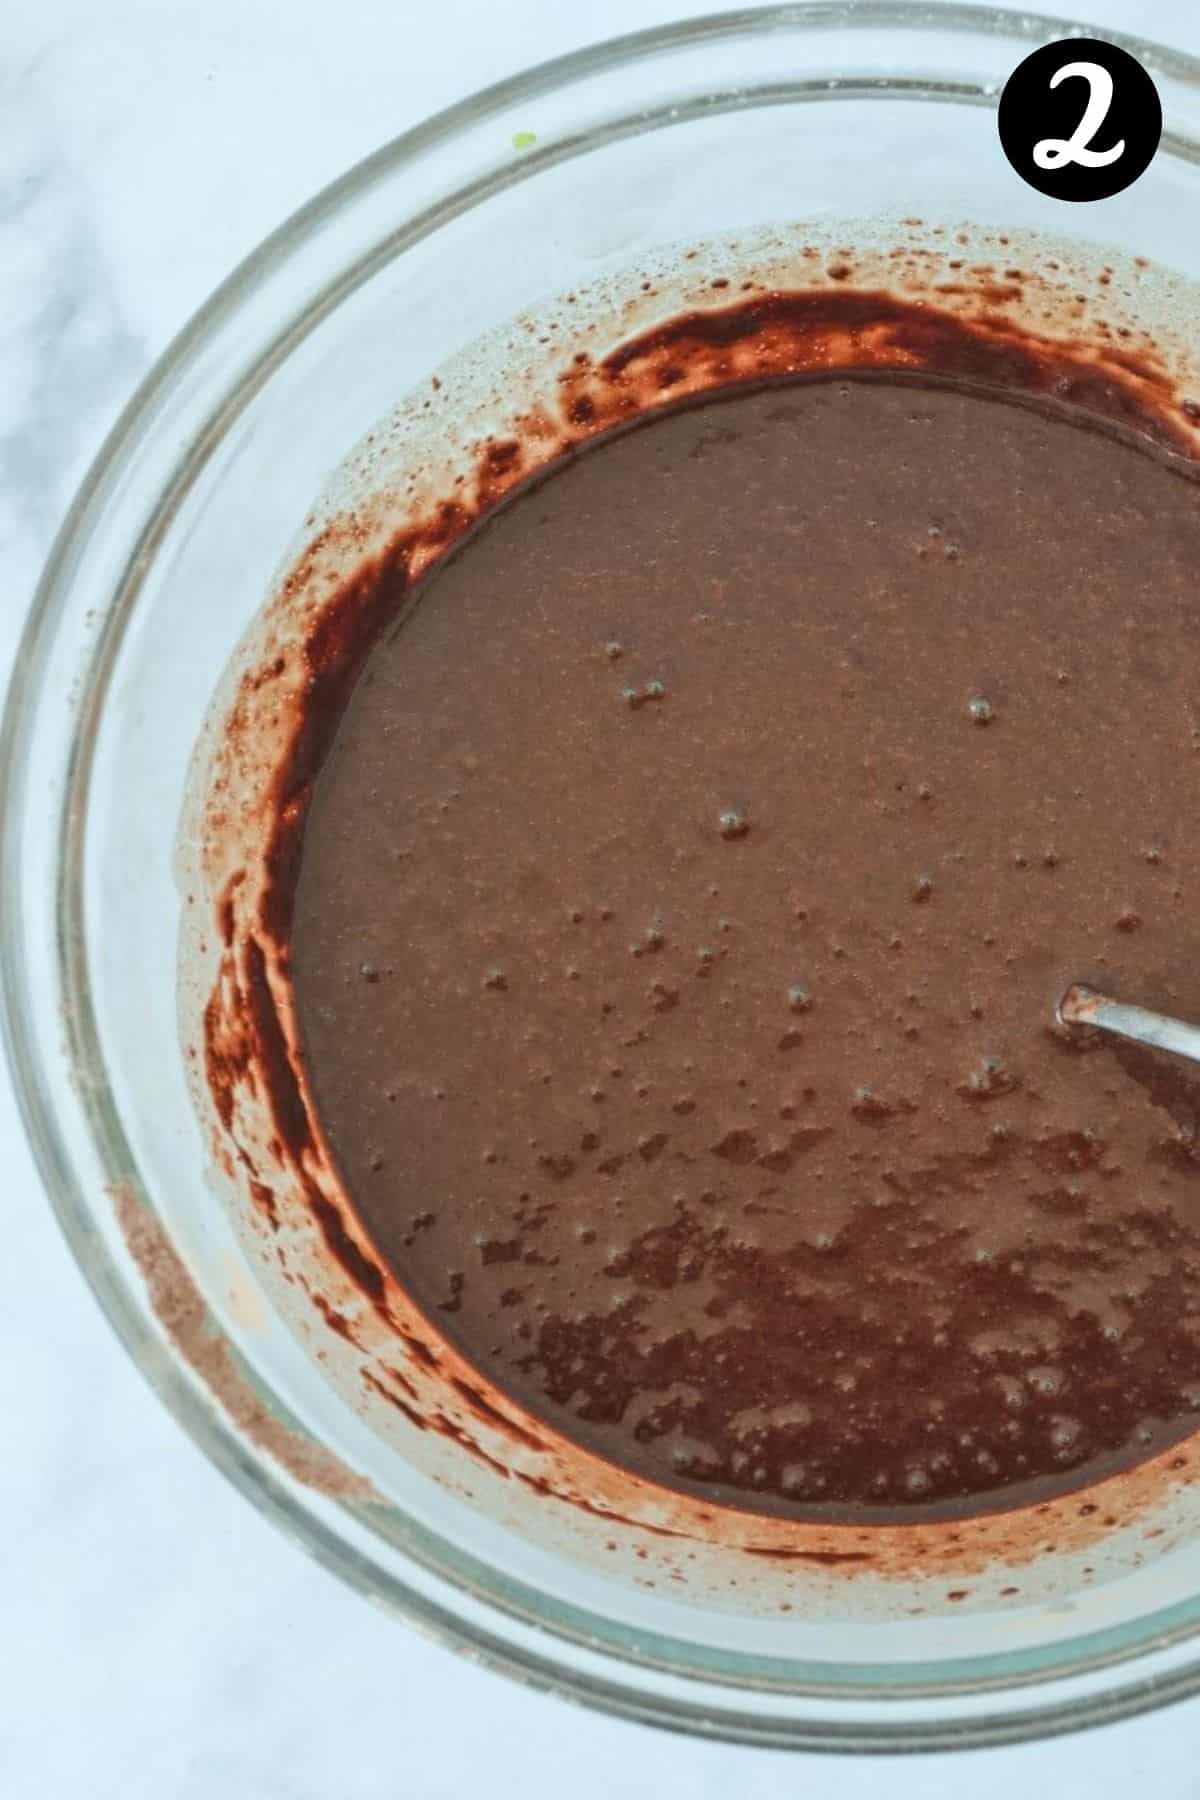
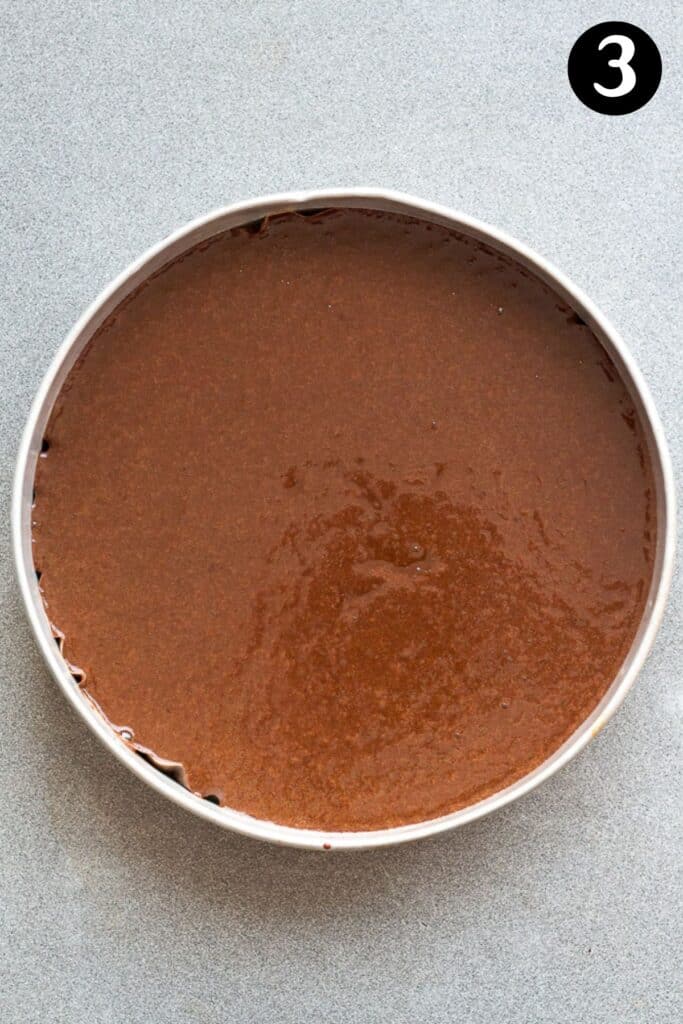
Add the eggs, vanilla, oil and milk and whisk to combine. Then, carefully add the boiling water and whisk until combined.
** The batter will appear runnier than normal cake batter. This is ok! Everything will come together in the oven.
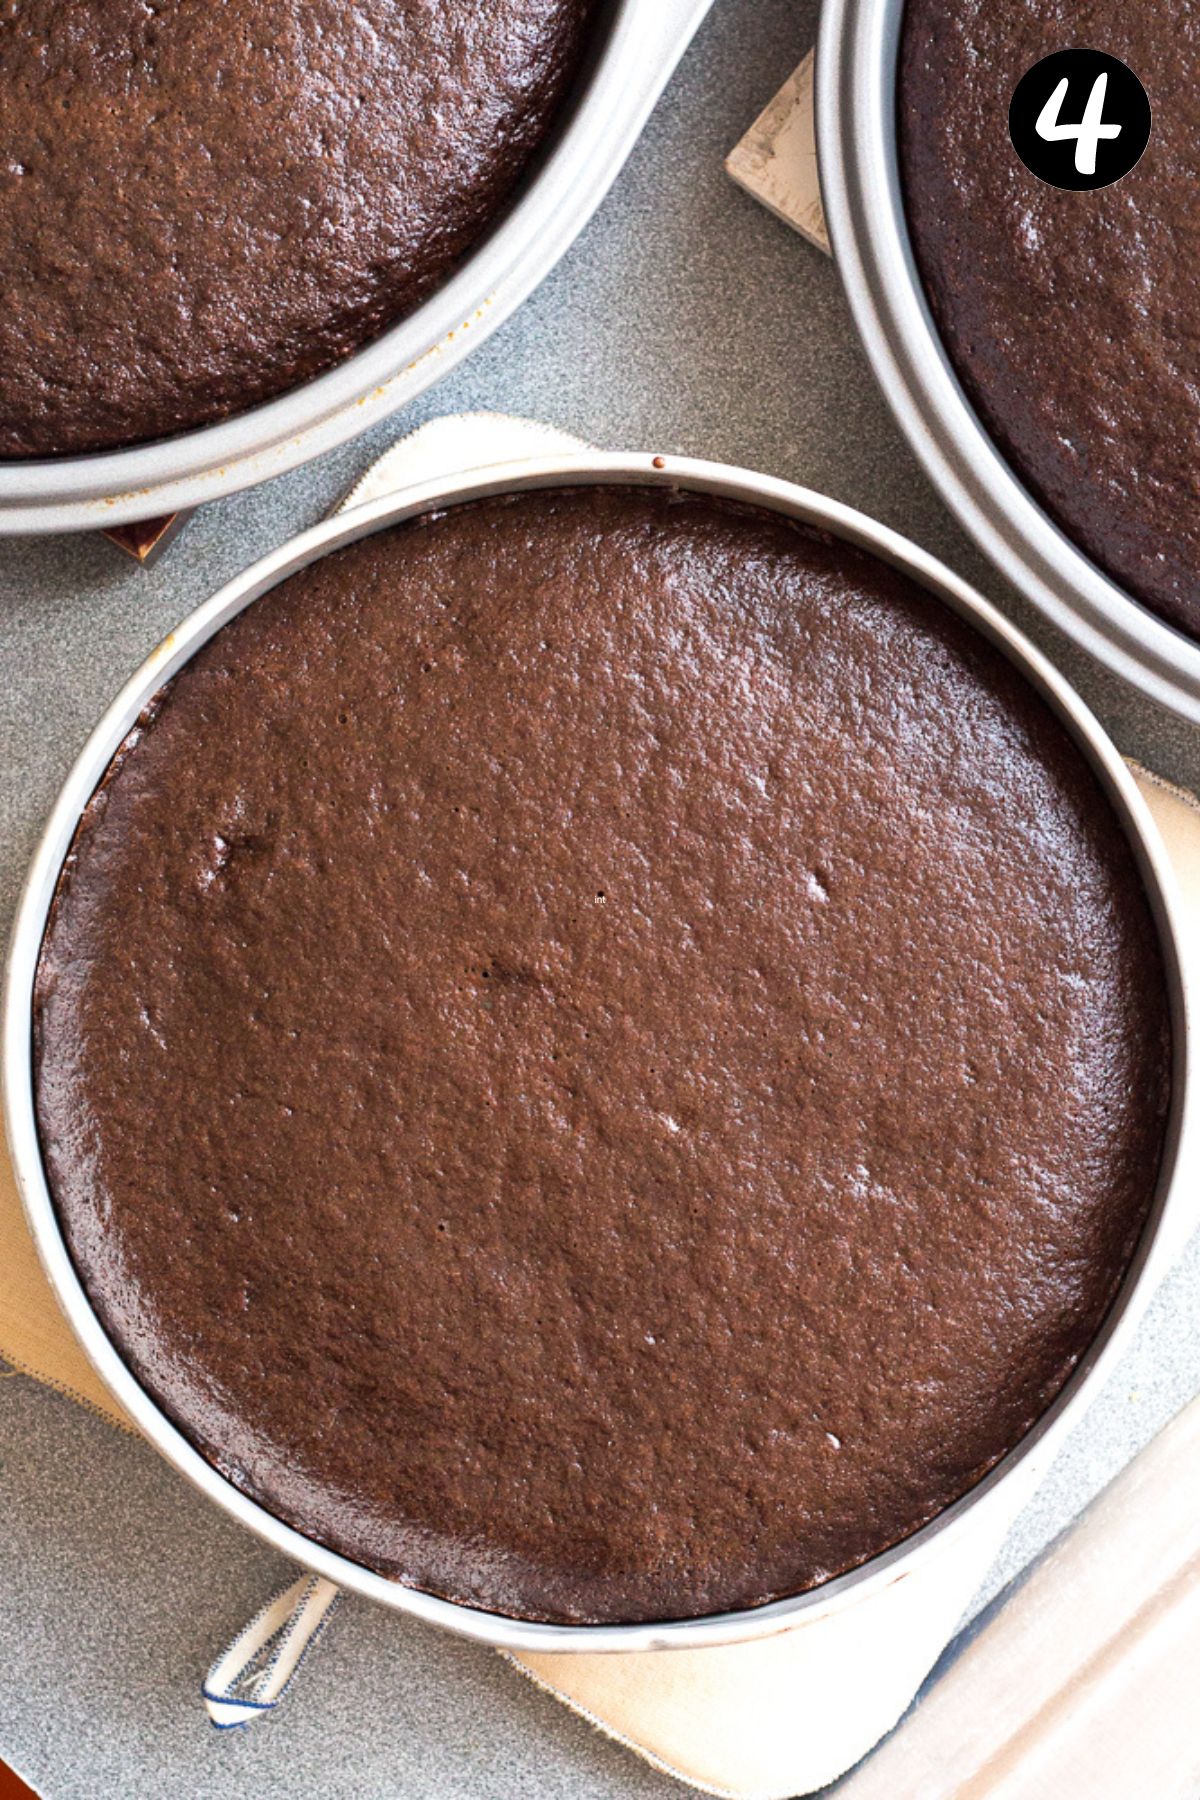
Step 2 – Bake;
Divide the cake batter evenly between 3 x 20cm cake tins (or bake in batches if you don’t have 3 tins), greased and lined with baking paper.
Bake until the cakes are completely cooked and spring back in the middle when gently pressed. When cooked, a wooden skewer inserted into the middle will come out mostly clean, with a few crumbs sticking.
Step 3 – Make the frosting;
Stir the butter and vanilla together with the caramel sauce. Add the cocoa powder and mix until combined.
Add the icing sugar and salt along with enough milk to form a soft but firm frosting and mix until completely combined.
The frosting should be thick enough to hold its shape. If it is too thin, add a little more icing sugar until it reaches the desired thickness. If it’s too thick, add more milk.
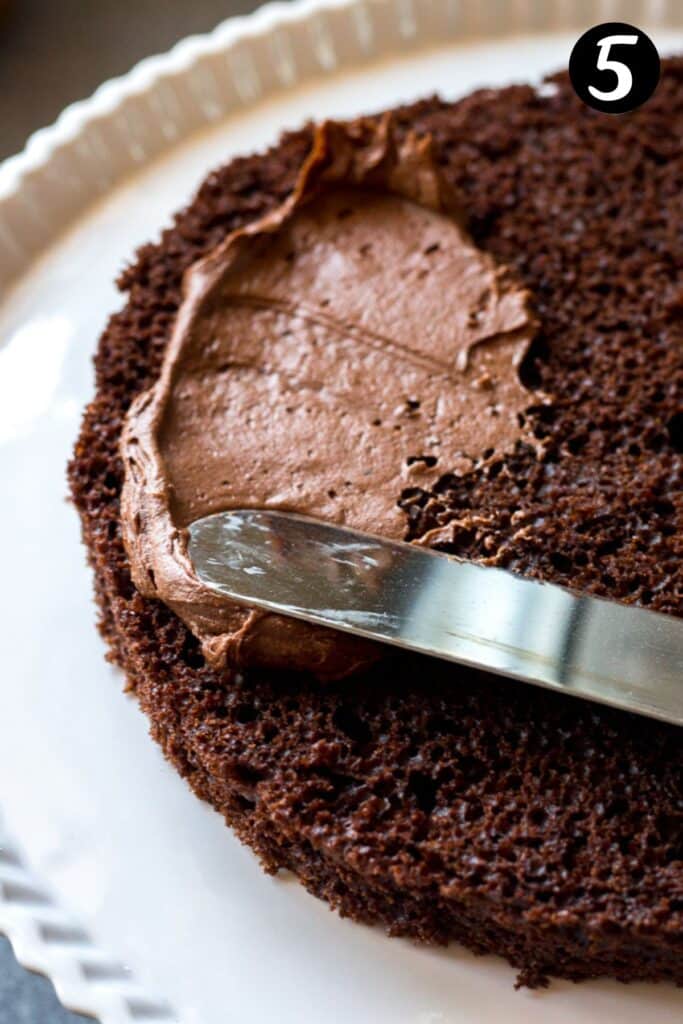
Step 4 – Assemble;
Assemble the layers one at a time. To start, place one cake layer on your cake stand or plate.
Using a spatula, spread a thin layer of the chocolate caramel frosting over the top of the first cake layer. Use the spatula to create a “trough” in the frosting and add some of the caramel sauce.
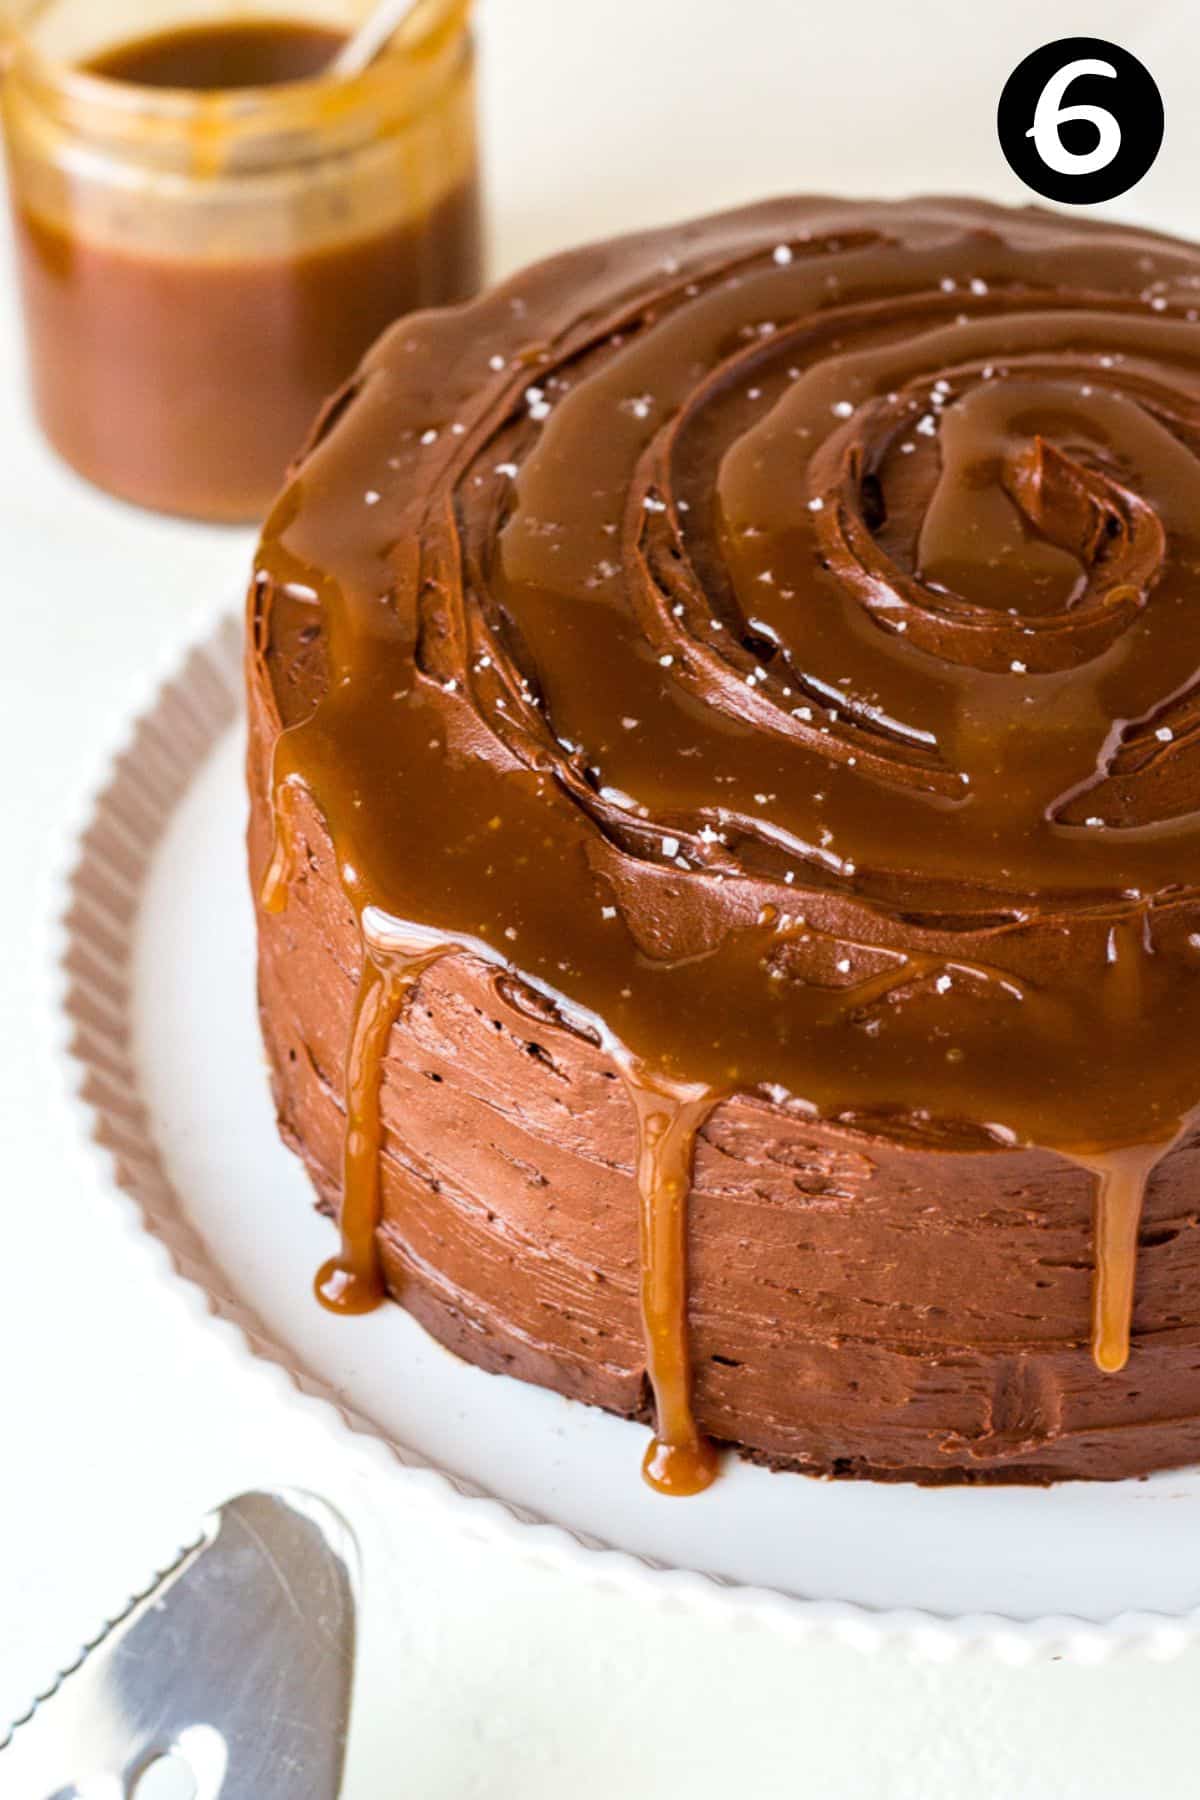
Place the second cake layer on top and repeat the frosting and caramel process. Top with the third cake layer.
Add the frosting to the sides (optional) sides and top of the cake. Drizzle with more caramel sauce and add a small sprinkle of salt flakes or your choice of chocolate caramel treats.
Expert tips
- Measure and weigh the ingredients for best results. Kitchen scales should be used to weigh the flour, for accuracy. If you don’t have kitchen scales, make sure you measure and level the flour with a knife. Too much flour and cocoa will dry out the cake.
- Make sure all of the ingredients are at room temperature.
- The cake batter will appear a little runnier than you may expect. This is normal and everything will result in a super-moist cake once baked.
- I use my homemade salted caramel sauce in this recipe. If you use a different recipe or a store-bought caramel sauce, choose a thick one. Runny sauce will run off the cake layers.
- The cake and the caramel should be completely cool before attempting to frost and assemble. A warm cake will melt the frosting, causing the layers to slide.
- Make ahead – the cake, caramel and frosting can be made the day before and assembled the following day. Store the caramel sauce and frosting in the fridge in airtight containers and completely wrap the cake and store at room temperature. If making the cake more than a day ahead, it should be wrapped and frozen (undecorated) until being thawed for use. The caramel and frosting will need to be brought back to room temperature before assembling, or they will be hard to spread.
- Top the cake with any of your favourite chocolate-caramel inspired treats like Twix, Mars bars or Caramello chocolate.
- If your oven isn’t big enough or you don’t have enough cake tins to bake the cake layers at the same time, you can bake in batches.
- The cake can be made into 3 layers as per the recipe card below, or you can bake it into 2 cakes or a single cake. You will need to adjust the cooking time to suit.
FAQs
The finished, decorated cake should be kept in the fridge for around 5 days. The cake should be brought back to room temperature before eating. To do this, leave it out (covered) at room temperature for half an hour before serving.
If making ahead of time, the undecorated cake layers can be baked, cooled and wrapped before freezing for up to 3 months. Wrap them well with clingfilm to protect them from freezer-burn. The layers can be thawed in the fridge overnight or at room temperature before decorating, or they can be decorated while frozen (this makes them a little easier to frost!). The caramel sauce and frosting can also be wrapped, stored in containers and frozen for up to three months. Individual, decorated slices of the cake can be wrapped and frozen for up to 3 months. Thaw before eating.
Related recipes
Tried this recipe? Please leave a star ⭐⭐⭐⭐⭐ rating or leave a review below and let you know how you went!
Hungry for more? Subscribe to my newsletter and follow along on Facebook, Instagram and Pinterest for the latest recipes and news.
Chocolate Caramel Cake
Ingredients
- 1 ¾ cups plain flour all purpose flour
- 1 ¾ cups sugar
- 1 cup cocoa powder unsweetened natural cocoa powder
- 1 ½ teaspoons baking powder
- 1 ½ teaspoons bicarb soda baking soda
- ½ teaspoon salt
- 2 eggs large, room temperature
- 1 ½ teaspoon vanilla bean paste or vanilla extract
- ½ cup canola oil
- 1 cup milk
- 1 cup boiling water
For the filling
- 1 ½ cups salted caramel sauce thick caramel sauce, homemade or store-bought.
For the frosting
- 80 grams butter melted (⅓ cup)
- 1 teaspoon vanilla bean paste
- ½ cup salted caramel sauce thick caramel sauce, homemade or store-bought.
- ⅔ cup cocoa powder sifted
- 4 cups icing sugar sifted
- ¼ teaspoon salt flakes optional
- 6-8 tablespoons milk
Instructions
For the Chocolate Cake
- Pre-heat oven to 160 °C and prepare 3 x 20 cm cake tins by greasing and lining with baking paper.
- Add the dry ingredients into a large mixing bowl and whisk to combine. Add the eggs, vanilla, oil and milk and whisk together until just combined.
- Carefully add the boiling water and whisk slowly until the water is completely incorporated into the mixture.
- Divide the mixture evenly between the three tins (or bake in batches if you don't have enough tins). A measuring cup will help with evenly dividing the mixture.
- Bake on the middle shelf for around 25-30 minutes, or until cakes have cooked completely. When cooked, they will be fluffy and spring back if gently pressed in the middle. Be careful not to overcook.
- Transfer cakes to a wire rack and allow to cool completely.
For the Frosting
- Stir the melted butter, vanilla and caramel sauce together with the cocoa. Stir with a wooden spoon until combined.
- Add the icing sugar and salt, along with enough milk to form a thick frosting (around 6-8 tablespoons, but use more or less if needed) and mix until completely combined.
- The frosting should be thick enough to hold its shape. If it is too thin, add a little more icing sugar until it reaches the desired thickness. If it's too thick, add a little more milk.
To Decorate
- Assemble the layers one at a time. To start, place one cake layer on your cake stand or plate.
- Using a spatula, spread a thin layer of frosting over the top of the first cake layer. Form a trough in the middle and add some of the salted caramel sauce.
- Place the second cake layer on top and repeat the frosting and caramel process. Add the third cake layer. If needed, refrigerate for a short time to set.
- Spread the frosting over the sides (optional) and top of the cake. Finish with a drizzle of salted caramel and add a small sprinkle of salt flakes.
- Slice, and serve. If not eating right away, keep it covered in the fridge but allow to return to room temperature before eating.
Notes
- Measure and weigh the ingredients for best results. Kitchen scales should be used to weigh the flour, for accuracy. If you don’t have kitchen scales, make sure you measure and level the flour with a knife. Too much flour and cocoa will dry out the cake.
- Make sure all of the ingredients are at room temperature.
- The cake batter will appear a little runnier than you may expect. This is normal and everything will result in a super-moist cake once baked.
- I use my homemade salted caramel sauce in this recipe. If you use a different recipe or a store-bought caramel sauce, choose a thick one. Runny sauce will run off the cake layers.
- The cake and the caramel should be completely cool before attempting to frost and assemble. A warm cake will melt the frosting, causing the layers to slide.
- Make ahead – the cake, caramel and frosting can be made the day before and assembled the following day. Store the caramel sauce and frosting in the fridge in airtight containers and completely wrap the cake and store at room temperature. If making the cake more than a day ahead, it should be wrapped and frozen (undecorated) until being thawed for use. The caramel and frosting will need to be brought back to room temperature before assembling, or they will be hard to spread.
- Top the cake with any of your favourite chocolate-caramel inspired treats like Twix, Mars bars or Caramello chocolate.
- If your oven isn’t big enough or you don’t have enough cake tins to bake the cake layers at the same time, you can bake in batches.
- If you have made the caramel sauce ahead of time and stored it in the fridge, you may need to microwave it for a short time to loosen it up again.
- The cake can be made into 3 layers as per the recipe card below, or you can bake it into 2 cakes or a single cake. You will need to adjust the cooking time to suit.
- The finished, decorated cake should be kept in the fridge for around 5 days. The cake should be brought back to room temperature before eating. To do this, leave it out (covered) at room temperature for half an hour before serving.
- Freezing; If making ahead of time, the undecorated cake layers can be baked, cooled and wrapped before freezing for up to 3 months. Wrap them well with clingfilm to protect them from freezer-burn. The layers can be thawed in the fridge overnight or at room temperature before decorating, or they can be decorated while frozen (this makes them a little easier to frost!). The caramel sauce and frosting can also be wrapped, stored in containers and frozen for up to three months. Individual, decorated slices can also be wrapped and frozen for up to 3 months. Thaw before eating.
- Please note that the nutrition information is based on the cake being fully decorated with caramel sauce and frosting and being cut into 12 slices, with one slice being one serve. The nutritional information is an estimate only and does not take into account any additional toppings or sides served with the cake.
- This recipe is made using Australian cups and spoon measurements. Due to cup sizes varying from country to country, I advise adjusting if necessary.
Nutrition
Are you following us on Facebook, Instagram and Pinterest?
Update Notes: This recipe was originally published in February 2019, but was re-published with new information and photos in August 2022.


Joy says
Just made it. Delicious
Kids and adults adored this cake too.
Andrea Geddes says
Hello Joy! I’m so, so happy to hear that you loved this cake! It’s such a great one for celebrations. Thanks for letting me know! Andrea 🙂
Nina says
I made this for my birthday and its a crowd pleaser, the frosting was so yummy.
Thank You for sharing the recipe
Andrea Geddes says
Hi Nina! I’m so happy to hear that you enjoyed this cake- happy birthday! Thank you so much for taking the time to comment and let me know. Andrea x
Alexandra @ It's Not Complicated Recipes says
I confess I wanted to reach through my computer screen 😉 This looks AMAZING!!! Wow! Chocolate and salted caramel? What a delicious combination 🙂
TheCookingCollective says
Thank you Alexandra! Chocolate and caramel are the perfect combination!
Adrianne says
What a great looking cake! I would be finding a way to have this at EVERY birthday during the year, haha but true!!
TheCookingCollective says
Thank you Adrianne! Any excuse would do! 😉
Sylvie says
Oh my goodness, this cake looks sooo moorish and indulgent! That salted caramel sauce dripping from the side… it would be hard to resist it!!
TheCookingCollective says
Thanks Sylvie! I do love a gooey, drippy caramel. Enjoy x