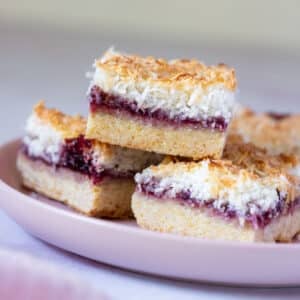
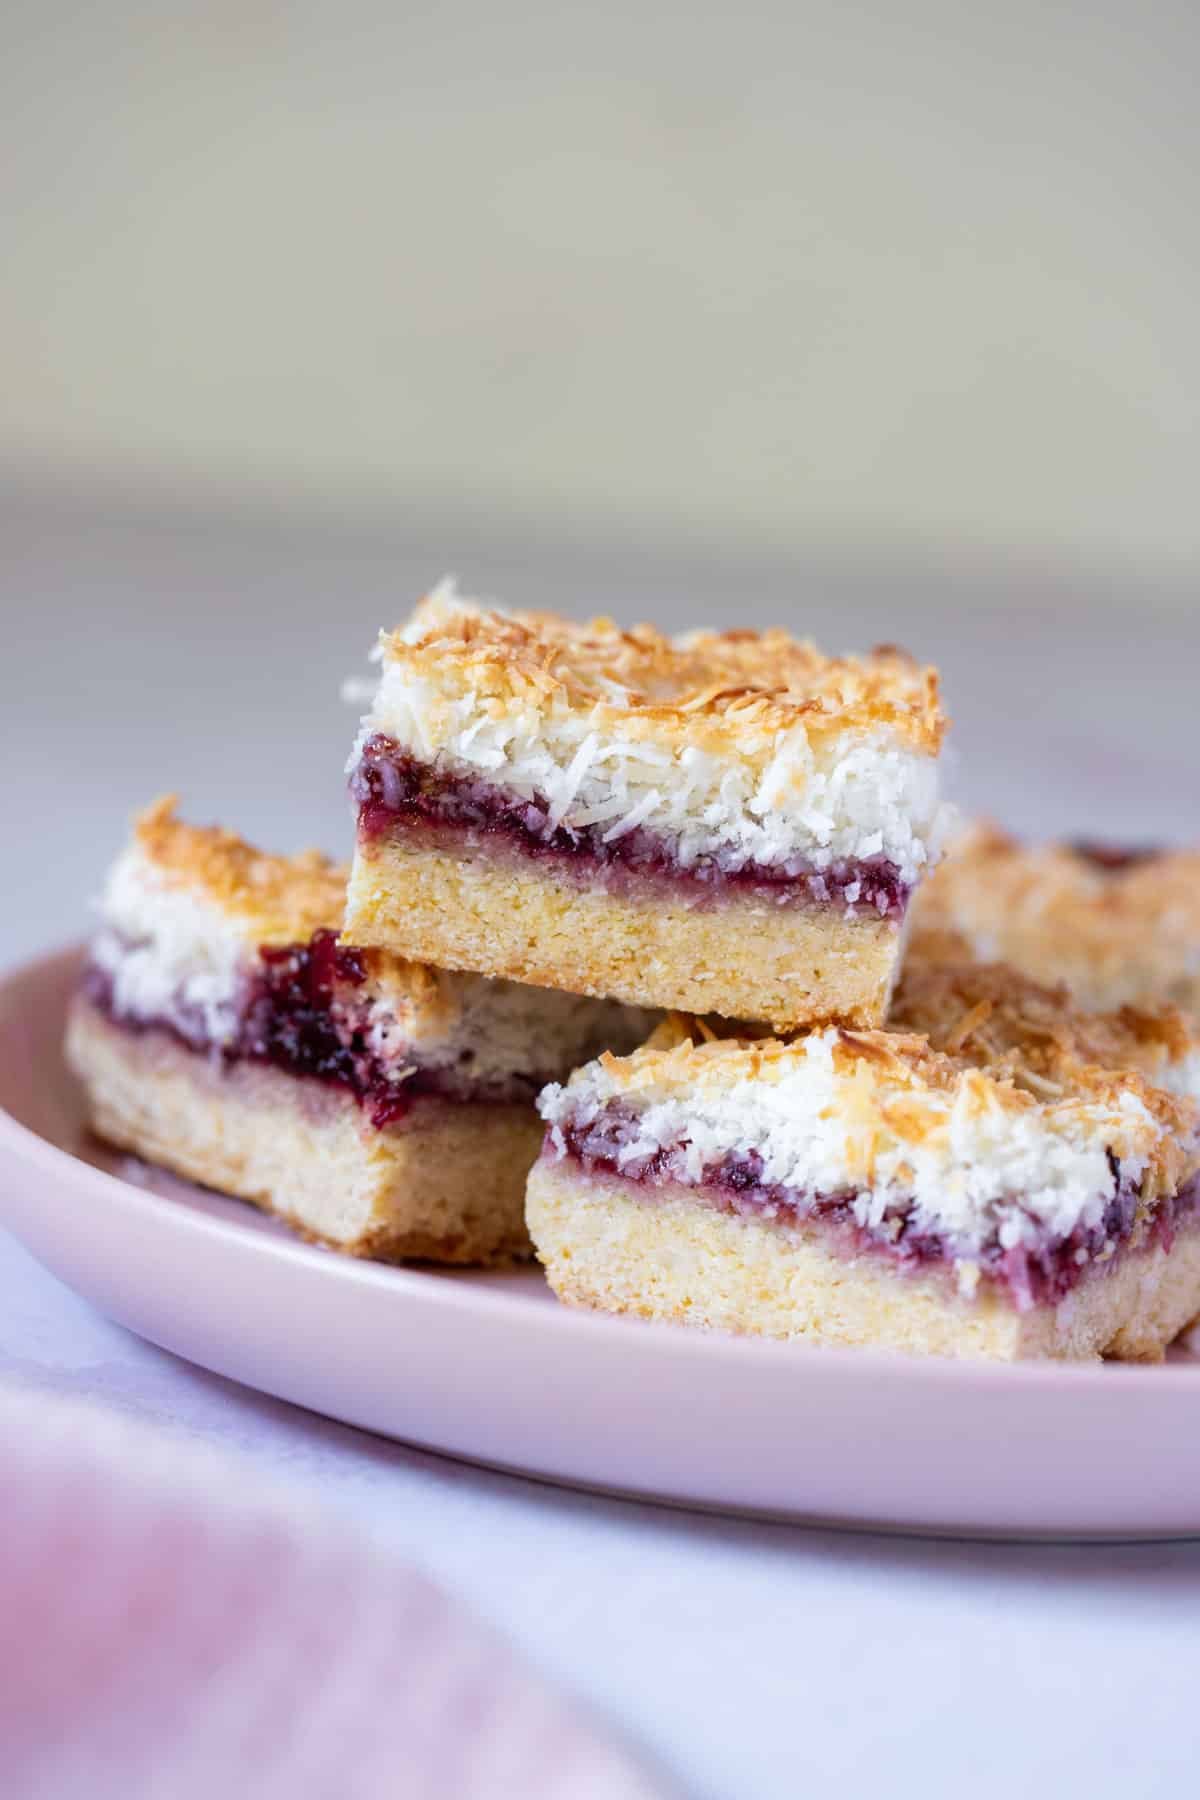
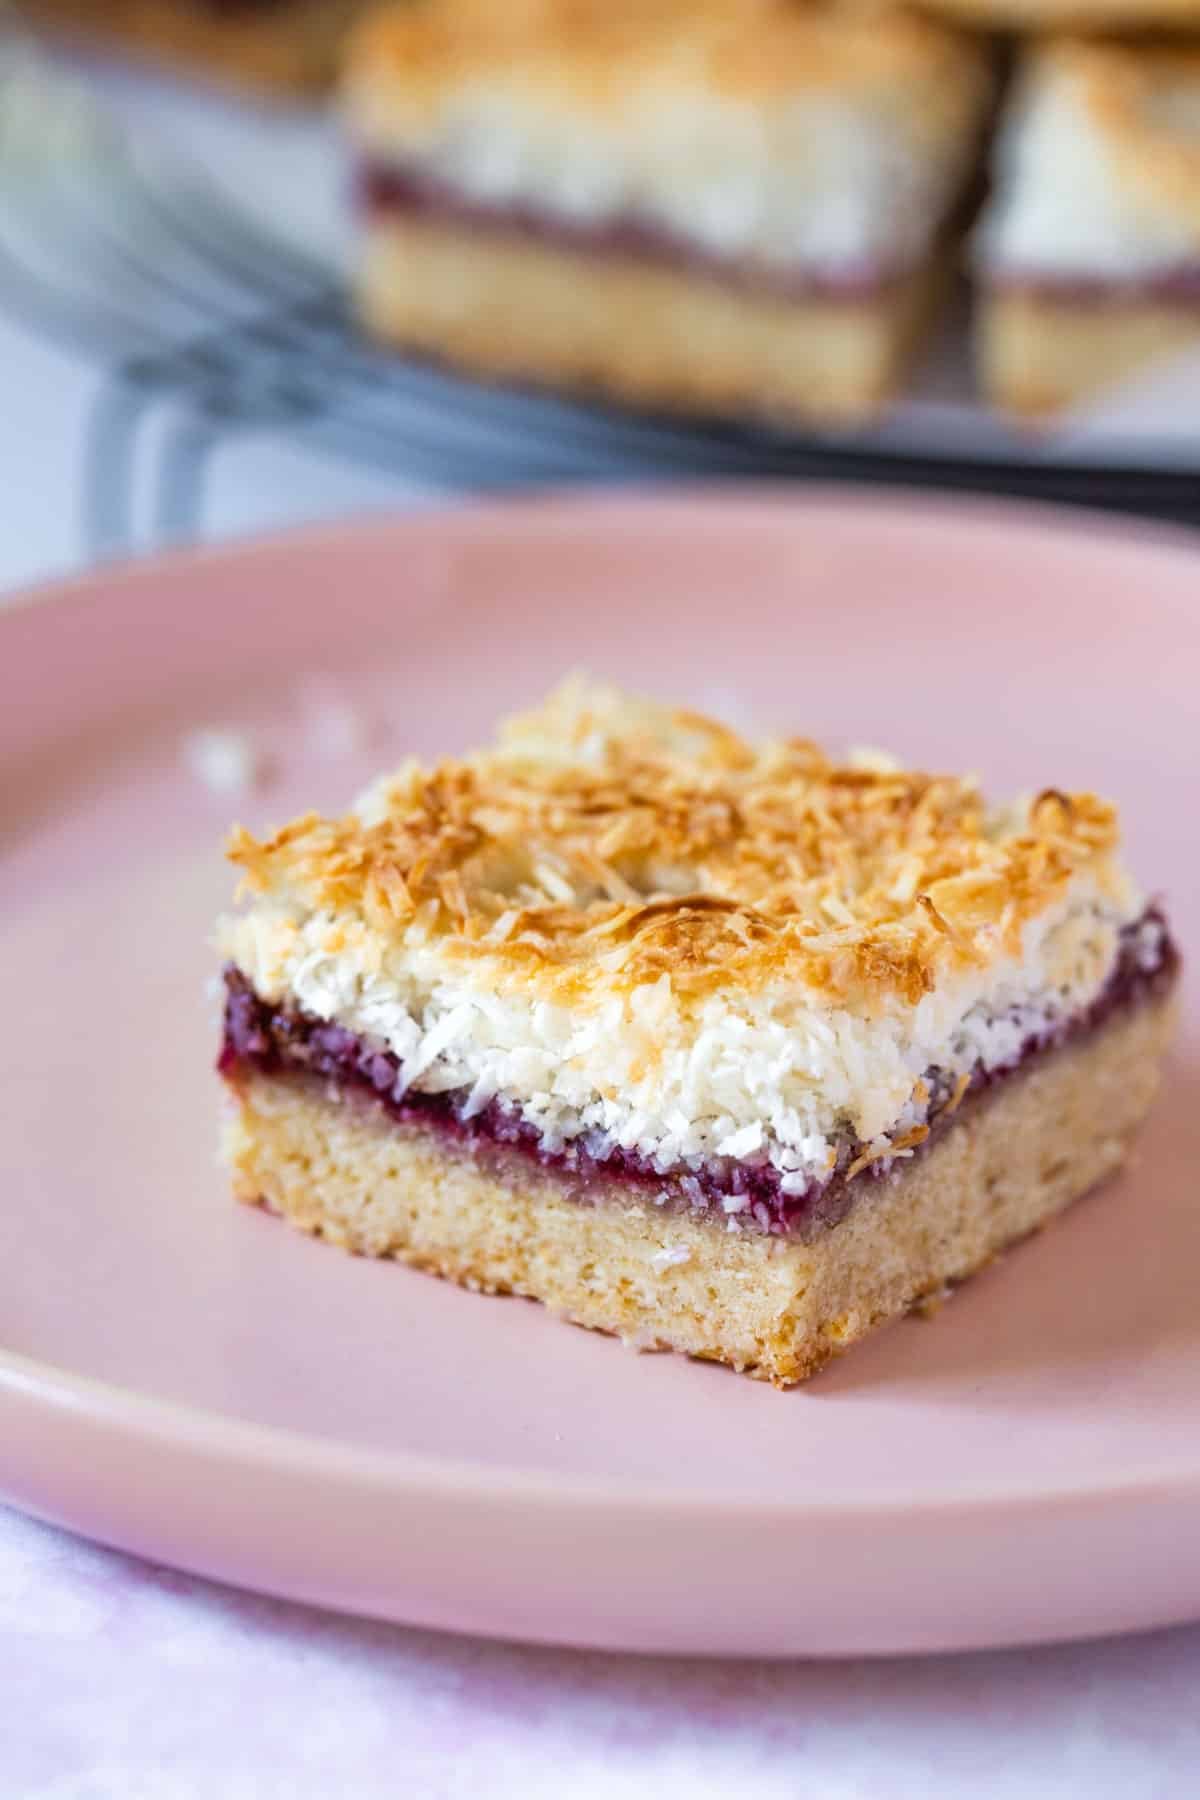
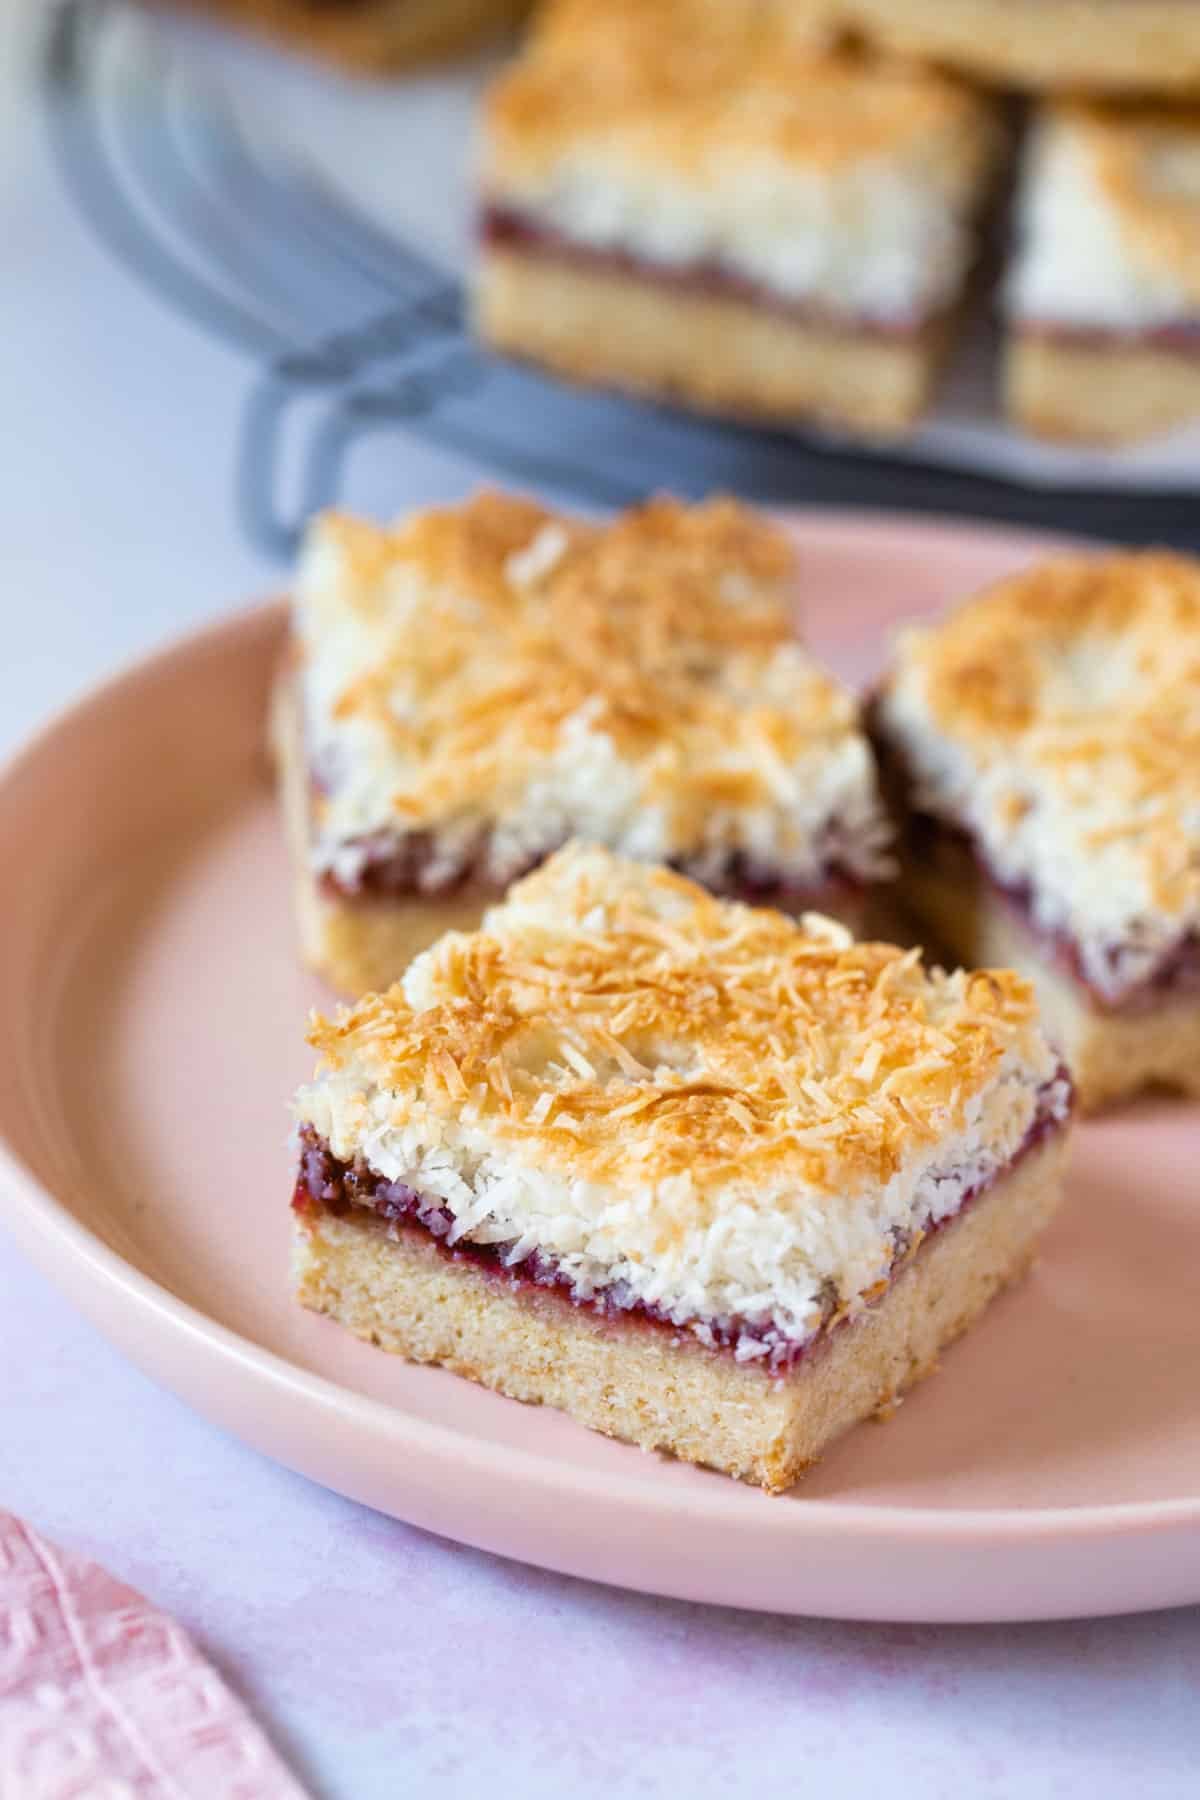
This old-fashioned raspberry coconut slice is a simple yet scrumptious treat. It features a buttery biscuit base topped with a thick layer of raspberry jam and a chewy coconut meringue topping. It’s quick and easy to make and perfect for afternoon tea.
Why you’ll love this recipe
- Easy to make – made with simple ingredients, this gorgeous baked slice comes together in minutes and requires minimal effort.
- Versatile – use your favourite jam or preserves. Raspberry is a classic, but you can swap for blackberry, boysenberry, strawberry, apricot… the options are endless!
- Perfect for any occasion – serve it for birthdays, lunchboxes, bake sales, school fairs, showers or special gatherings. It’s a welcome addition to any morning or afternoon tea spread.
- Old-fashioned favourite – filled with luscious raspberry jam and boasting deliciously chewy edges and a toasted coconut meringue topping, coconut jam slice is popular all over Australia and New Zealand for good reason!
If you love this slice, give these easy jam drop biscuits a try!
Ingredients you will need
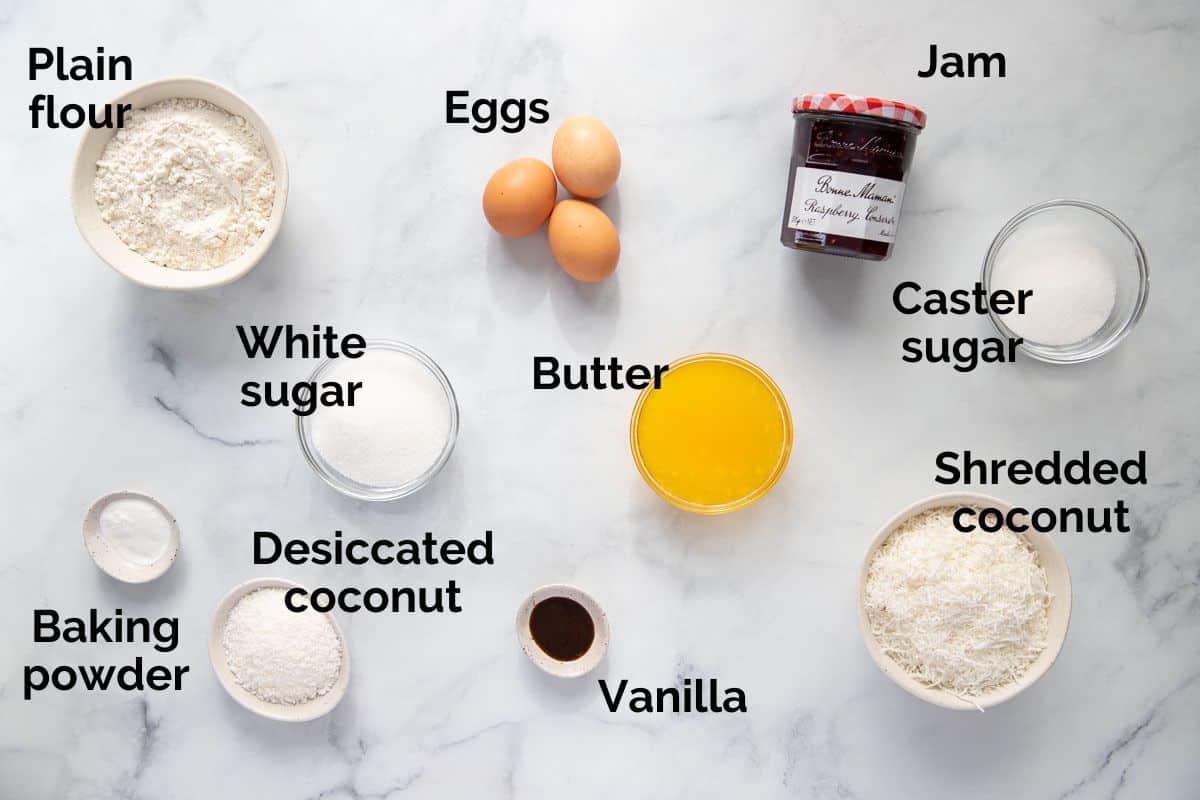
** This post contains tips and instructions to achieve the best possible results. This photo is a great guide for when you are in the supermarket, but for full ingredient quantities and methods, please scroll down to the detailed recipe card below!
- Jam – the key ingredient, so make sure it’s a good quality jam for the best flavour. I love Bonne Maman or Beerenberg jam, but any homemade or store-bought jam can be used. Traditionally raspberry jam is used, but it can be swapped for blackberry, apricot, strawberry or your favourite preserves. I found a gorgeous boysenberry jam from The Berry Farm in Margaret River which makes a stunning addition! Each slice will taste slightly different, depending on the type of jam used.
- Flour – forms the base of the slice. Use plain (all-purpose) flour and sift it first.
- Baking powder – a teaspoon of baking powder adds a little lift and provides a fluffier texture to the base.
- Caster sugar – for the coconut layer, superfine sugar dissolves more easily than granulated sugar. But granulated sugar can be used if this is what you have.
- Butter – melted butter is used to bind and add richness to the base of the slice. I recommend using real, unsalted butter for best results.
- Eggs – large, free-range eggs make up the base and the coconut topping. Large Australian eggs typically weigh between 55-60 grams each. One whole egg is added to the base, to give it a light, cakey texture. And 2 egg whites are added to the coconut topping, to bind. Make sure the eggs are at room temperature, before using.
- Desiccated coconut – dried and finely ground coconut flesh with a fine texture. It’s used in the base and in the coconut topping. Use unsweetened desiccated coconut and weigh it, for accuracy.
- Shredded coconut – shredded coconut is “grated” coconut that is dried in long strands. More moist than desiccated coconut, it is used in the coconut topping layer, to provide the chewy texture. Use both desiccated and shredded coconut in the topping, for best results.
- Vanilla – don’t skip the vanilla, it enhances the flavours! Vanilla bean paste or extract is recommended, rather than synthetic vanilla essence.
Step by step instructions
Full ingredient notes and quantities can be found in the detailed recipe card below. But here is a brief overview of what you can expect;
Grease and line a 20 x 20cm baking tin with baking paper. Leave the sides of the paper overhanging, for easy removal of the slice later.
Step 1 – Prepare the base;
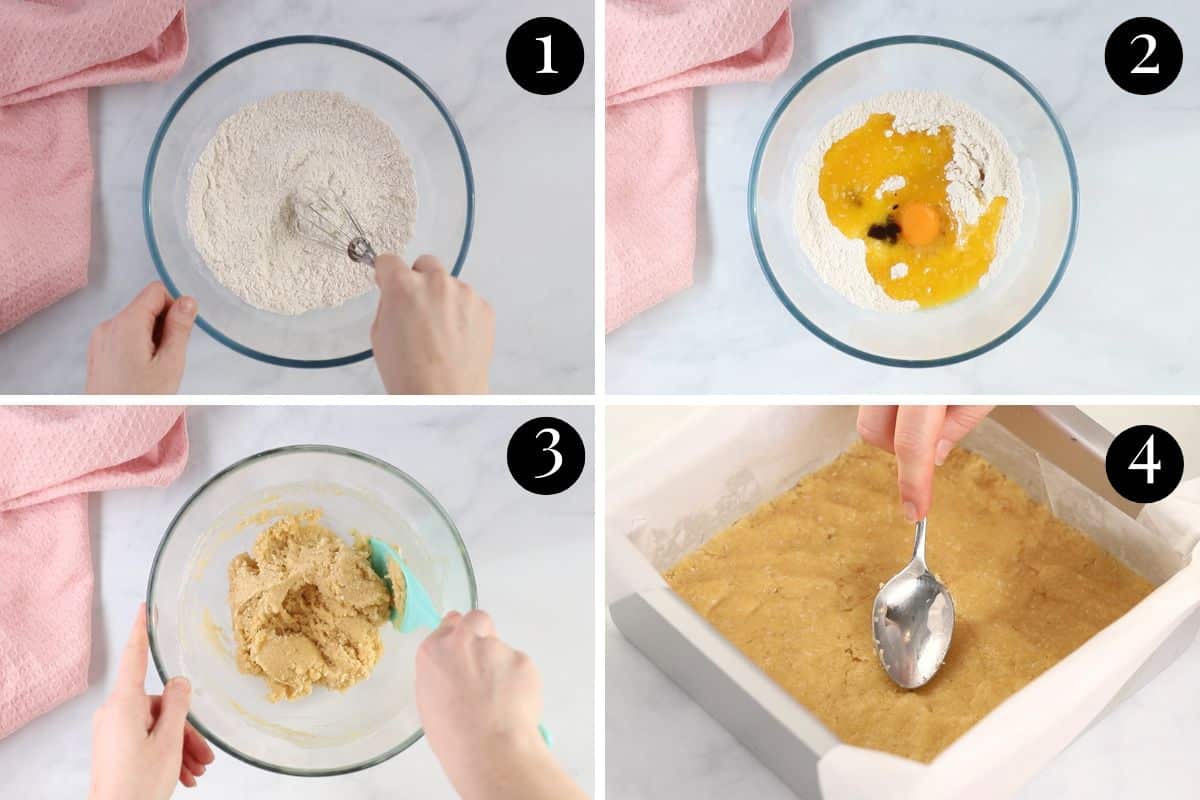
In a bowl, mix together the flour, baking powder, sugar and desiccated coconut until combined.
Add the melted butter, egg and vanilla and stir until combined.
Gently spread the mixture into the baking tin and use a spoon to level.
Bake the base for 15 minutes, until lightly golden.
Step 2 – Assemble the slice;
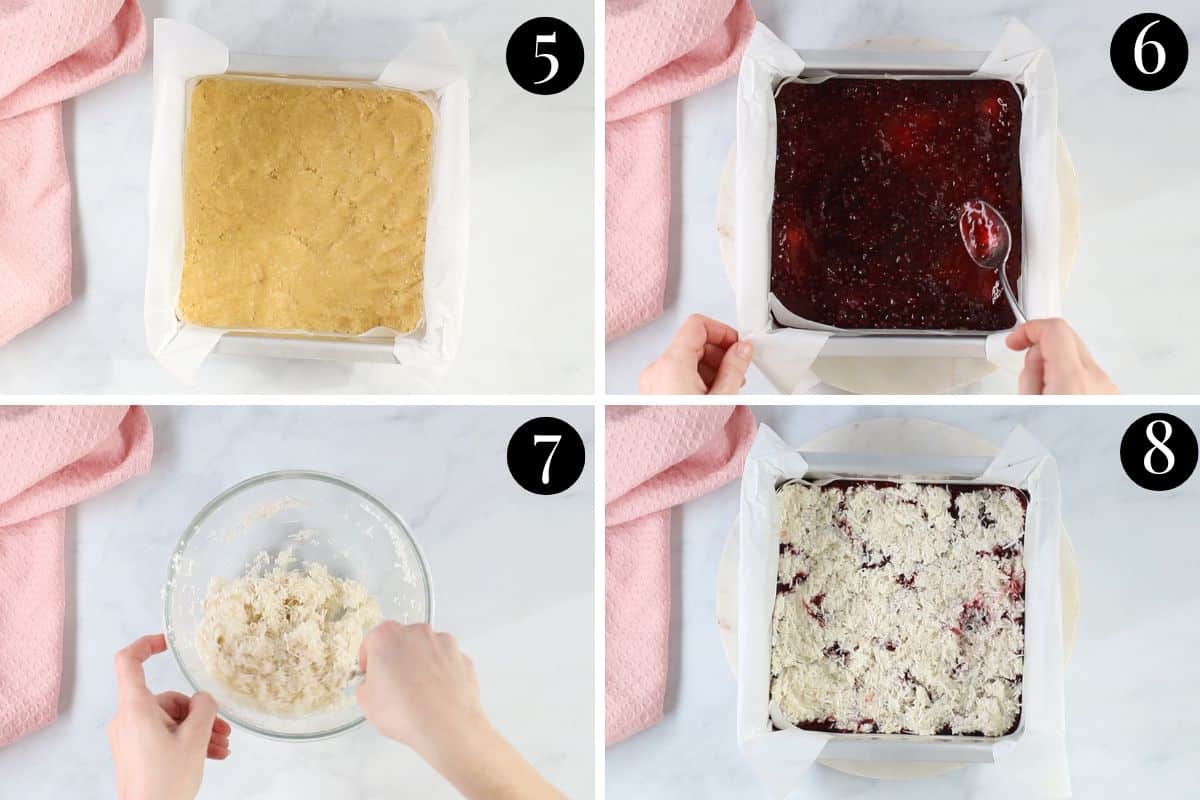
Once the base has been baked until lightly golden, spread the jam layer over the top of the base. The base does not need to cool first, it’s fine to spread the jam over the top while it’s still warm.
Step 3 – Make the coconut topping;
Mix the egg whites, caster sugar, vanilla, desiccated coconut and shredded coconut together in a bowl until combined.
Gently sprinkle the coconut layer over the top of the jam layer and smooth the top.
Step 4 – Bake;
Bake for a further 15-20 minutes, or until the coconut layer has lightly browned.
Remove the slice from the oven and allow it to cool in the tin at room temperature for 1-2 hours, before transferring to the fridge to finish setting. The cooling time is important, the slice is delicate when warm and can fall apart if moved too soon.
Expert tips
- Grease and line the tin with baking paper before adding the slice layers. I recommend leaving the sides of the baking paper overhanging, to easily remove the slice from the tin later.
- For best results, weigh the flour, sugar, butter and coconut for accuracy. If you don’t have kitchen scales, fluff the flour and spoon it into the measuring cup, before levelling it with a knife.
- Leave the slice to cool completely in the tin before removing. When the slice is removed from the oven, it is very fragile and will fall apart if lifted too soon. Let it cool in the tin and even place it in the fridge for a few hours (covered) before removing. You may also need to loosen the sides of the slice with a knife before using the baking paper to gently lift it from the tin.
- I have specified ¾ cup of jam in the recipe instructions. However, you can adjust the amount of jam, to suit. I love the jammy layer, so sometimes use a whole cup of jam (any more than this would make the slice too unstable). For a thinner jam layer, use ½ cup of jam.
FAQs
This slice can be cut into pieces and stored in an airtight container in the fridge for up to 5 days. Eat it straight from the fridge, or bring it to room temperature before eating.
Raspberry coconut slice can be frozen, but the texture of the coconut isn’t as nice when thawed. I recommend eating it while fresh and enjoying within 5 days.
A 20 x 30 cm tin can be used, but the slice will be thinner and cooking times will vary.
Traditionally, raspberry jam is used in coconut jam slice. But any type of jam can be used. Use raspberry, or swap for strawberry, blueberry, blackberry, boysenberry, apricot or your favourite preserves. Just make sure it’s a good quality one, so the flavour really shines through.
Related recipes
Tried this recipe? Please leave a star ⭐⭐⭐⭐⭐ rating or leave a review below and let you know how you went!
Hungry for more? Subscribe to my newsletter and follow along on Facebook, Instagram and Pinterest for the latest recipes and news.
Raspberry Coconut Slice
Ingredients
For the base
- 1 cup plain flour 150 grams, sifted
- 1 teaspoon baking powder
- ¼ cup desiccated coconut 20 grams
- ½ cup white granulated sugar 105 grams
- 120 grams unsalted butter melted
- 1 large egg
- 1 teaspoon vanilla bean paste or vanilla extract
For the jam layer
- ¾ cup raspberry jam or reduce to ½ cup if you prefer a thinner jam layer.
For the coconut layer
- 2 large egg whites
- ⅓ cup caster sugar 80 grams
- ½ teaspoon vanilla bean paste or extract
- ½ cup desiccated coconut 40 grams
- 1 ½ cups shredded coconut 125 grams
Instructions
- Pre-heat oven to 180°C/356℉ (160°C fan-forced). Grease a 20 x 20cm square baking tin and line it with baking paper. Leave the edges overhanging to help lift the slice from the tin later.
Make the base
- In a mixing bowl, mix the plain flour, baking powder, desiccated coconut and sugar together until combined.
- Add the melted butter, egg and vanilla and mix until combined.
- Add the mixture to the lined baking tin and use a spoon to gently smooth the base.
- Bake for 15 minutes, until lightly golden on top. Remove from the oven.
For the jam layer
- Spread the jam over the top of the warm base layer and spread, until even.
For the coconut layer
- Mix the egg whites, caster sugar, vanilla, desiccated coconut and shredded coconut in a bowl until combined.
- Sprinkle the coconut mixture over the top of the jam layer and gently level it without disturbing the jam layer.
- Bake for 15-20 minutes, or until the coconut layer is lightly golden on top.
- Remove the slice from the oven and allow it to cool in the tin for 1-2 hours at room temperature. It can then be sliced, or covered and refrigerated to set further. Don't try to remove the slice from the tin while it's warm, or it will break.
- To remove the slice from the tin, carefully run a knife along the sides to loosen and use the baking paper to gently lift the slice. Cut into pieces with a sharp knife.
Video
Notes
-
- Jam is the key ingredient, so make sure it’s a good quality jam for the best flavour. I love Bonne Maman or Beerenberg jam, but any homemade or store-bought jam can be used. Traditionally raspberry jam is used, but it can be swapped for blackberry, apricot, strawberry or your favourite preserves.
- Grease and line the tin with baking paper before adding the slice layers. I recommend leaving the sides of the baking paper overhanging, to easily remove the slice from the tin later.
- For best results, weigh the flour, sugar, butter and coconut for accuracy. If you don’t have kitchen scales, fluff the flour and spoon it into the measuring cup, before levelling it with a knife.
- Leave the slice to cool completely in the tin before removing. When the slice is removed from the oven, it is very fragile and will fall apart if lifted too soon. Let it cool in the tin and even place it in the fridge for a few hours (covered) before removing. You may also need to loosen the sides of the slice with a knife before using the baking paper to gently lift it from the tin.
- I have specified ¾ cup of jam in the recipe instructions. However, you can adjust the amount of jam, to suit. I love the jammy layer, so sometimes use a whole cup of jam (any more than this would make the slice too unstable). For a thinner jam layer, use ½ cup.
- This slice can be sliced and stored in an airtight container in the fridge for up to 5 days. Eat it cold, or bring it to room temperature before eating.
- While the slice can be cut into pieces of desired size, please note that the nutrition information is based on the slice being cut into 12 pieces, with one piece being one serve. The nutritional information is an estimate only and does not take into account any additional toppings or sides served with the slice.
- This recipe is made using Australian cups and spoon measurements. Due to cup sizes varying from country to country, I advise adjusting if necessary.







Leave a Reply