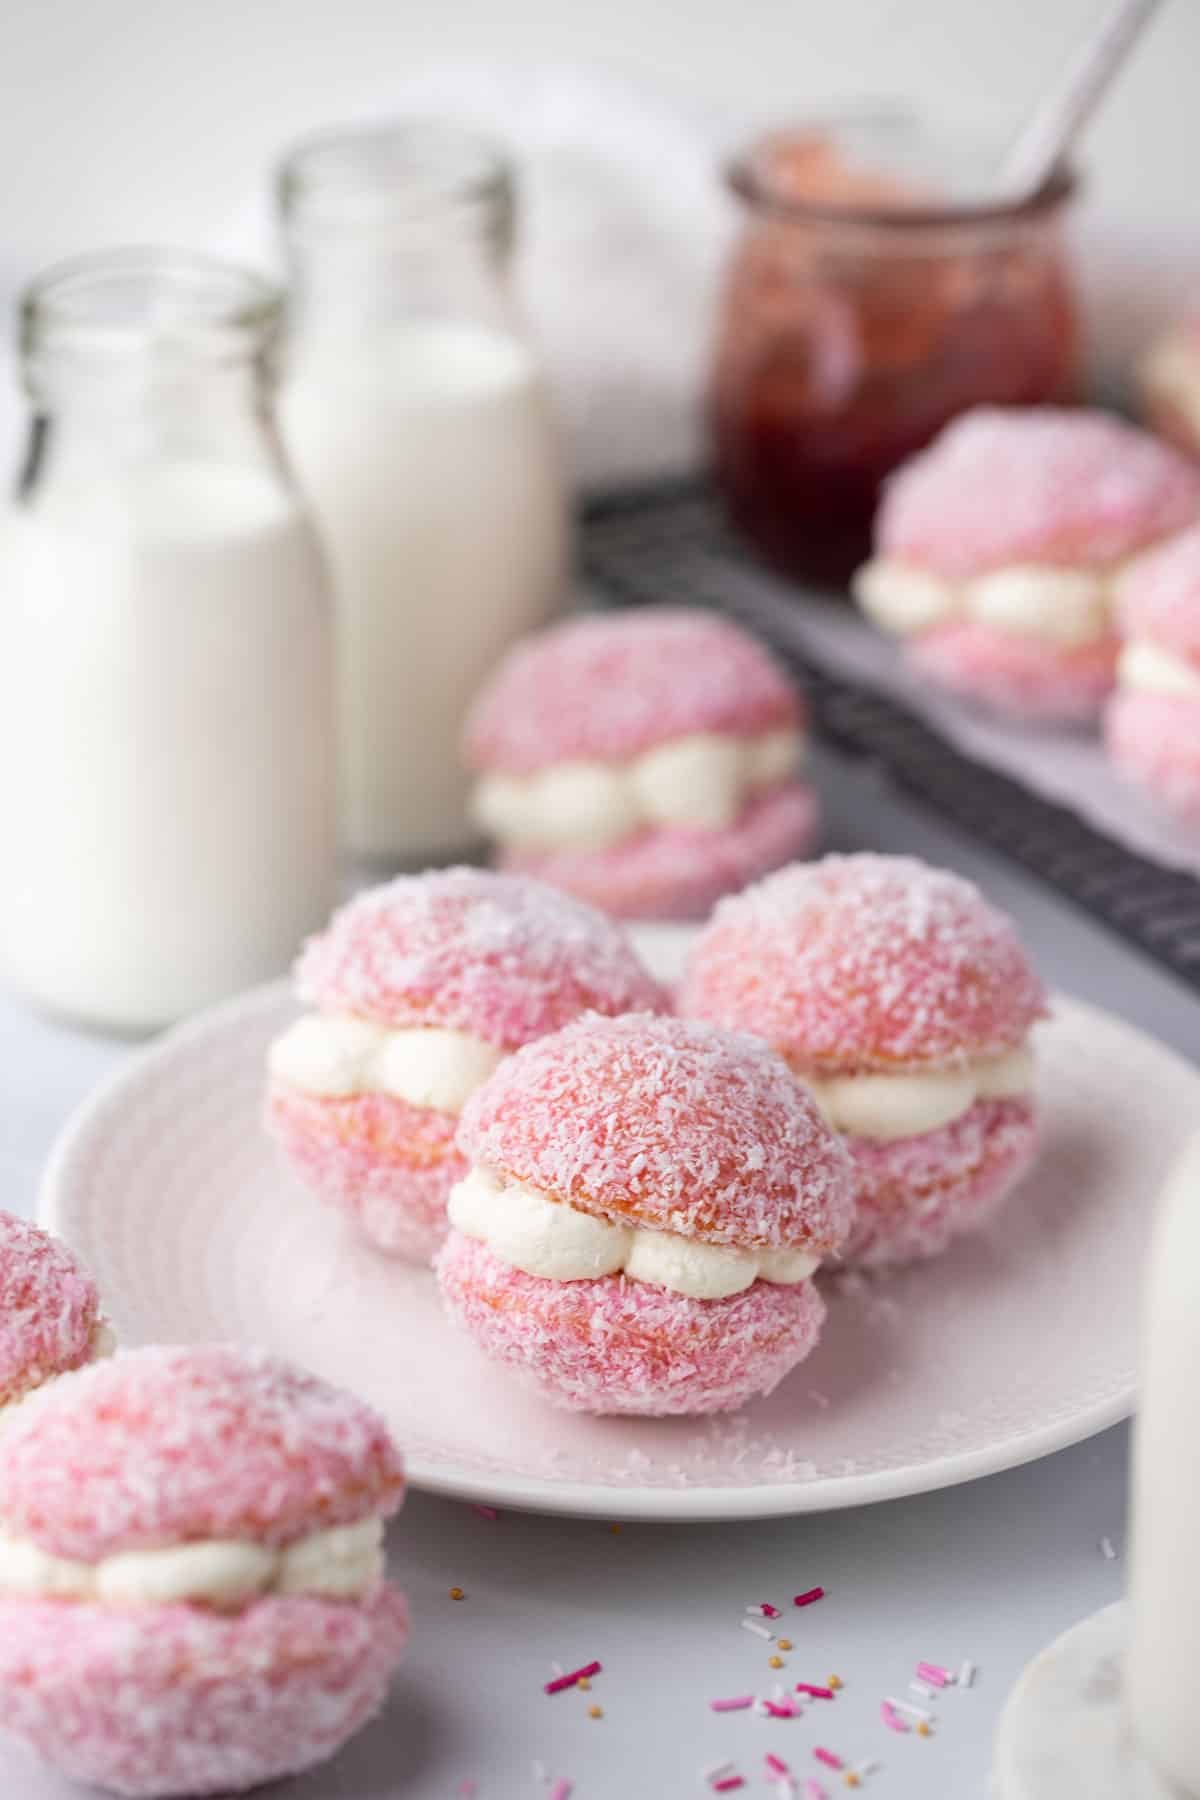
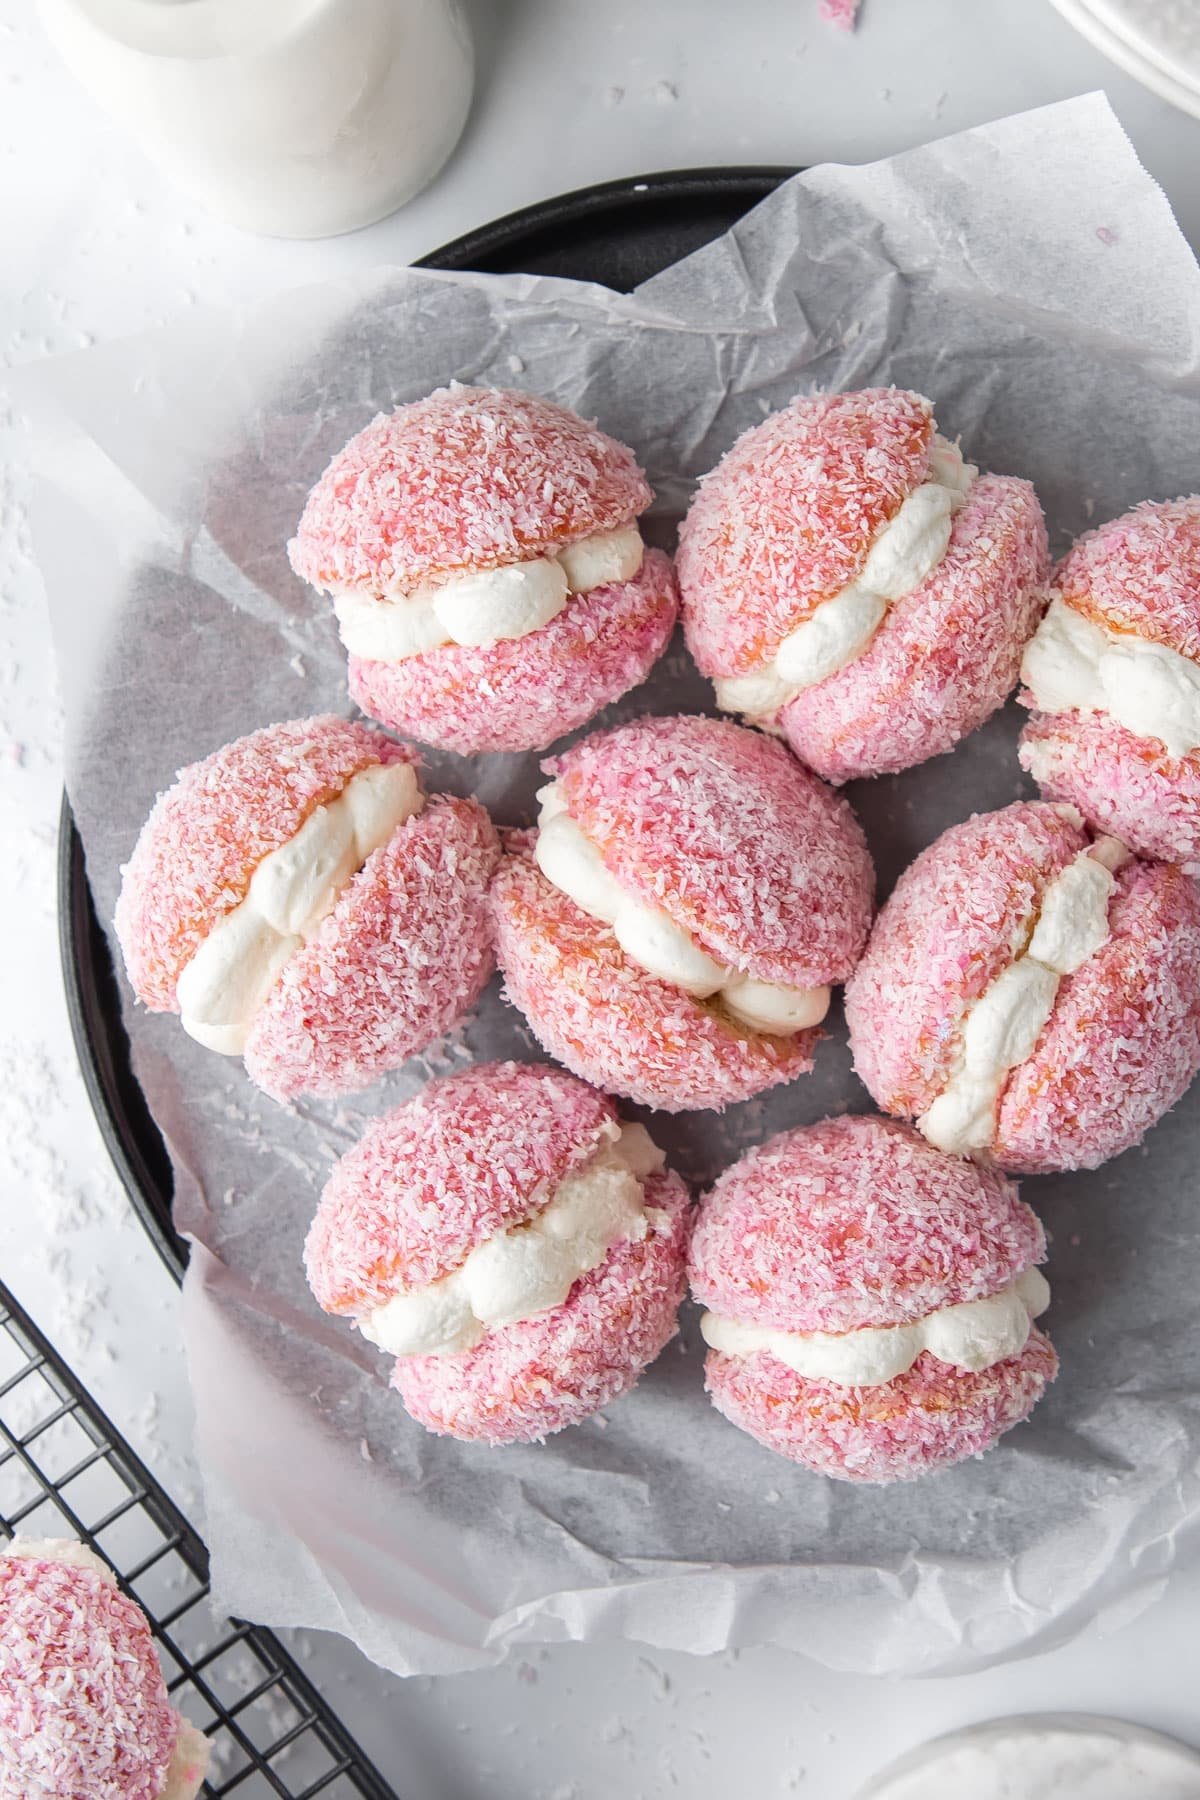
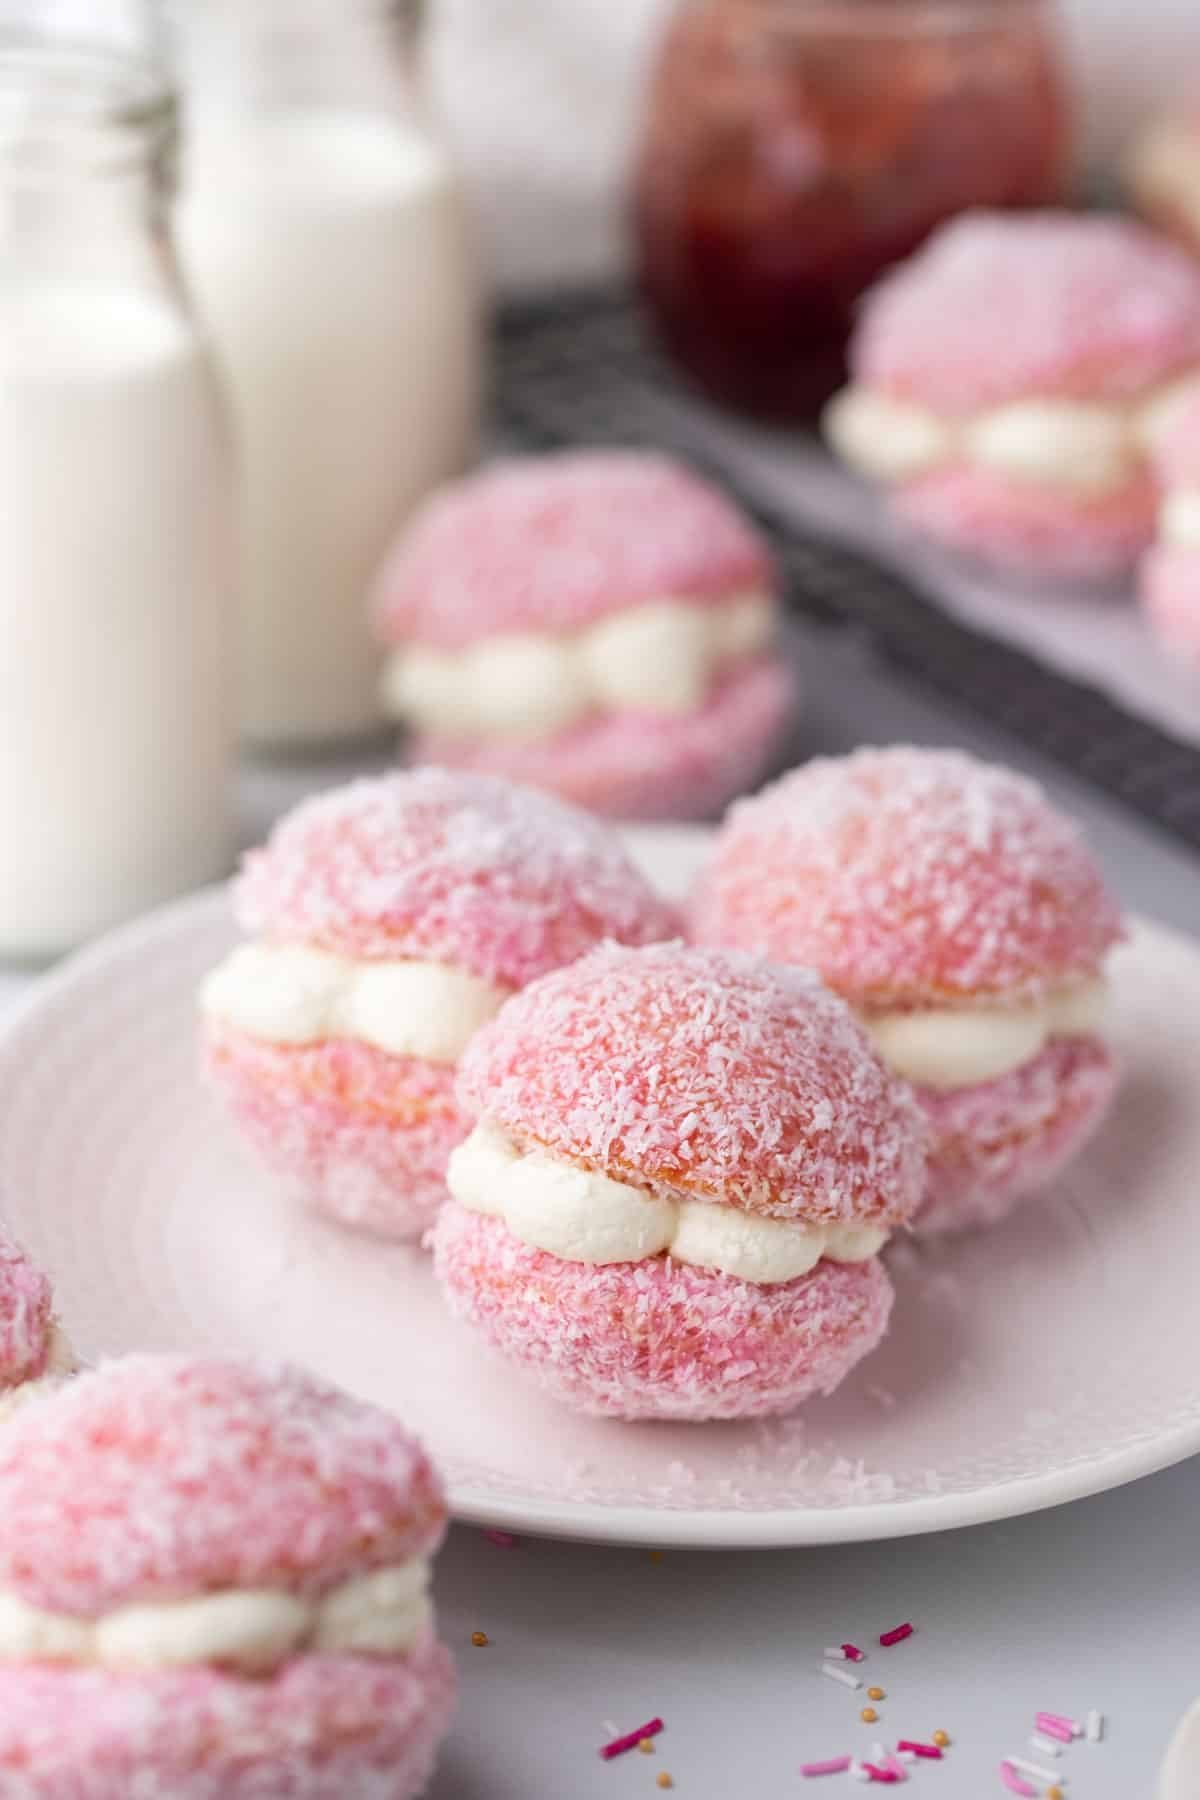
A twist on traditional lamingtons, pink jelly cakes are a classic Aussie treat! Light and airy vanilla cakes are dipped in raspberry jelly, coated in coconut and sandwiched together with a layer of whipped Chantilly cream. They’re bursting with raspberry flavour and are perfect for any occasion.
Why you will love this recipe
- Easy to make – just a few simple pantry ingredients like flour, sugar and vanilla and a few fresh ingredients (cream, milk and eggs) are all you need to get started.
- Perfect for celebrations – serve them at gatherings, bridal showers, birthdays, baby showers, Mothers’ Day or for a nostalgic afternoon tea treat.
- So delicious – the vanilla cakes are light and fluffy and each bite is bursting with raspberry and vanilla flavour.
- The cakes can be made ahead of time and frozen to be assembled later!
- No cake mix – this ‘from-scratch’ recipe uses a traditional vanilla cake recipe, no packet mixes required.
Ingredients you will need
** This post contains tips and instructions to achieve the best possible results. This photo is a great guide for when you are in the supermarket, but for full ingredient quantities and methods, please scroll down to the detailed recipe card below!
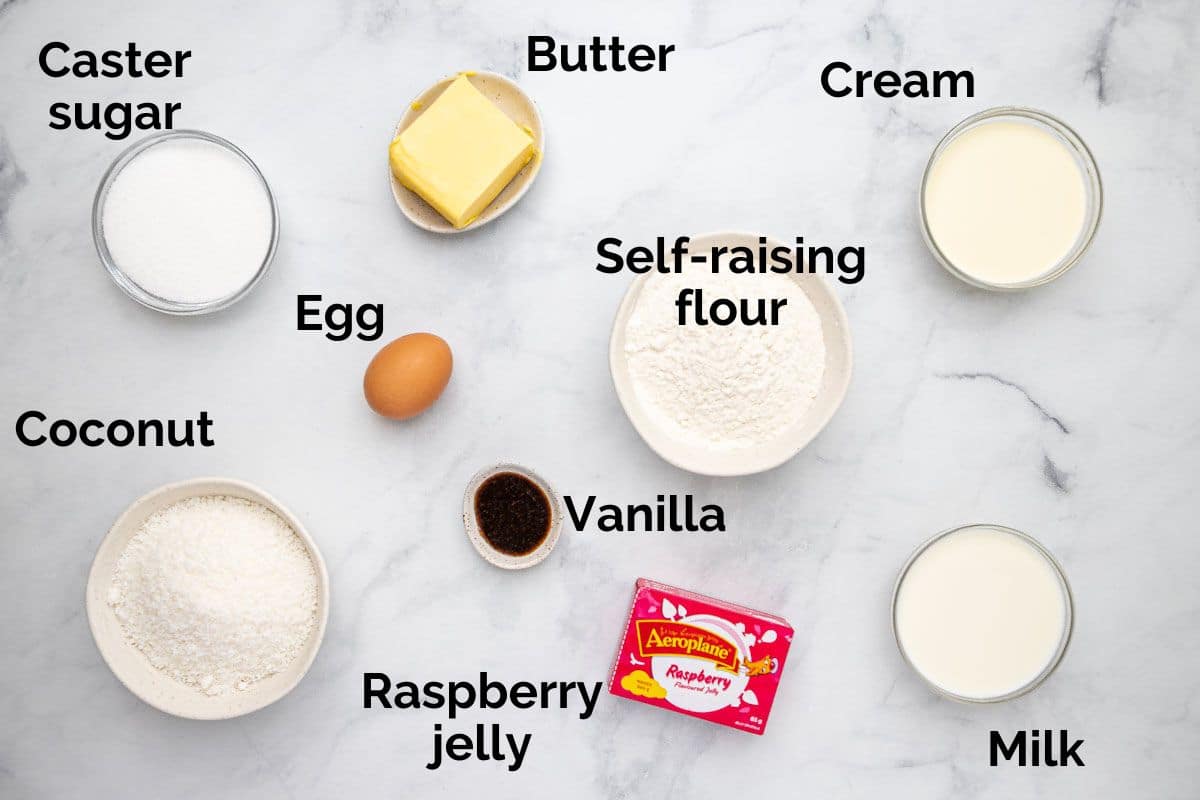
- Jelly crystals – jelly (jello) crystals are dissolved in boiling water and chilled in the fridge for 1-2 hours until partially set. Once thickened (but not set), mini vanilla cakes are dipped in the jelly and then rolled in coconut. I use Aeroplane jelly crystals, but any will work and you can use vegetarian jelly crystals, if required. Raspberry flavoured jelly crystals are best, but you could also use strawberry flavour.
- Self-raising flour – flour that has a raising agent (baking powder) and salt added to it. Self-raising flour forms the structure of the cakes. If you don’t have any, you can make your own by whisking 2 teaspoons of baking powder into every cup of plain flour.
- Butter – a base of creamed butter and sugar helps to achieve soft, fluffy cakes. Make sure it’s real butter, softened at room temperature before using.
- Caster sugar – also called superfine sugar, caster sugar will dissolve more easily into the butter mixture. Regular white sugar can be used, if this is all you have.
- Milk – full fat, regular whole milk is best here, but you can swap for your preferred milk of choice.
- Vanilla – one of the main flavours and you want it to shine! Use a good quality vanilla paste or extract. It has the best flavour and the little specks of vanilla make the cakes look even better.
- Egg – one large, whole egg adds moisture and structure to the cakes. Make sure it’s at room temperature.
- Cream – whipped cream mixed with sugar and vanilla is piped between two jelly cakes, to hold them together. Use full-fat thickened cream for best results.
- Coconut – to coat the cakes. Use fine, desiccated coconut rather than thickly shredded coconut for best results.
Step by step instructions
Full ingredient notes and quantities can be found in the detailed recipe card below.
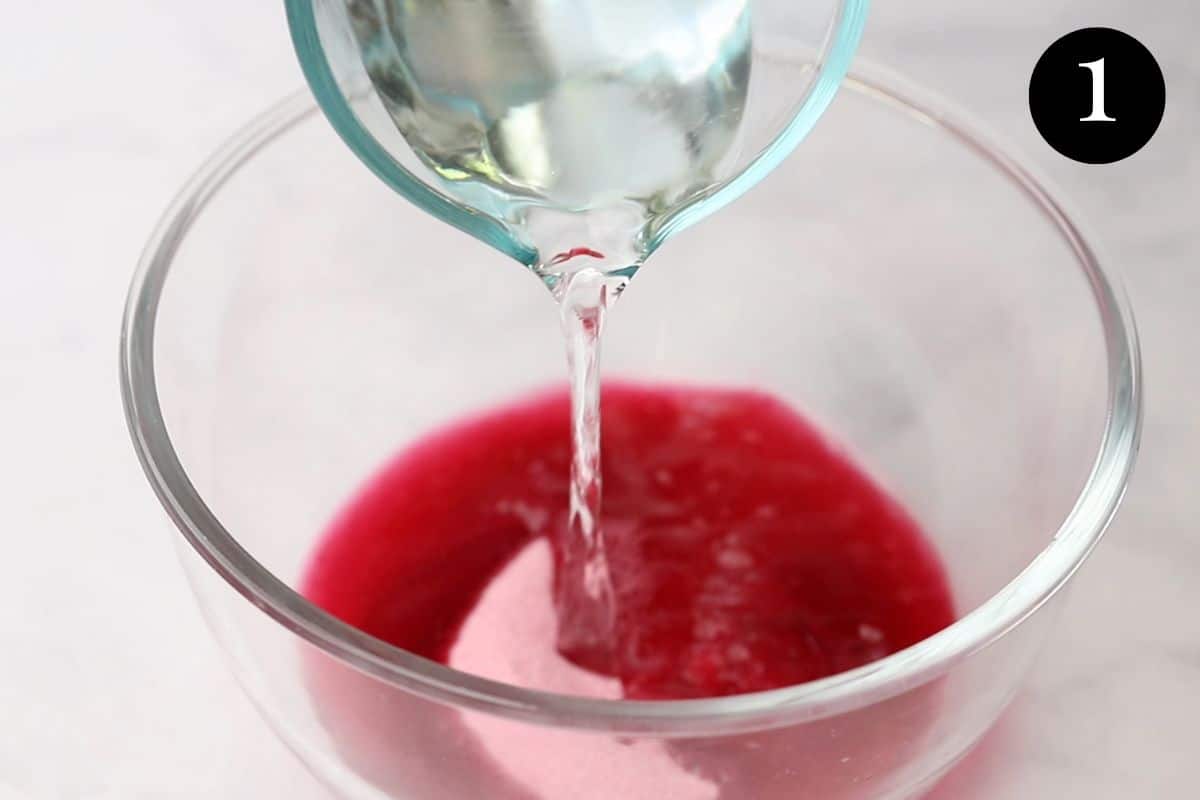
Step 1 – Make the jelly;
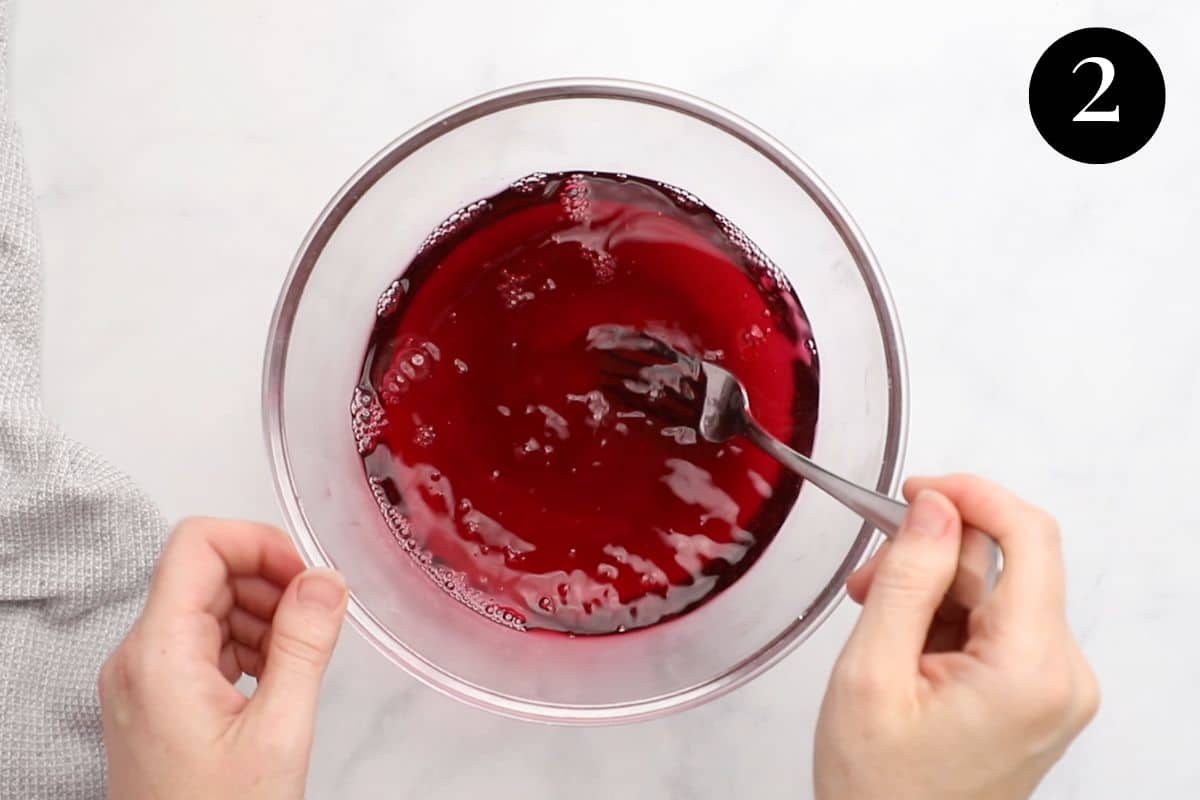
Mix the raspberry jelly crystals with a cup (250ml) of boiling water and mix until the crystals are mostly dissolved.
Add ¾ cup (185ml) of cold, chilled water and stir to combine.
* Use slightly less water than specified on the packet instructions to increase the raspberry flavour and help it thicken a little faster.
Place the jelly in the fridge for 1-2 hours, until slightly thickened to an egg-white consistency. Don’t allow the jelly to fully set, or it won’t soak into the cakes. Too runny, and the cakes will soak in too much liquid and become soggy. We want to aim for a slightly thickened, egg white consistency. Keep a close eye on it!
Step 2 – Make the cakes;
Cream the butter and caster sugar in a bowl until smooth, soft and fluffy.
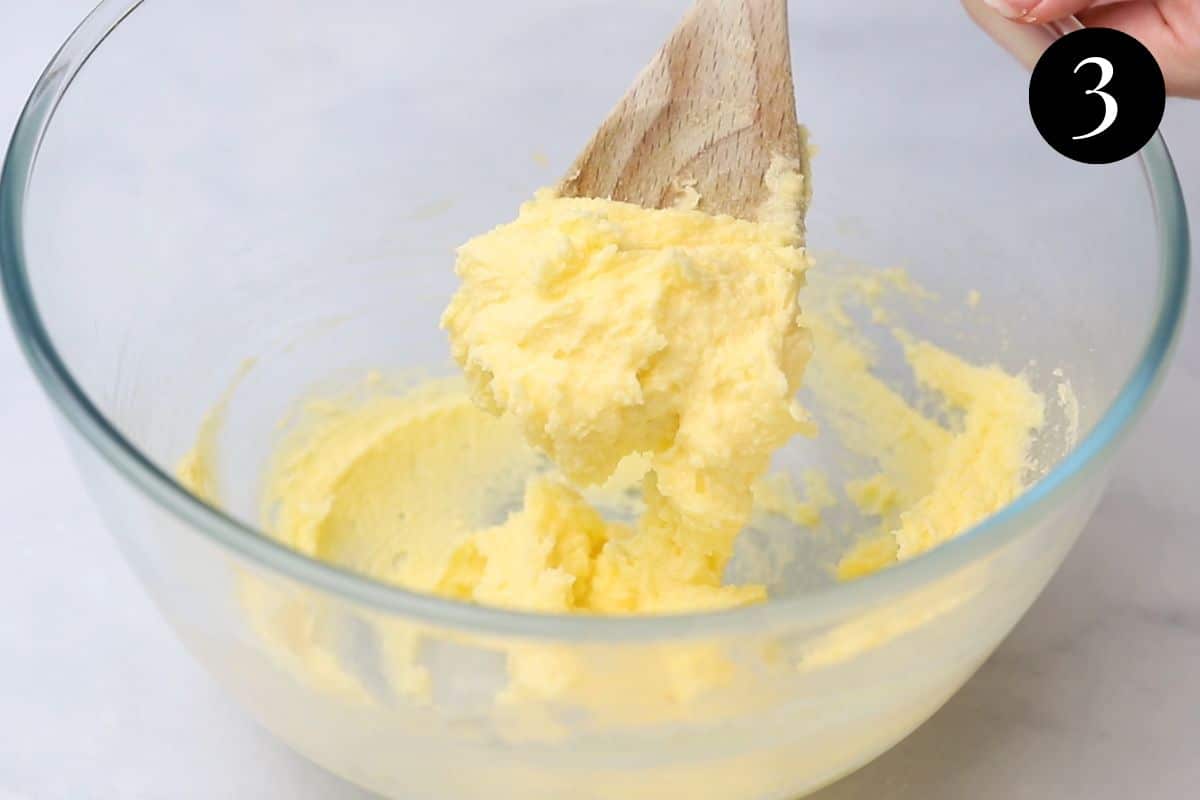
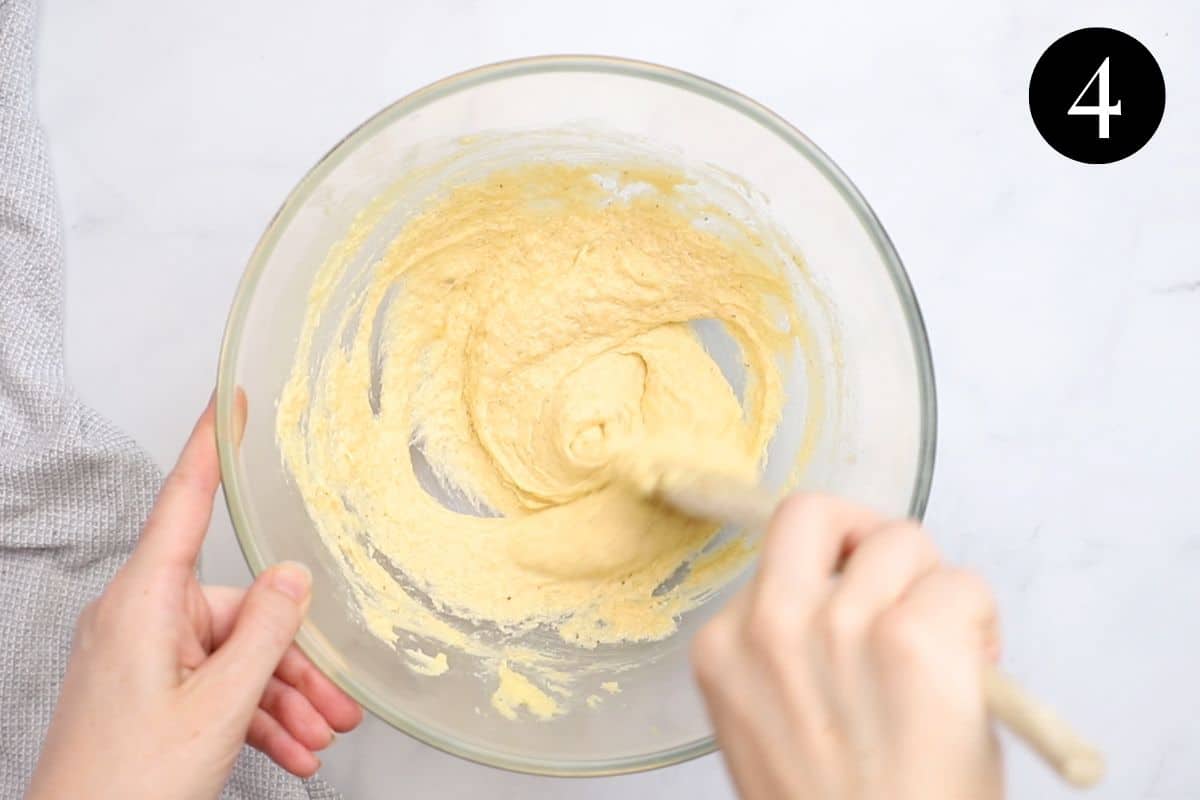
Add the vanilla and egg and mix to combine.
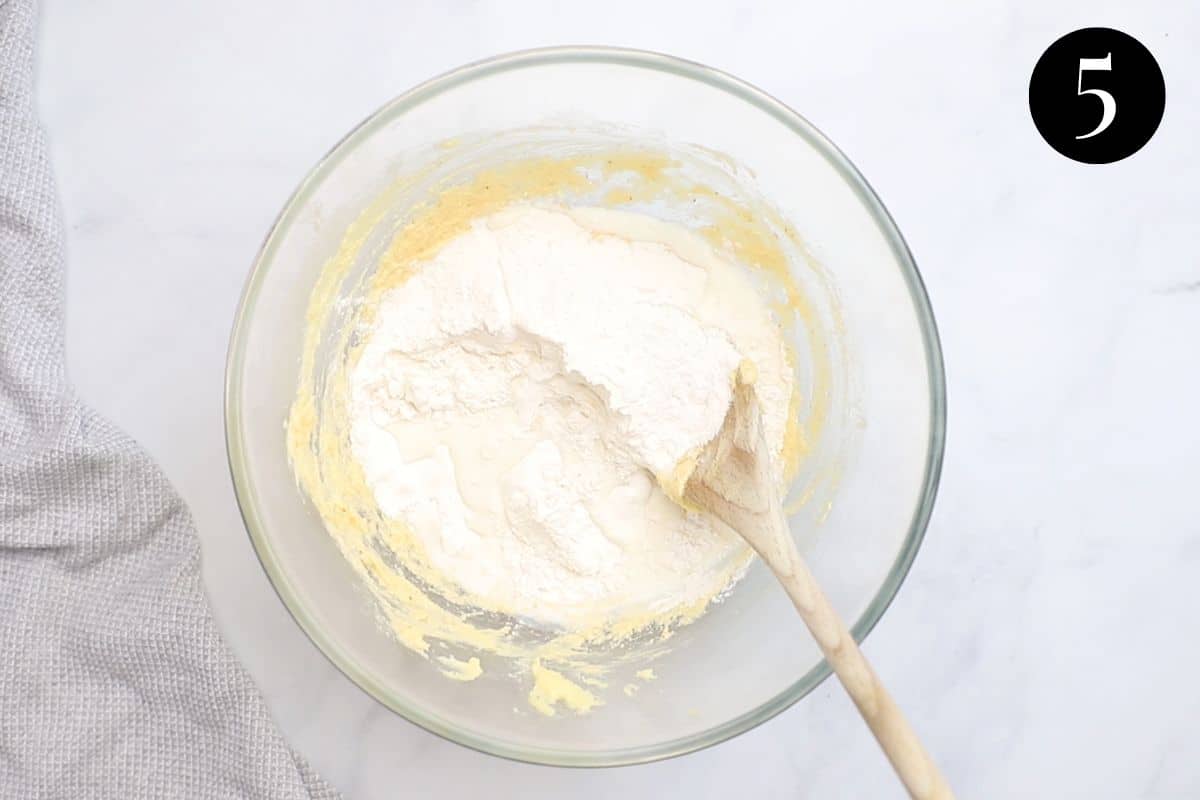
Add half of the flour and milk and stir until just combined. Repeat with the remaining flour and milk.
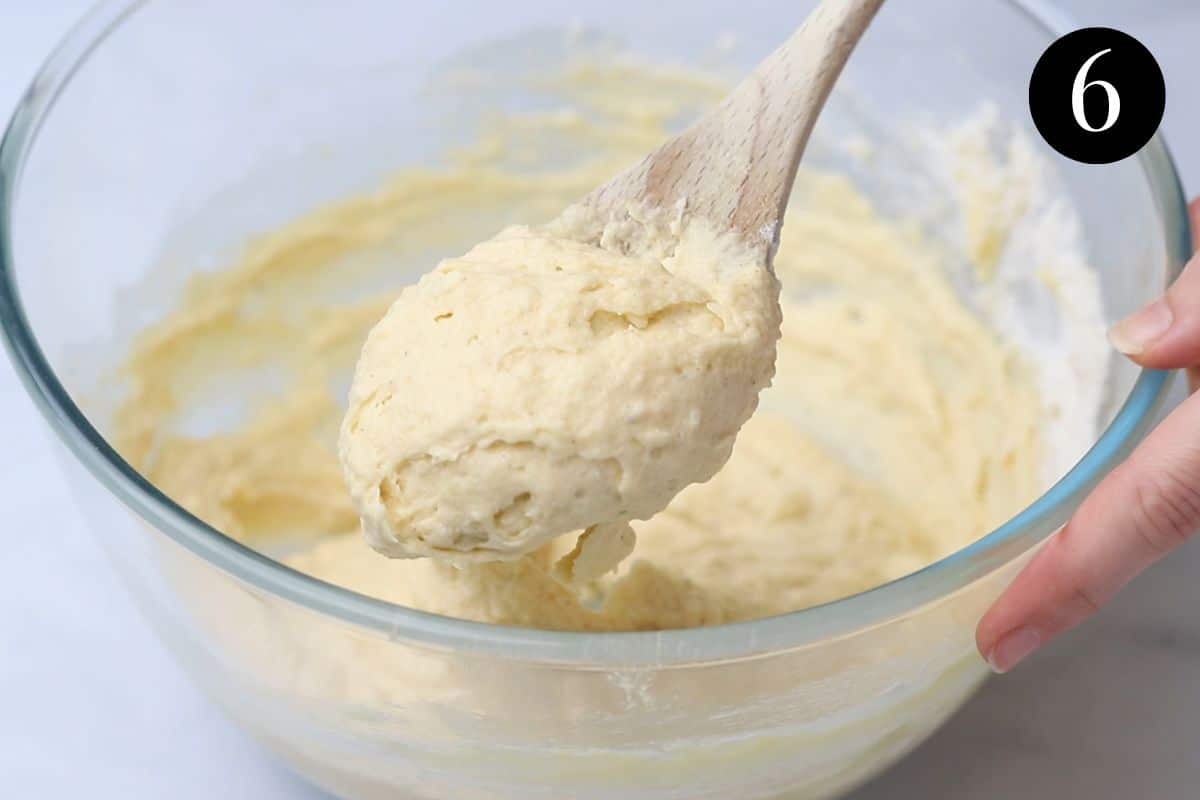
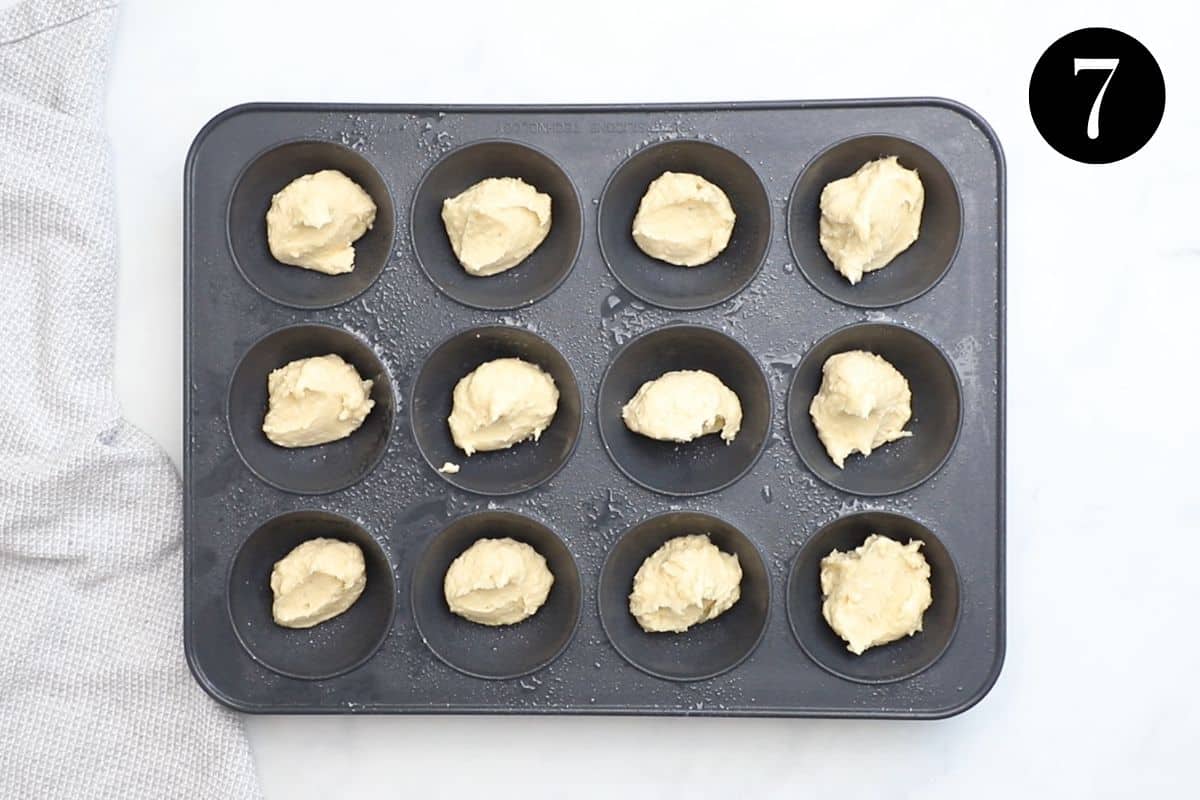
Add heaped tablespoons of the cake batter into 2 dome trays or gem trays (or see notes below for alternatives) and bake until lightly golden and the tops spring back when gently pressed.
Step 3 – Soak the cakes;
Once the jelly has partially set to an egg white-like thickness, it’s time to start coating the cakes!
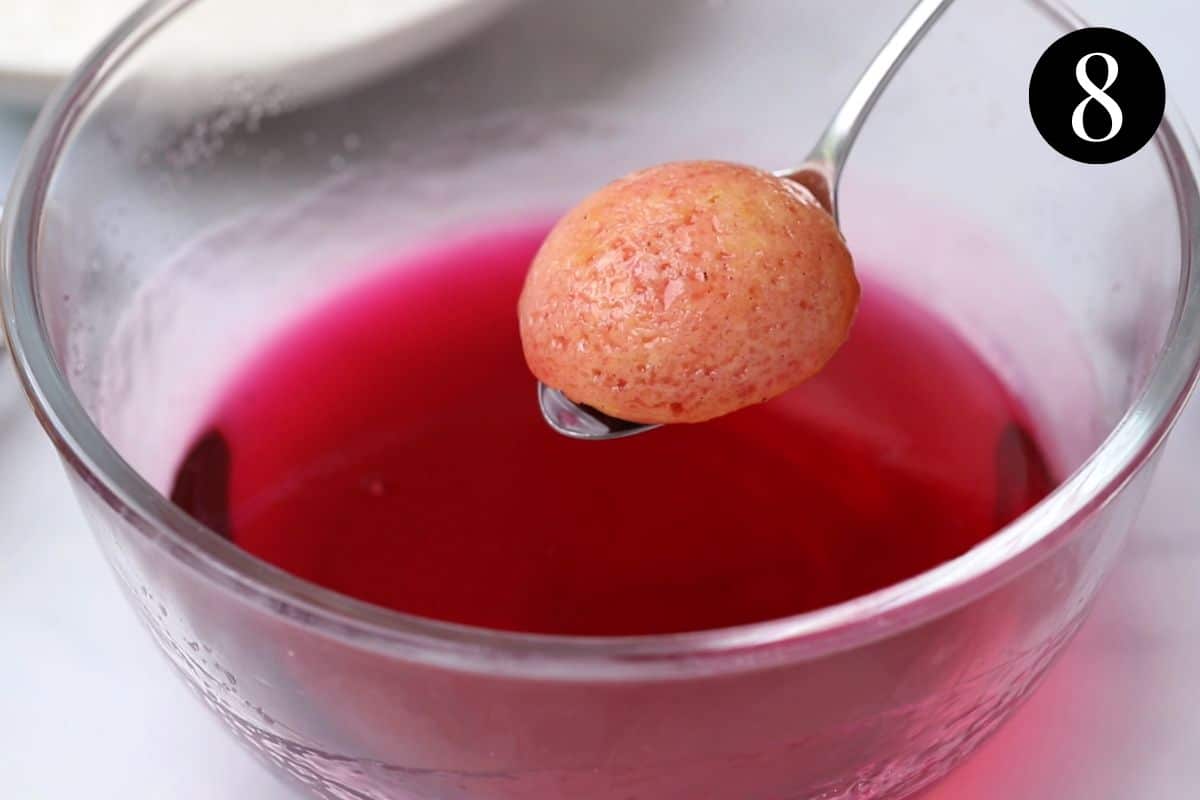
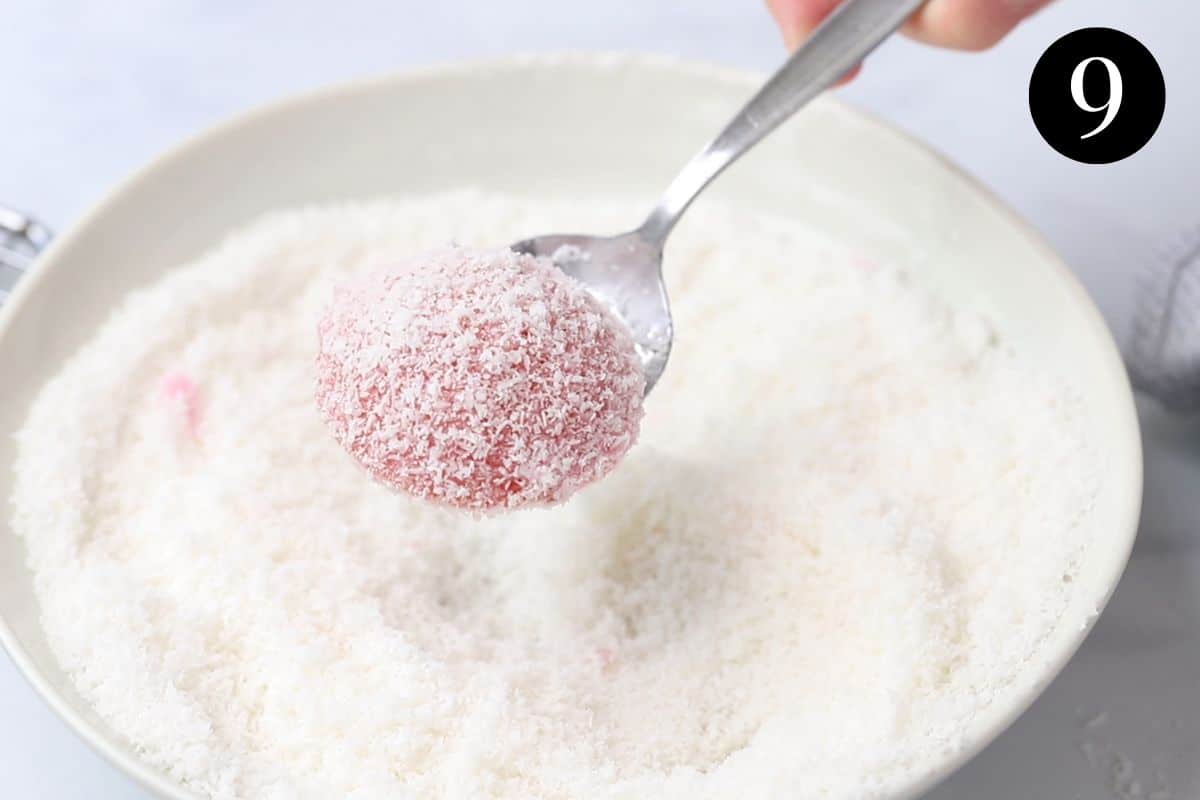
Working with one cake at a time, dip the cakes into the jelly until each side is completely coated and then roll them through the coconut. Place them on a plate to refrigerate for 30 minutes to allow the jelly to soak into the cakes.
Step 4 – Fill with cream;
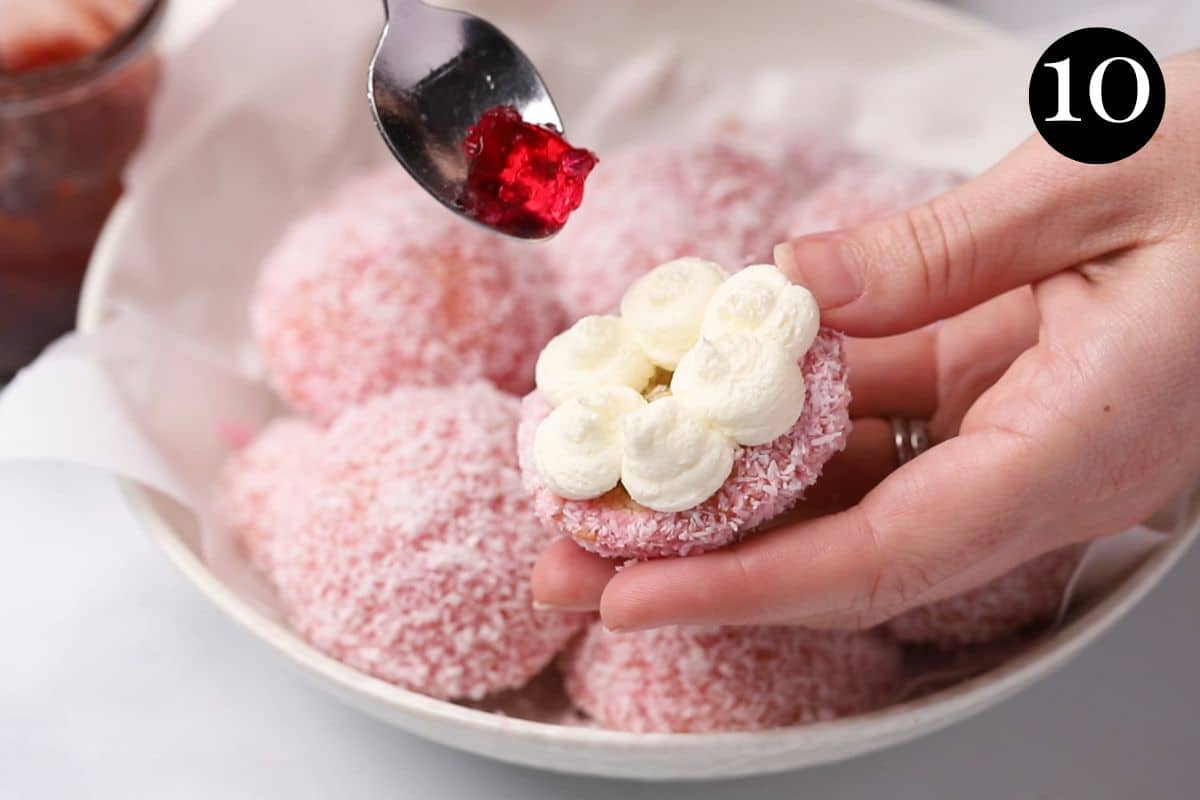
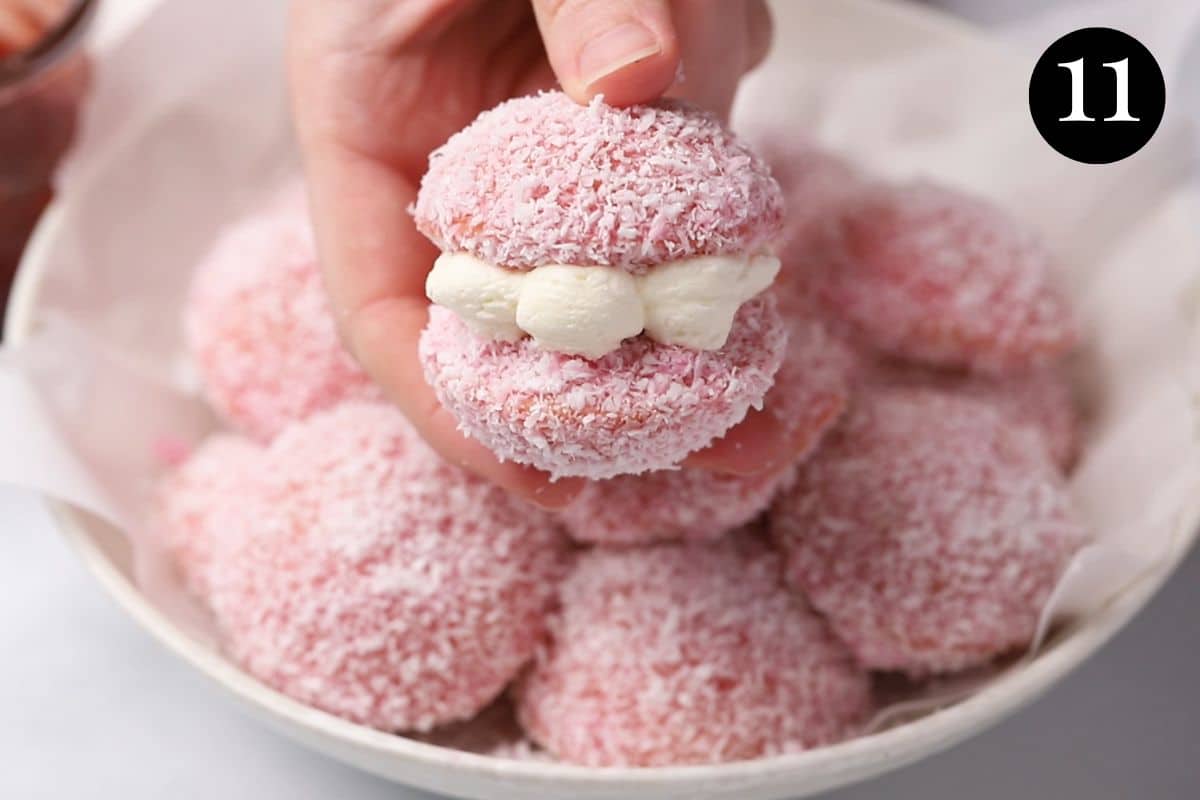
Once the jelly cakes have set in the fridge, pipe some cream onto the top of one cake, and then sandwich together using another cake.
You can also add a small amount of set raspberry jelly, raspberry jam or a fresh raspberry to the cream before adding the second cake.
Expert tips
- Measure the ingredients, for best results. Use a kitchen scale to weigh the dry ingredients in grams. Inaccurate measurements can cause the ratios to be off, resulting in dry cakes, or cakes that don’t rise. If you don’t have scales, fluff the flour with a spoon, spoon it into a measuring cup and level it with a knife.
- Make sure all of the ingredients are at room temperature before mixing, otherwise your batter can split.
- Make the jelly first and place it in the fridge to thicken (but not set!). This will take 1-2 hours, plenty of time to start on the cakes while you wait.
- It is important to get the consistency of the jelly right. If the jelly isn’t set enough, the cakes will soak in too much liquid. This will cause them to become soggy/fall apart. If the jelly sets too much, it won’t soak into the cakes. The jelly should be refrigerated until it partially sets to the thickness of a loose egg white. This will take 1-2 hours, but continually check so it doesn’t set too much!
- I used a silicone dome tray to make the cakes. But you could also use a gem cake pan with small, shallow holes. If you don’t have either, they could be made into regular cupcakes and cut in half to serve (baking times will vary).
- Silicone cake trays make the removal of the cakes much easier. Be sure to use a little oil spray to prevent sticking.
- The cakes should be bite-sized, so don’t overfill the cake tins. One heaped tablespoon is all you need for each cake.
- Cover and refrigerate the cakes for 30 minutes once they have been soaked in the jelly. This allows time for the jelly to absorb into the cakes and to firm up.
- Before filling with cream, the flatter side of the cakes cakes can be trimmed to remove any doming. Keep the nice, rounded side and trim the other side to flatten, if needed.
- Once the centres of the cakes spring back and a toothpick comes out clean, they are ready! They only take around 8-10 minutes, as each cake only has a heaped tablespoon of cake batter. Start to check them around the 8-minute mark and keep an eye on them from there. We want to avoid making the edges dark and overcooked, ensuring the cakes stay light, soft and moist.
FAQs
While assembled jelly cakes are not suitable for freezing due to the cream filling and jelly coating, the plain cakes can be frozen to soak and assemble later. To freeze the plain vanilla cakes, allow them to cool completely and wrap in a freezer-safe bag or baking paper. Place into an airtight container and freeze for up to 2 months. To decorate, thaw in the fridge overnight and make the jelly 1-2 hours before you are ready to decorate. Follow the rest of the recipe instructions as below.
Jelly cakes filled with cream will keep in the fridge and are best eaten within the first 3 days. They can also be made the night before (without the cream added) and kept in an airtight container in the fridge to be filled with whipped cream when you are ready to serve.
Related recipes
Tried this recipe? Please leave a star ⭐⭐⭐⭐⭐ rating or leave a review below and let you know how you went!
Hungry for more? Subscribe to my newsletter and follow along on Facebook, Instagram and Pinterest for the latest recipes and news.
Raspberry Jelly Cakes with Cream
Equipment
- 2 12 x hole dome baking tray or gem trays
Ingredients
- 85 grams raspberry jelly crystals 1 x 85g packet
- 1 cup boiling water 250ml
- ¾ cup cold water 185ml
- 100 grams unsalted butter room temperature
- 115 grams caster sugar ½ cup
- 1 large egg room temperature
- 2 teaspoons vanilla bean paste or extract
- 200 grams self-raising flour
- ½ cup milk 125 ml
- 1 ½ cups desiccated coconut
For the whipped cream
- 300 ml thickened cream
- 2 teaspoons caster sugar
- 1 teaspoon vanilla bean paste or extract
Instructions
Make the jelly
- Place the jelly crystals into a mixing bowl and add 1 cup of boiling water. Use a fork to stir until the jelly crystals have dissolved.
- Add ¾ cup cold water to the jelly and stir.
- Refrigerate the jelly 1-2 hours, until it thickens slightly to a loose, egg white-like consistency. Don't allow it to completely set.
Make the cakes
- While the jelly is chilling, pre-heat the oven to 175°C/347 F fan forced. Coat 2 x 12 hole dome trays or gem trays with a light coating of oil spray.
- Add the room temperature butter and caster sugar to a mixing bowl and use a wooden spoon (or electric beaters on medium-high speed) to beat until light and fluffy.
- Add the vanilla and egg and continue to beat until combined.
- Add half of the self-raising flour and half of the milk and stir until just combined.
- Repeat with the remaining flour and milk and stir until just combined.
- Add heaped tablespoons of the cake batter to the dome trays (24 total).
- Bake for 8-10 minutes, or until the top of the cakes spring back when gently pressed and a toothpick inserted into the middle comes out clean. Be careful not to overbake or they will be dry.
- Place the cakes on a wire rack to cool. Cover them with a tea-towel to prevent them from drying out if the jelly still needs more time.
Assemble
- When the jelly is ready (slightly thickened similar to a loose, egg white-like consistency), place the bowl of jelly onto a clean bench, along with a separate bowl containing the coconut.
- Using a spoon, lower the cakes (one at a time) into the jelly until completely covered.
- Drain the excess jelly and roll the cakes in the coconut until completely covered.
- Place the cakes onto a plate and cover. Refrigerate for 30 minutes to firm up.
For the whipped cream
- Use electric or a handheld mixer to beat the cream, sugar and vanilla together until stiff peaks form.
- Use the cream to sandwich two of the cakes together, making a total of 12 jelly cakes. You can also add a little raspberry jelly (set), raspberry jam or a fresh raspberry to the centre with the cream, if desired. Serve immediately, or cover and refrigerate.
Video
Notes
- Measure the ingredients, for best results. Use a kitchen scale to weigh the dry ingredients in grams. Inaccurate measurements can cause the ratios to be off, resulting in dry cakes, or cakes that don’t rise. If you don’t have scales, fluff the flour with a spoon, spoon it into a measuring cup and level it with a knife.
- Make sure all of the ingredients are at room temperature before mixing, otherwise your batter can split.
- Make the jelly first and place it in the fridge to thicken (but not set!). This will take 1-2 hours, plenty of time to start on the cakes while you wait.
- It is important to get the consistency of the jelly right. If the jelly isn’t set enough, the cakes will soak in too much liquid. This will cause them to become soggy/fall apart. If the jelly sets too much, it won’t soak into the cakes. The jelly should be refrigerated until it partially sets to the thickness of a loose egg white. This will take 1-2 hours, but continually check so it doesn’t set too much!
- I used a silicone dome tray to make the cakes. But you could also use a gem cake pan with small, shallow holes. If you don’t have either, they could be made into regular cupcakes and cut in half to serve (baking times will vary).
- Silicone cake trays make the removal of the cakes much easier. Be sure to use a little oil spray to prevent sticking.
- The cakes should be bite-sized, so don’t overfill the cake tins. One heaped tablespoon is all you need for each cake.
- Cover and refrigerate the cakes for 30 minutes once they have been soaked in the jelly. This allows time for the jelly to absorb into the cakes and to firm up.
- Before filling with cream, the flatter side of the cakes cakes can be trimmed to remove any doming. Keep the nice, rounded side and trim the other side to flatten, if needed.
- Once the centres of the cakes spring back and a toothpick comes out clean, they are ready! They only take around 8-10 minutes, as each cake only has a heaped tablespoon of cake batter. Start to check them around the 8-minute mark and keep an eye on them from there. We want to avoid making the edges dark and overcooked, ensuring the cakes stay light, soft and moist.
- Freezing; I don’t recommend freezing assembled jelly cakes, but the plain cakes can be frozen to thaw and soak/assemble later. To freeze the plain vanilla cakes, allow them to cool completely and wrap in a freezer-safe bag or baking paper. Place into an airtight container and freeze for up to 2 months. To decorate, thaw in the fridge overnight and make the jelly 1-2 hours before you are ready to decorate. Follow the rest of the recipe instructions as below.
- Storage; Jelly cakes filled with cream will keep in the fridge and are best eaten within the first 3 days. They can also be made the night before (without the cream added) and kept in an airtight container in the fridge to be filled with whipped cream when you are ready to serve.
- Please note that the nutrition information is based on the mixture being made into 12 cakes (2 cakes sandwiched together with cream), with one cake being one serve. The nutritional information is an estimate only and does not take into account any additional toppings or sides served with the cakes.
- This recipe is made using Australian cups and spoon measurements. Any reference to cups or spoons in this recipe is in Australian metric. Due to cup sizes varying from country to country, I advise adjusting if necessary.




Leave a Reply